Summer in the city

summer dress for girls

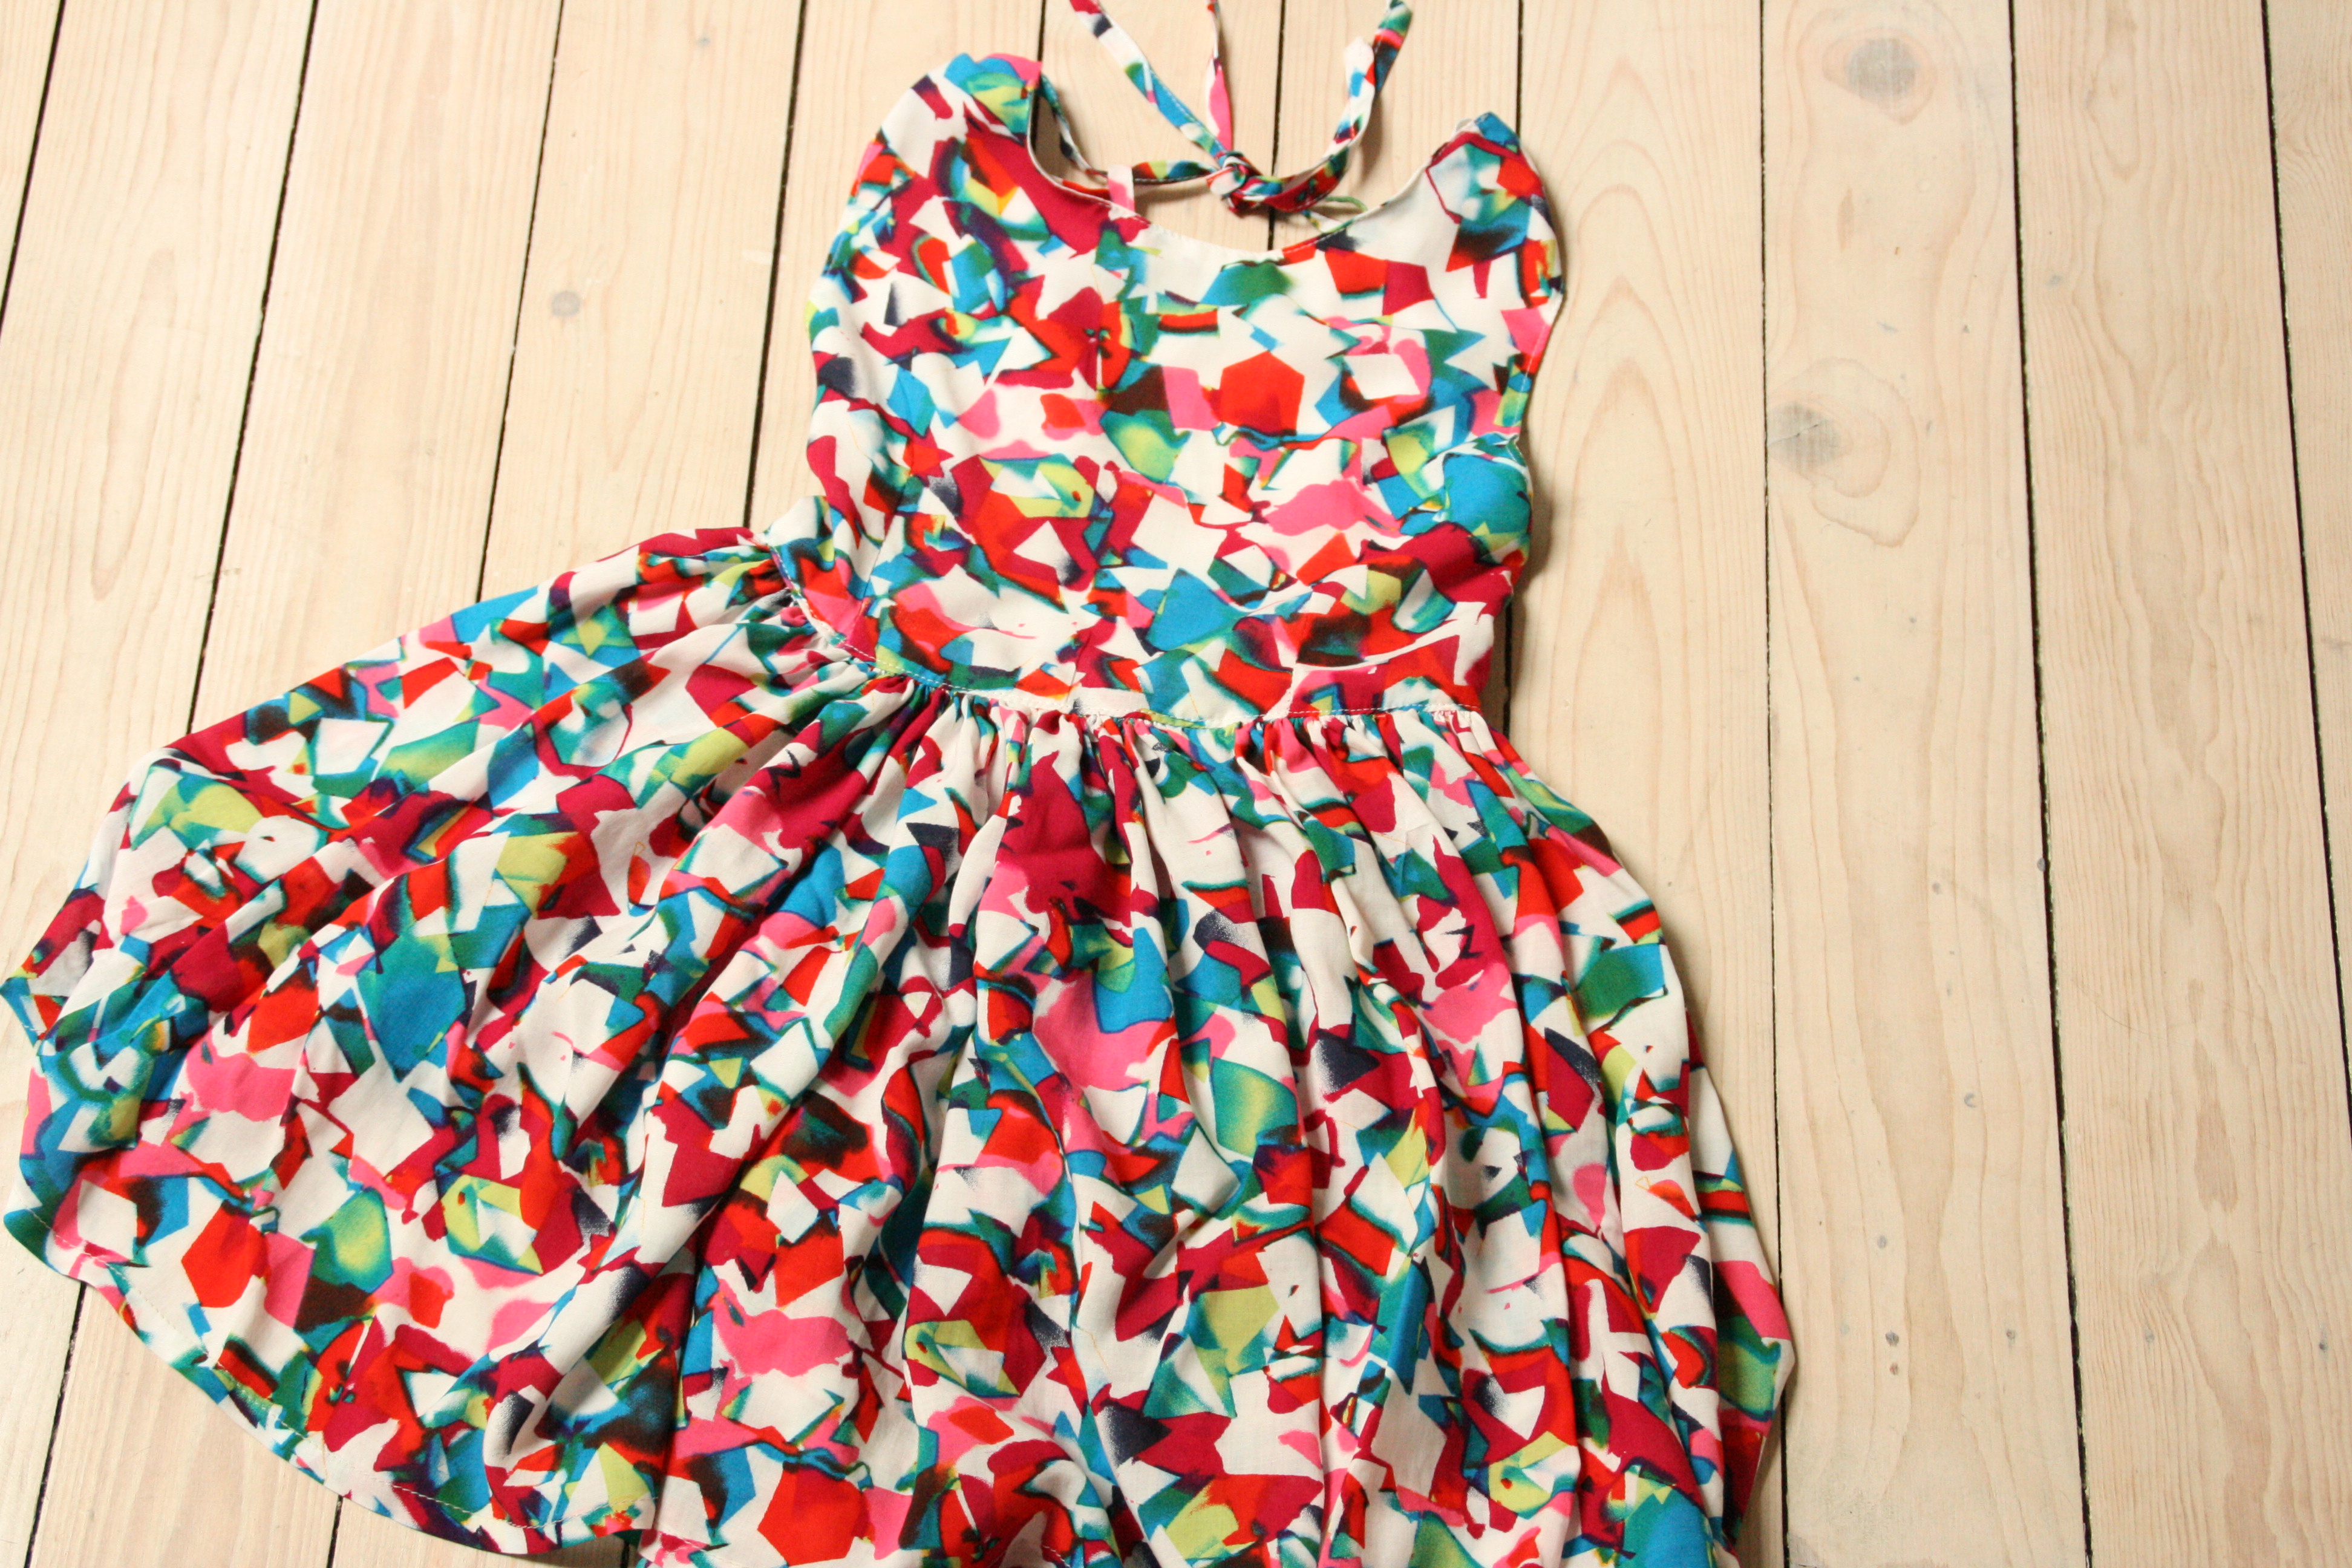
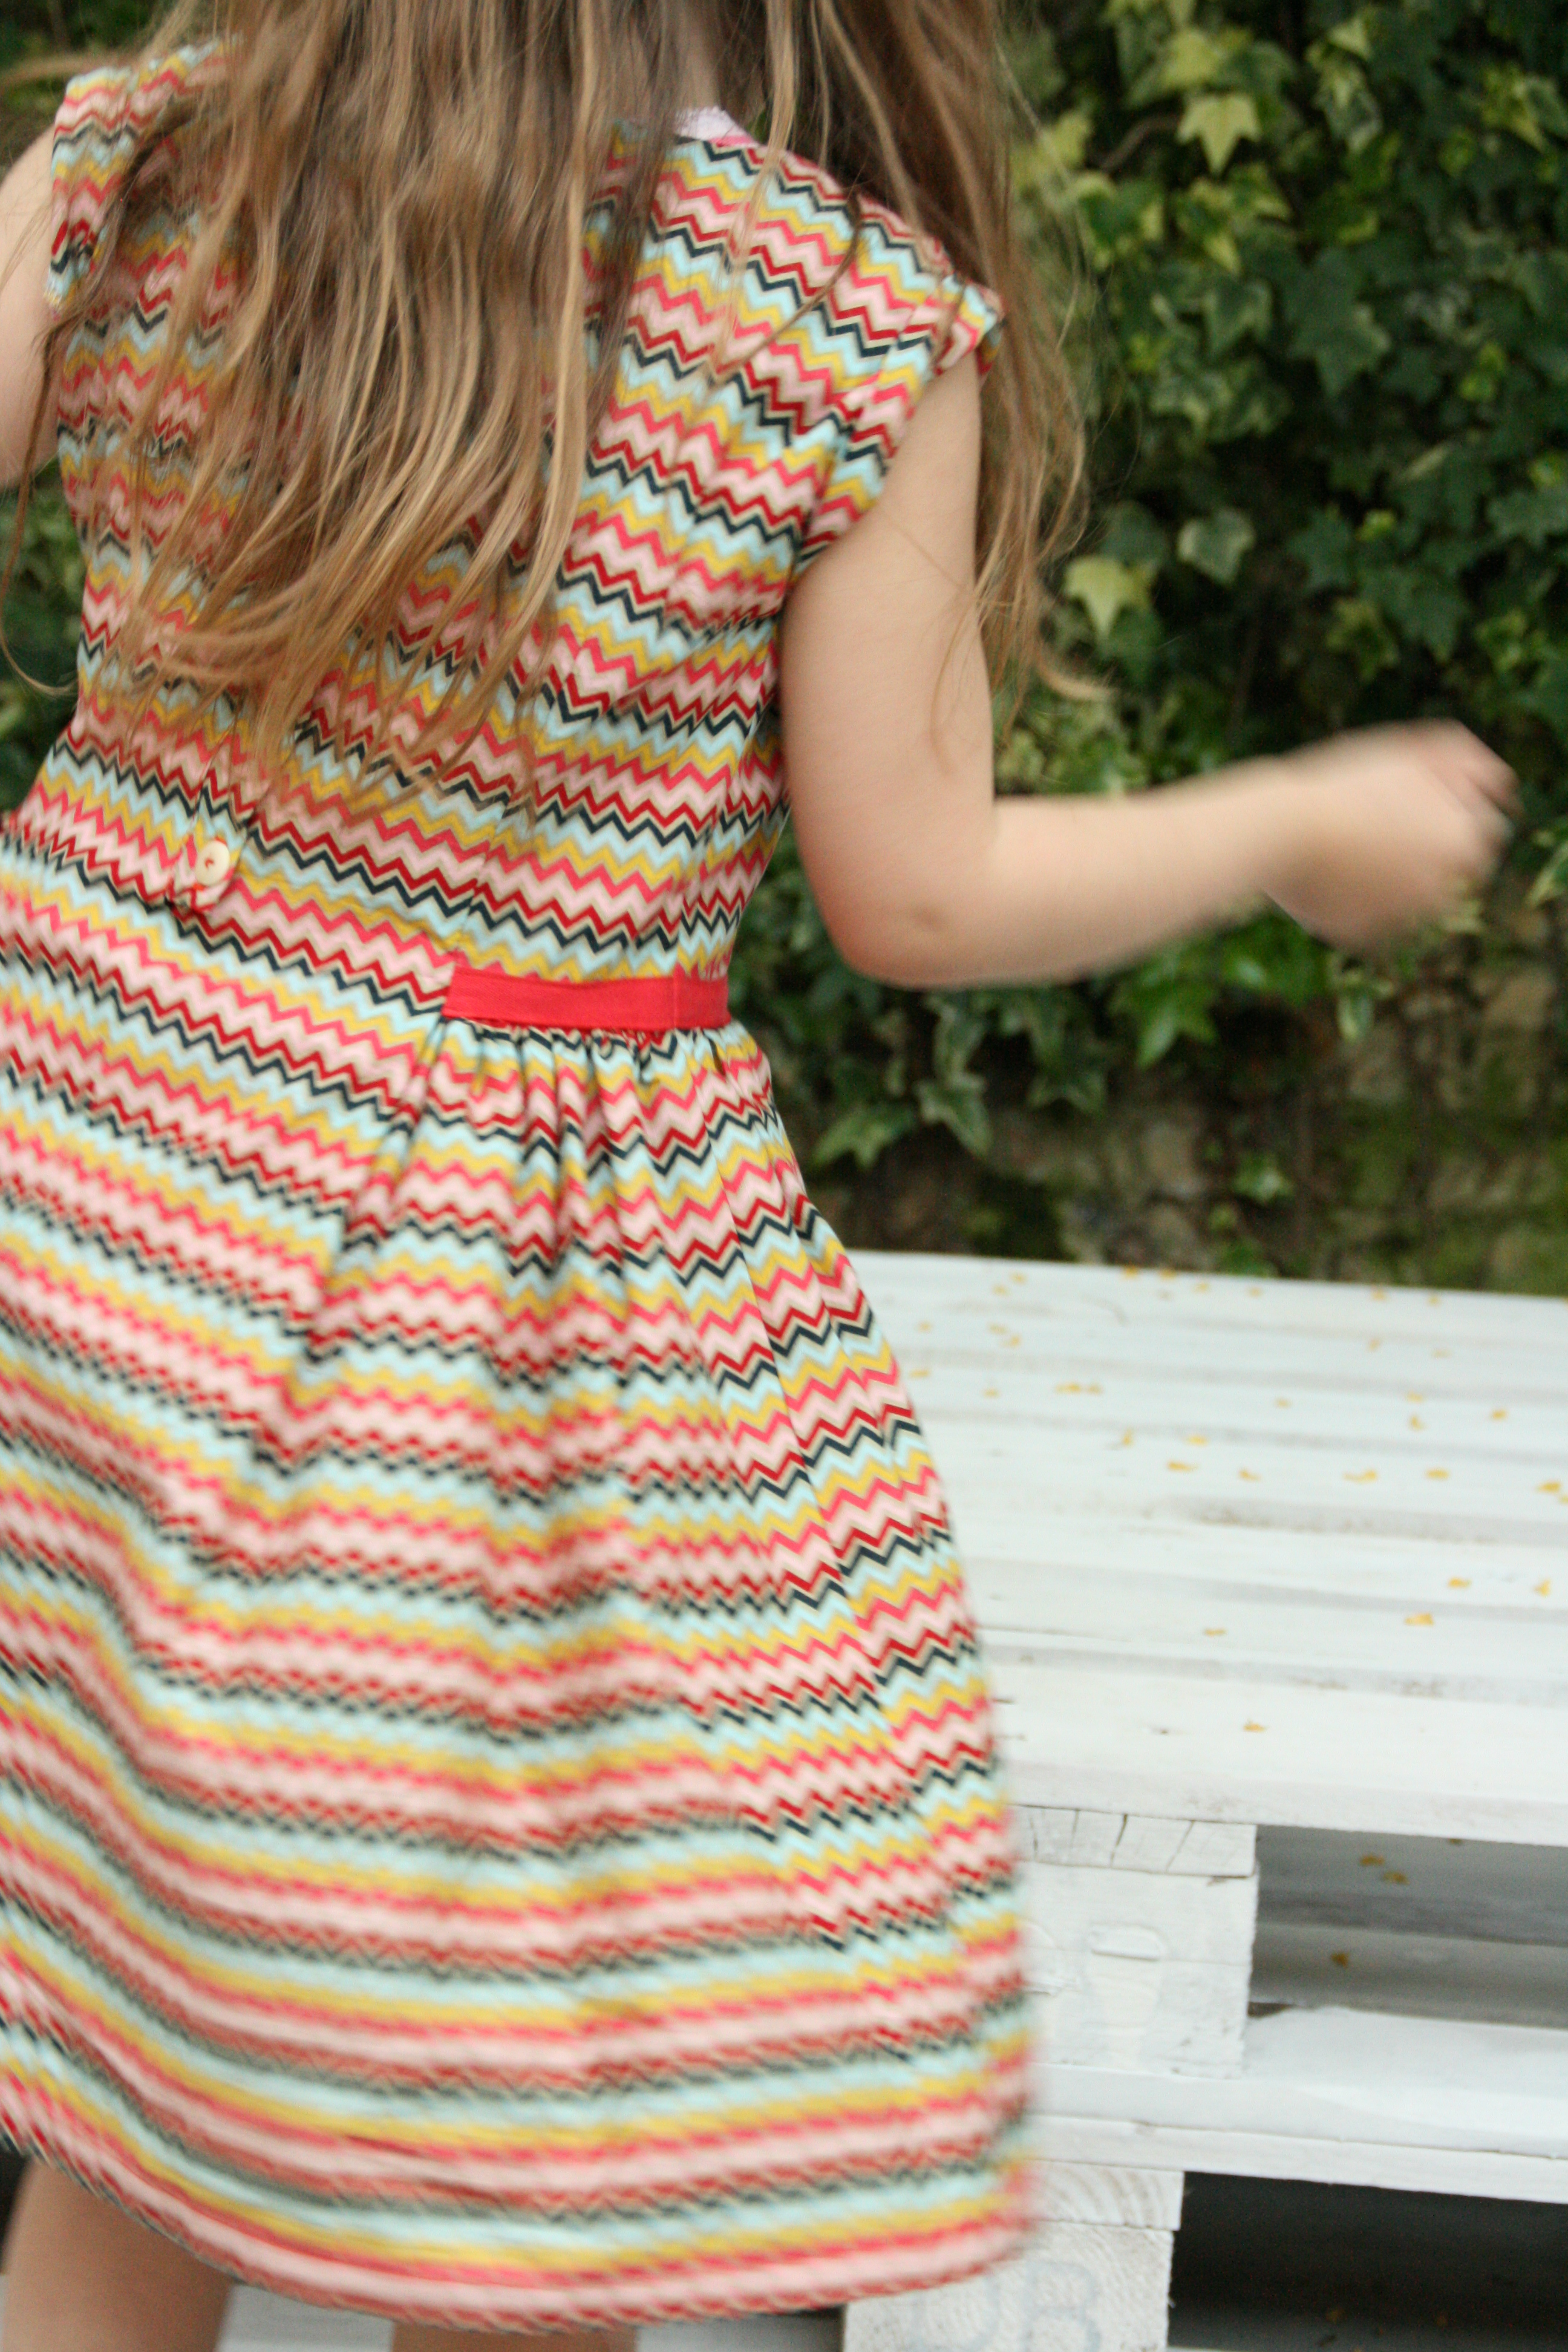
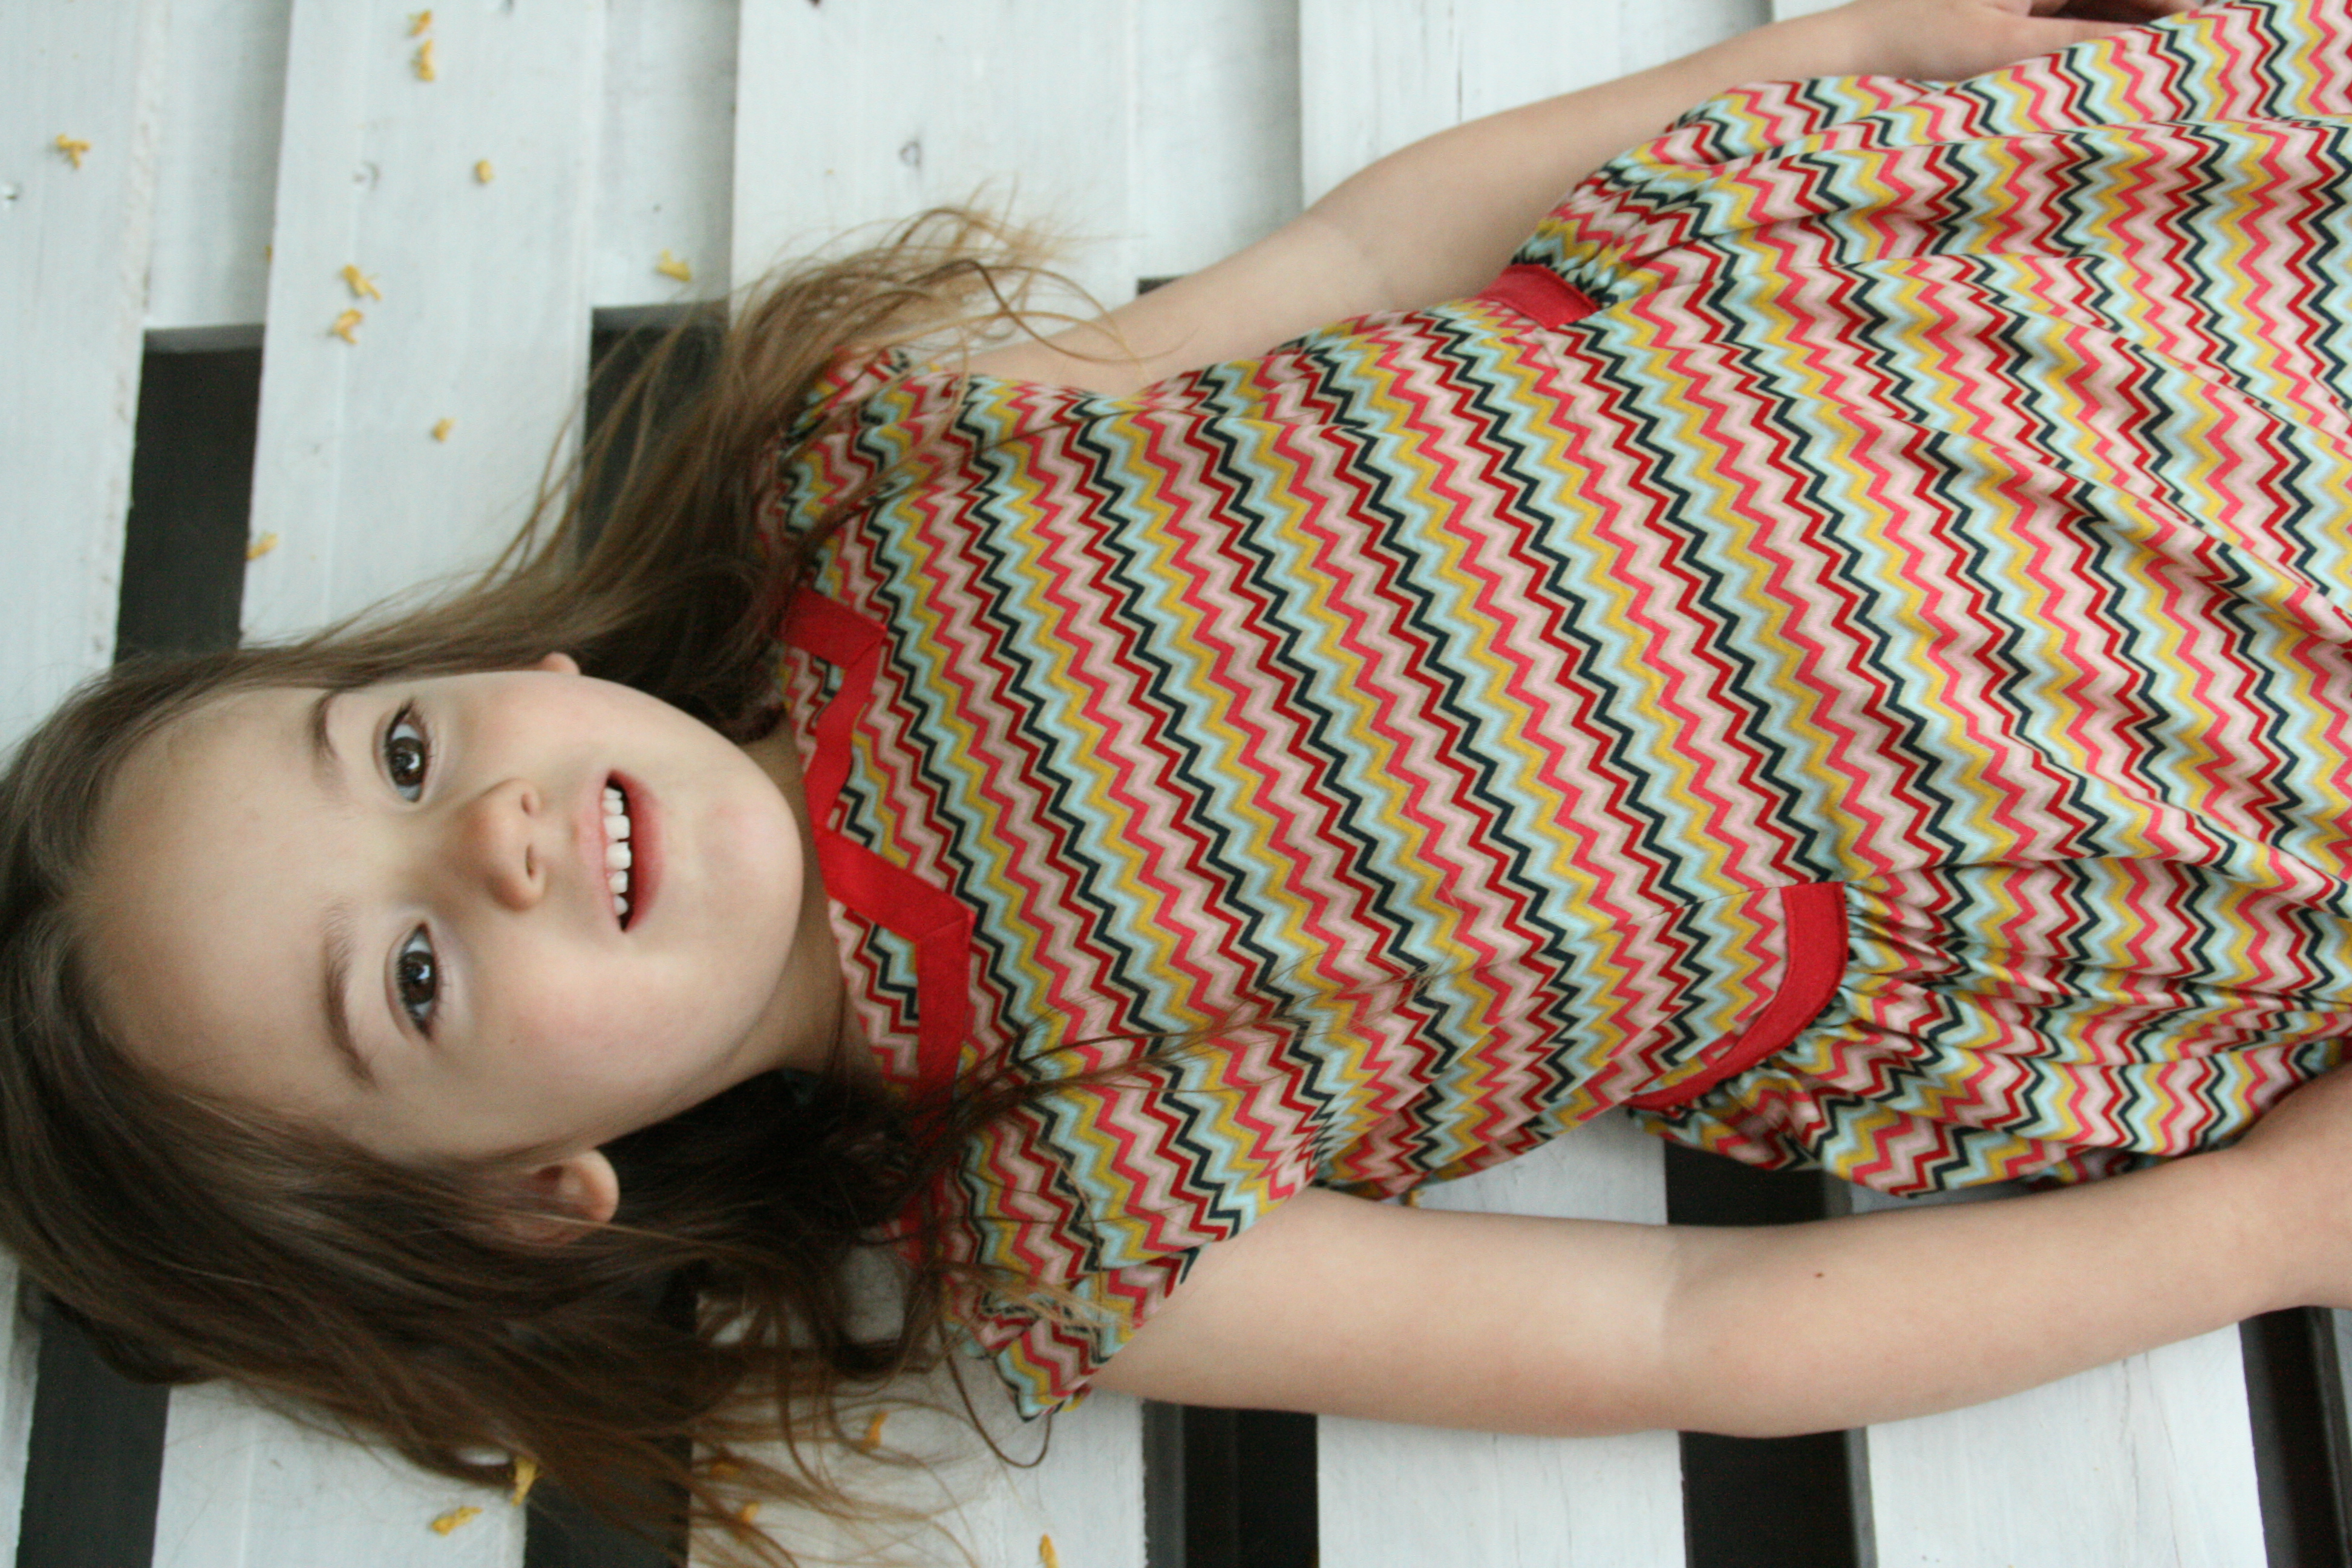
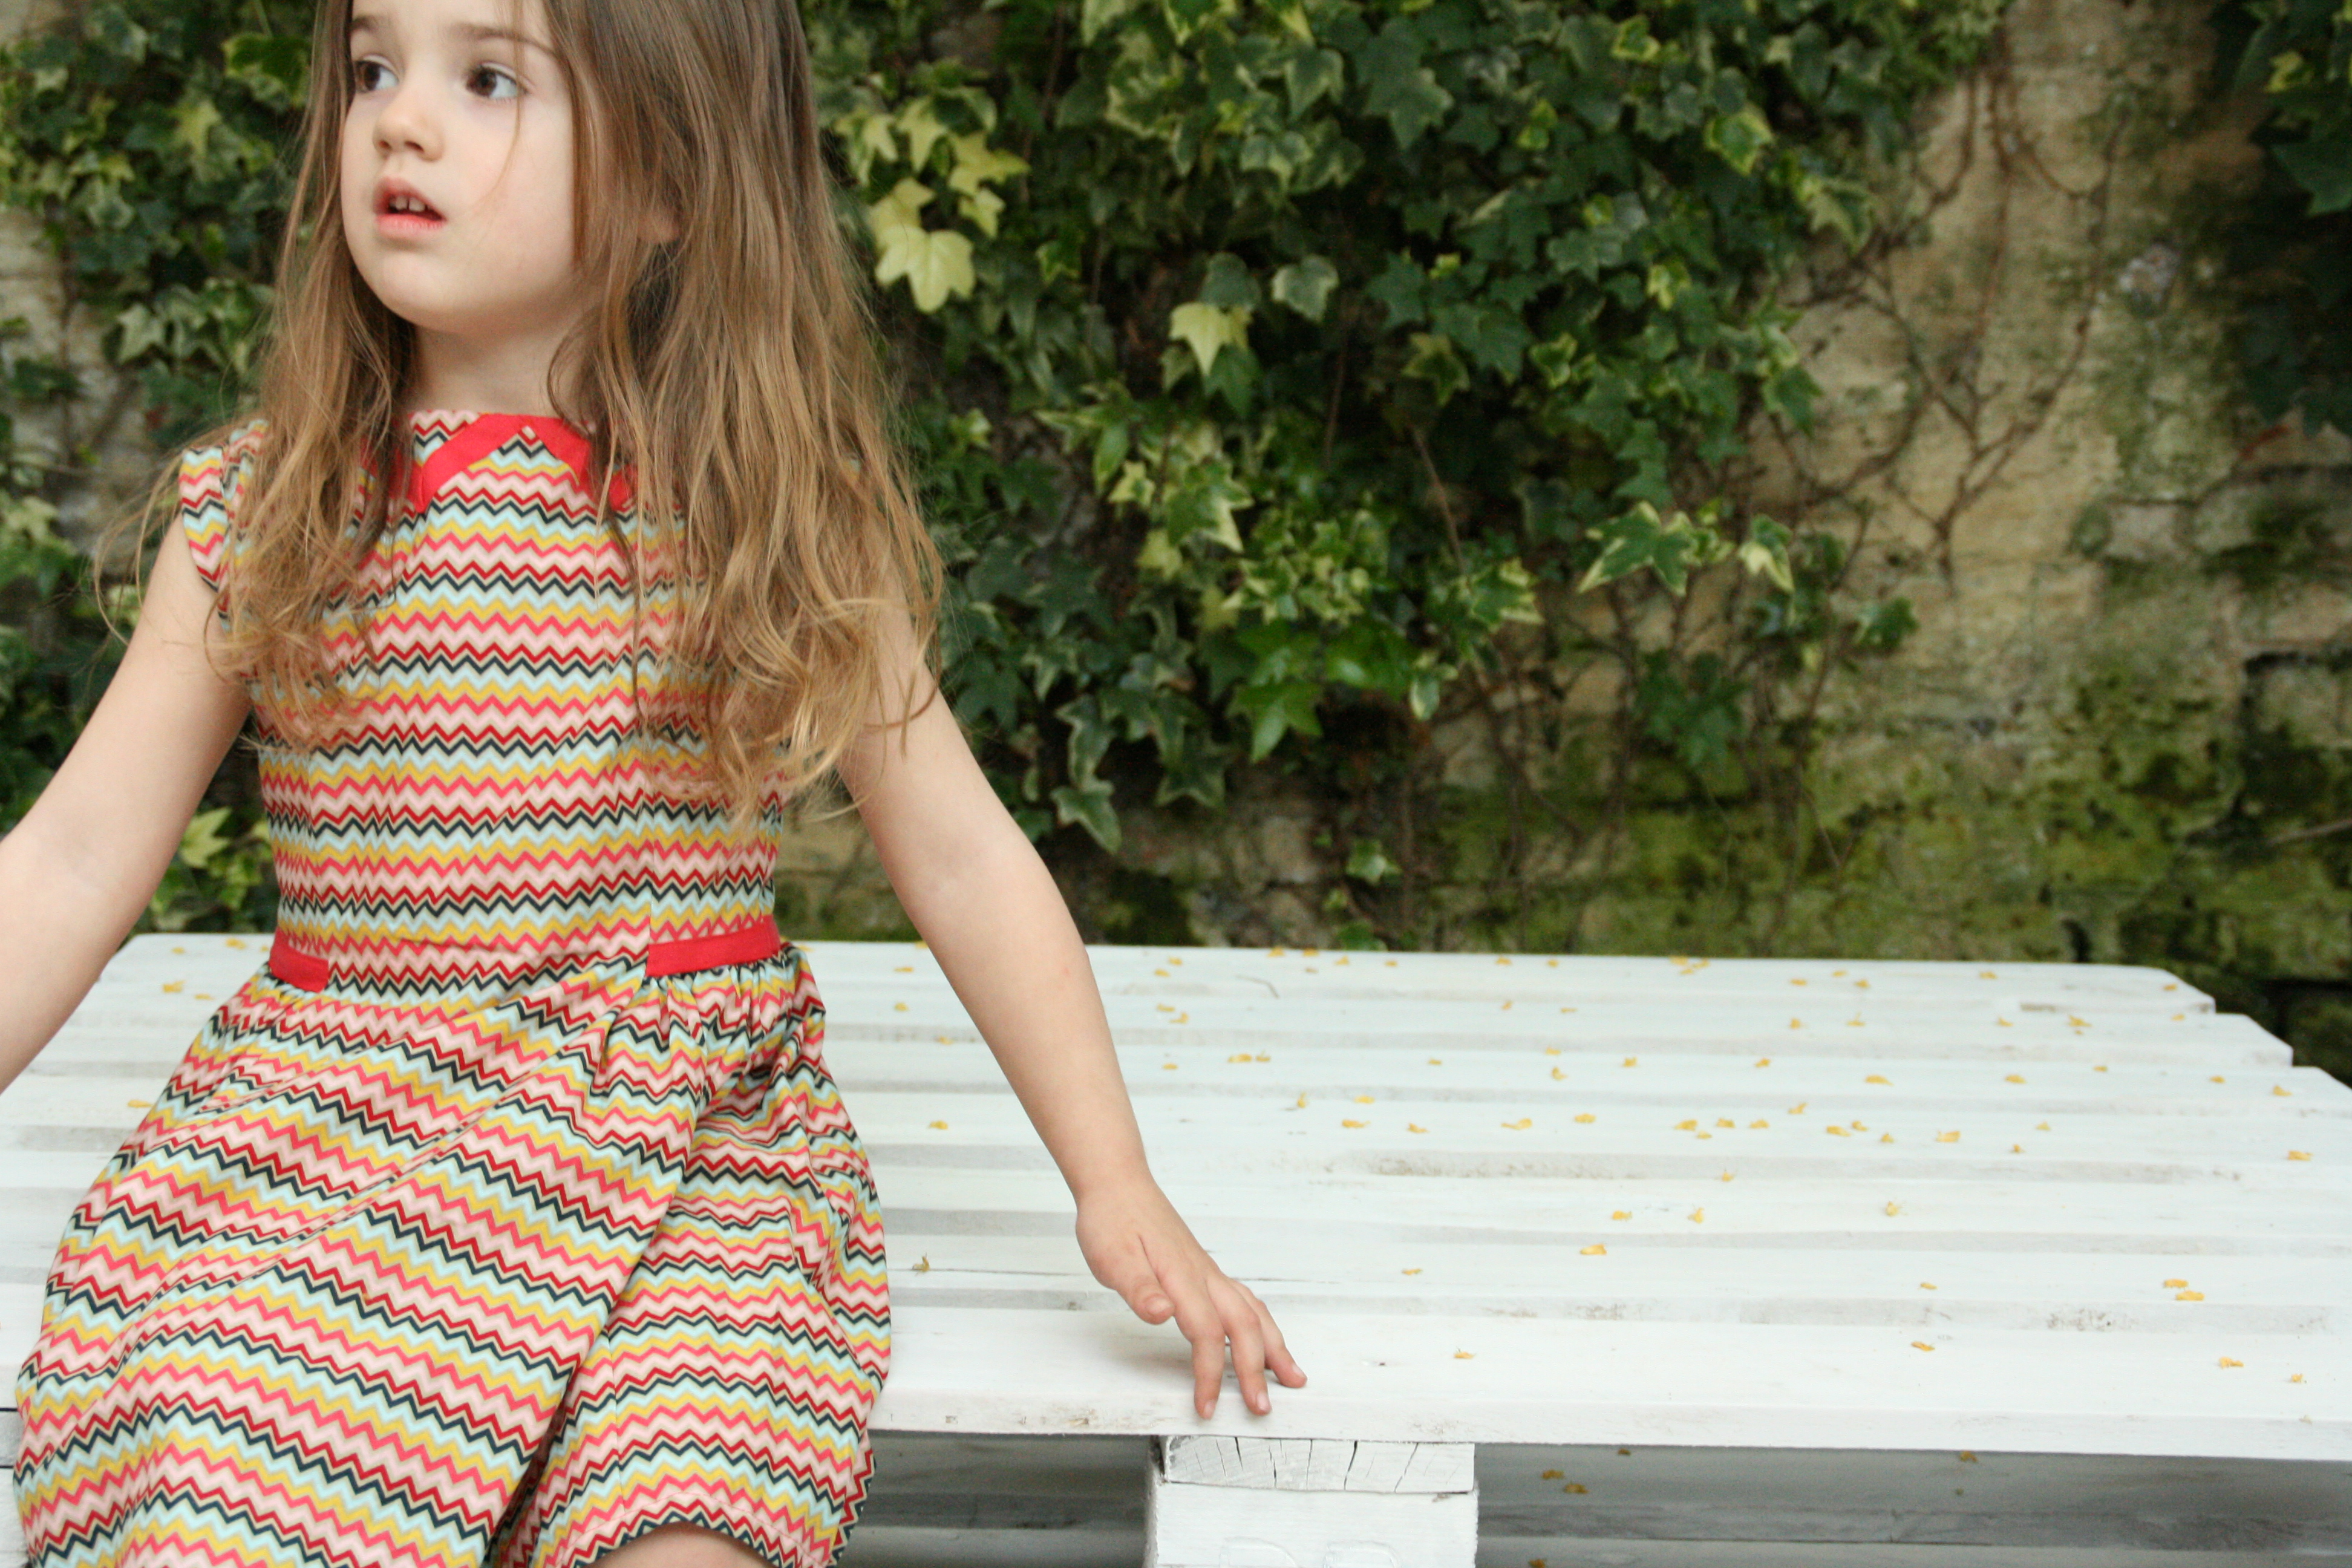
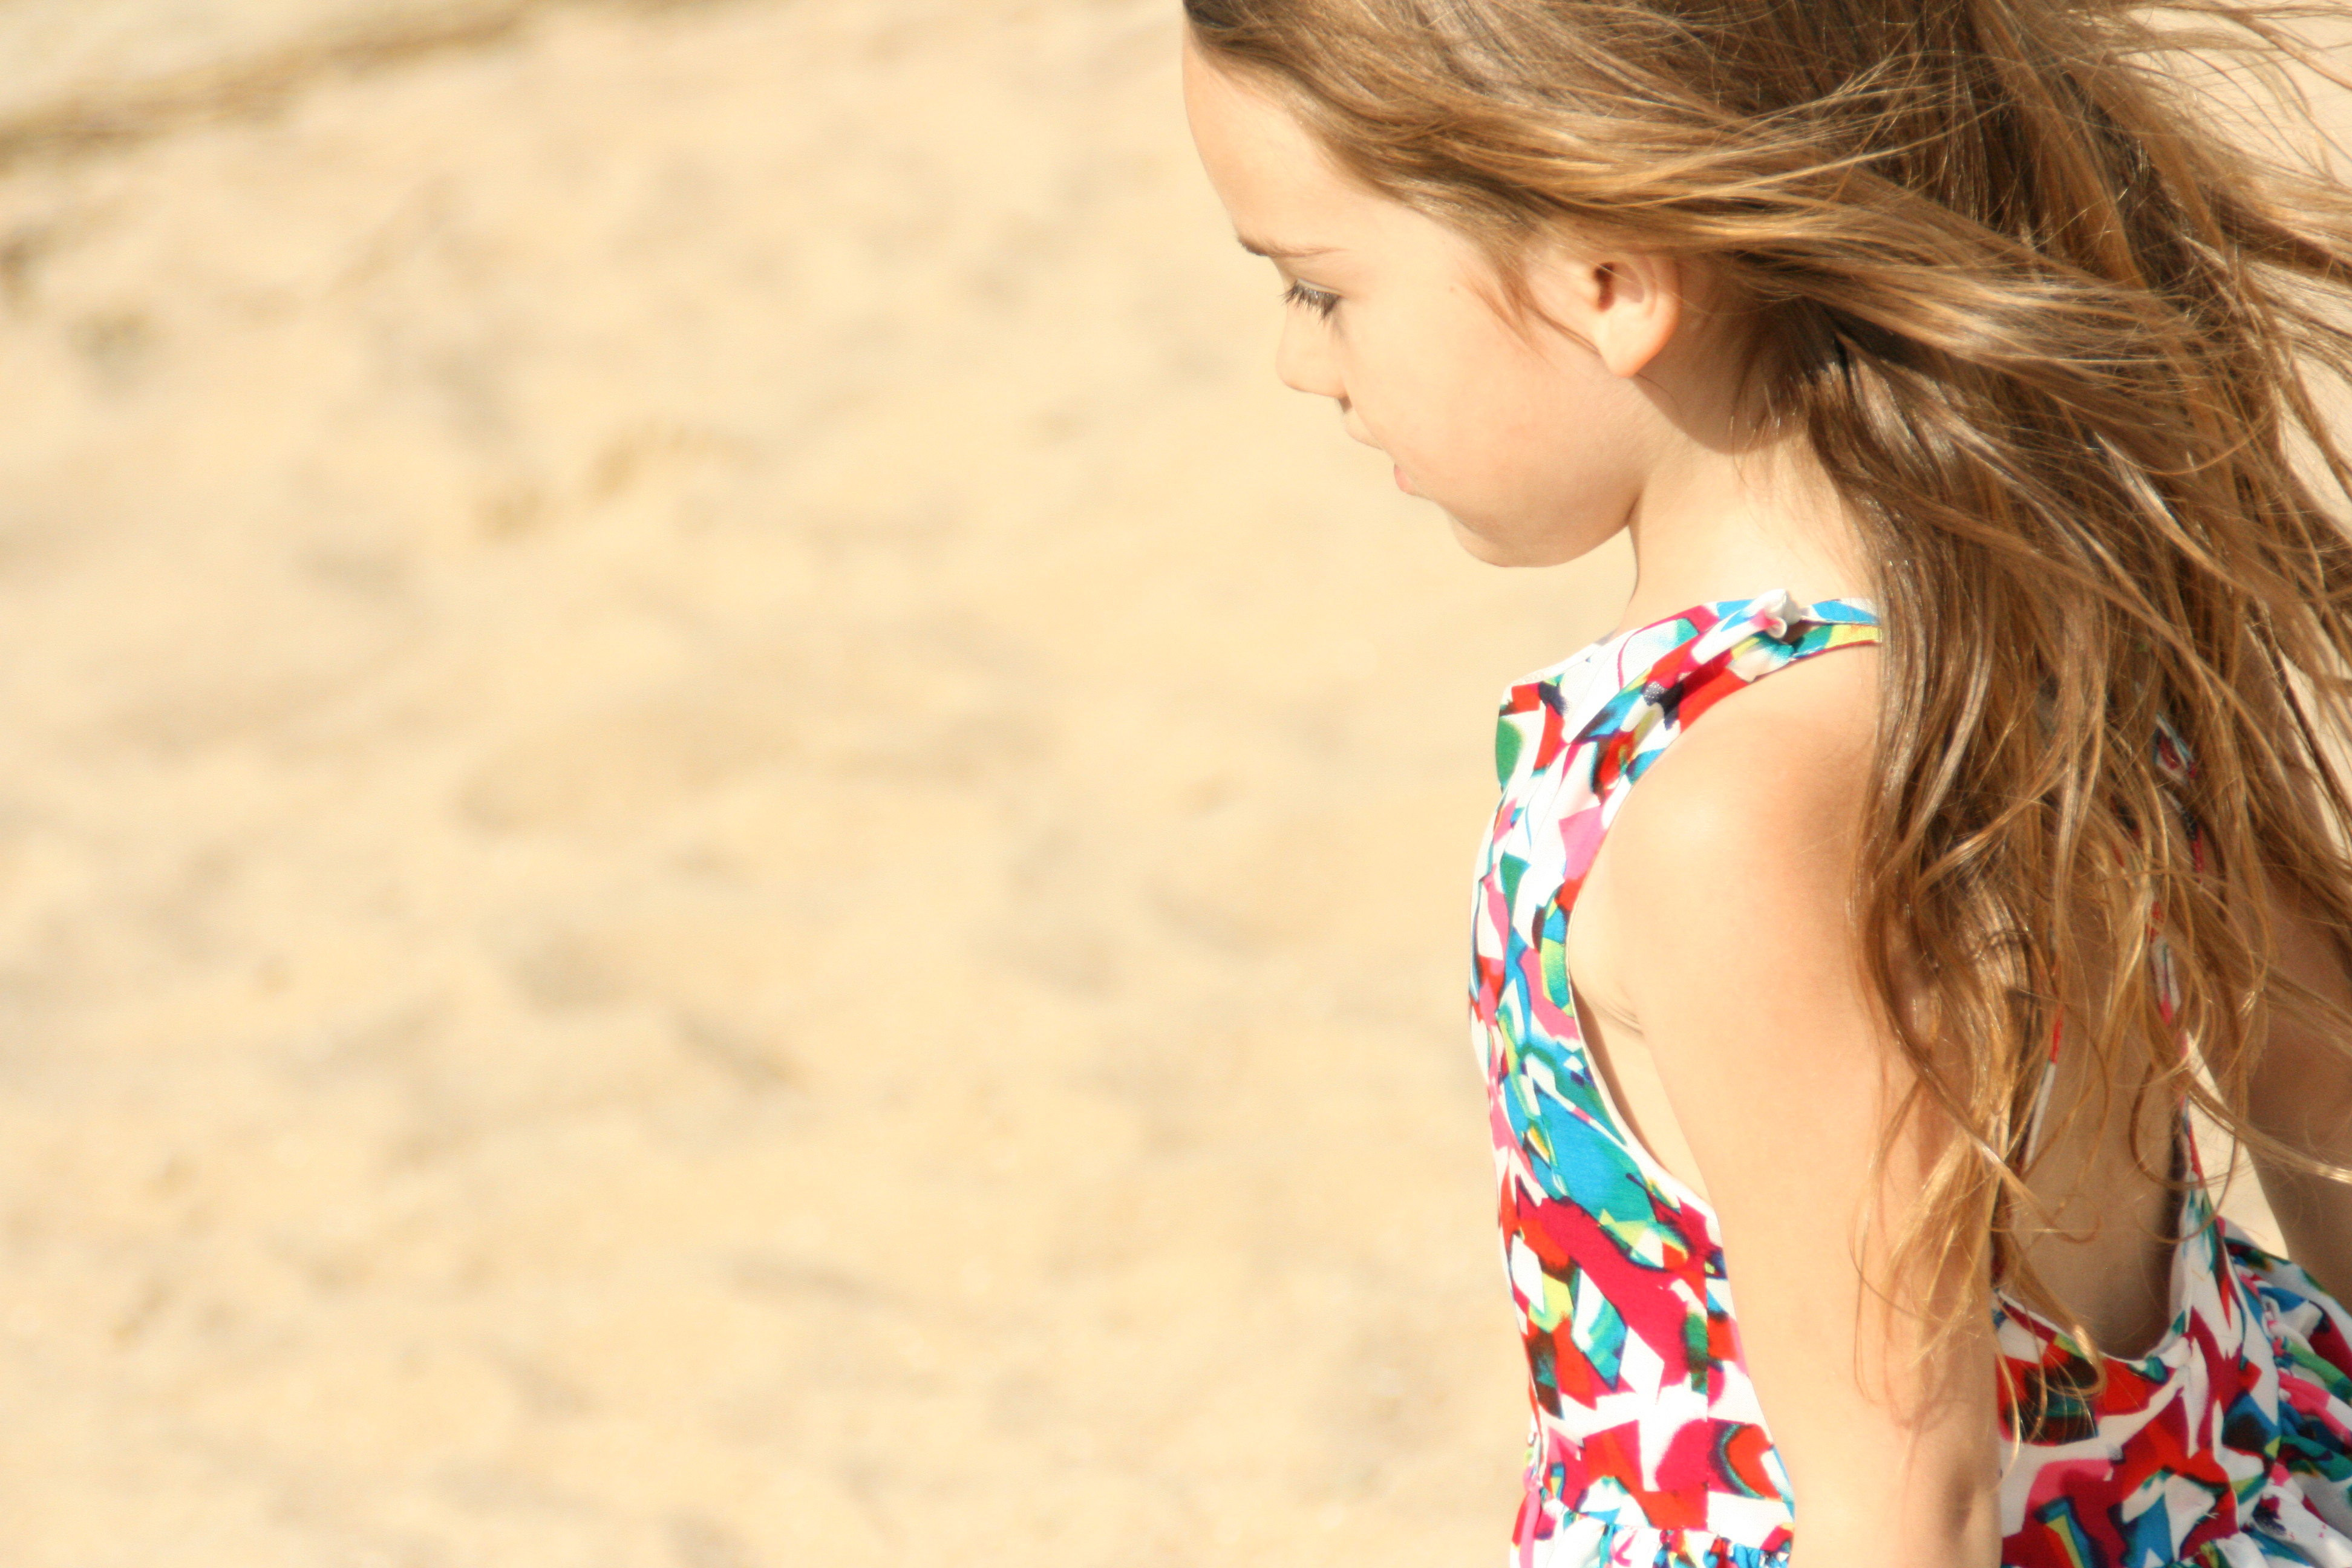
Yes, we have a beach in Antwerp!  It’s a narrow stroke of sand on the left bank of the river Schelde.  It’s forbidden to swim there and the view isn’t that nice.  By all means, it’s not perfect but I enjoy the silence and the ships passing.   I don’t like the crowded seaside anyway, thus for me it’s a good hide.  The sun was in town last sunday and it was a perfect day to make pictures of my little girl’s new dress.  A bright printed dress with a summery back detail in a lovely viscose.  This fabric makes her skirt flutter in the breeze, just perfect for taking pictures…

IMG_7294

IMG_7215

IMG_7274

IMG_7277

IMG_7246

sewing machine

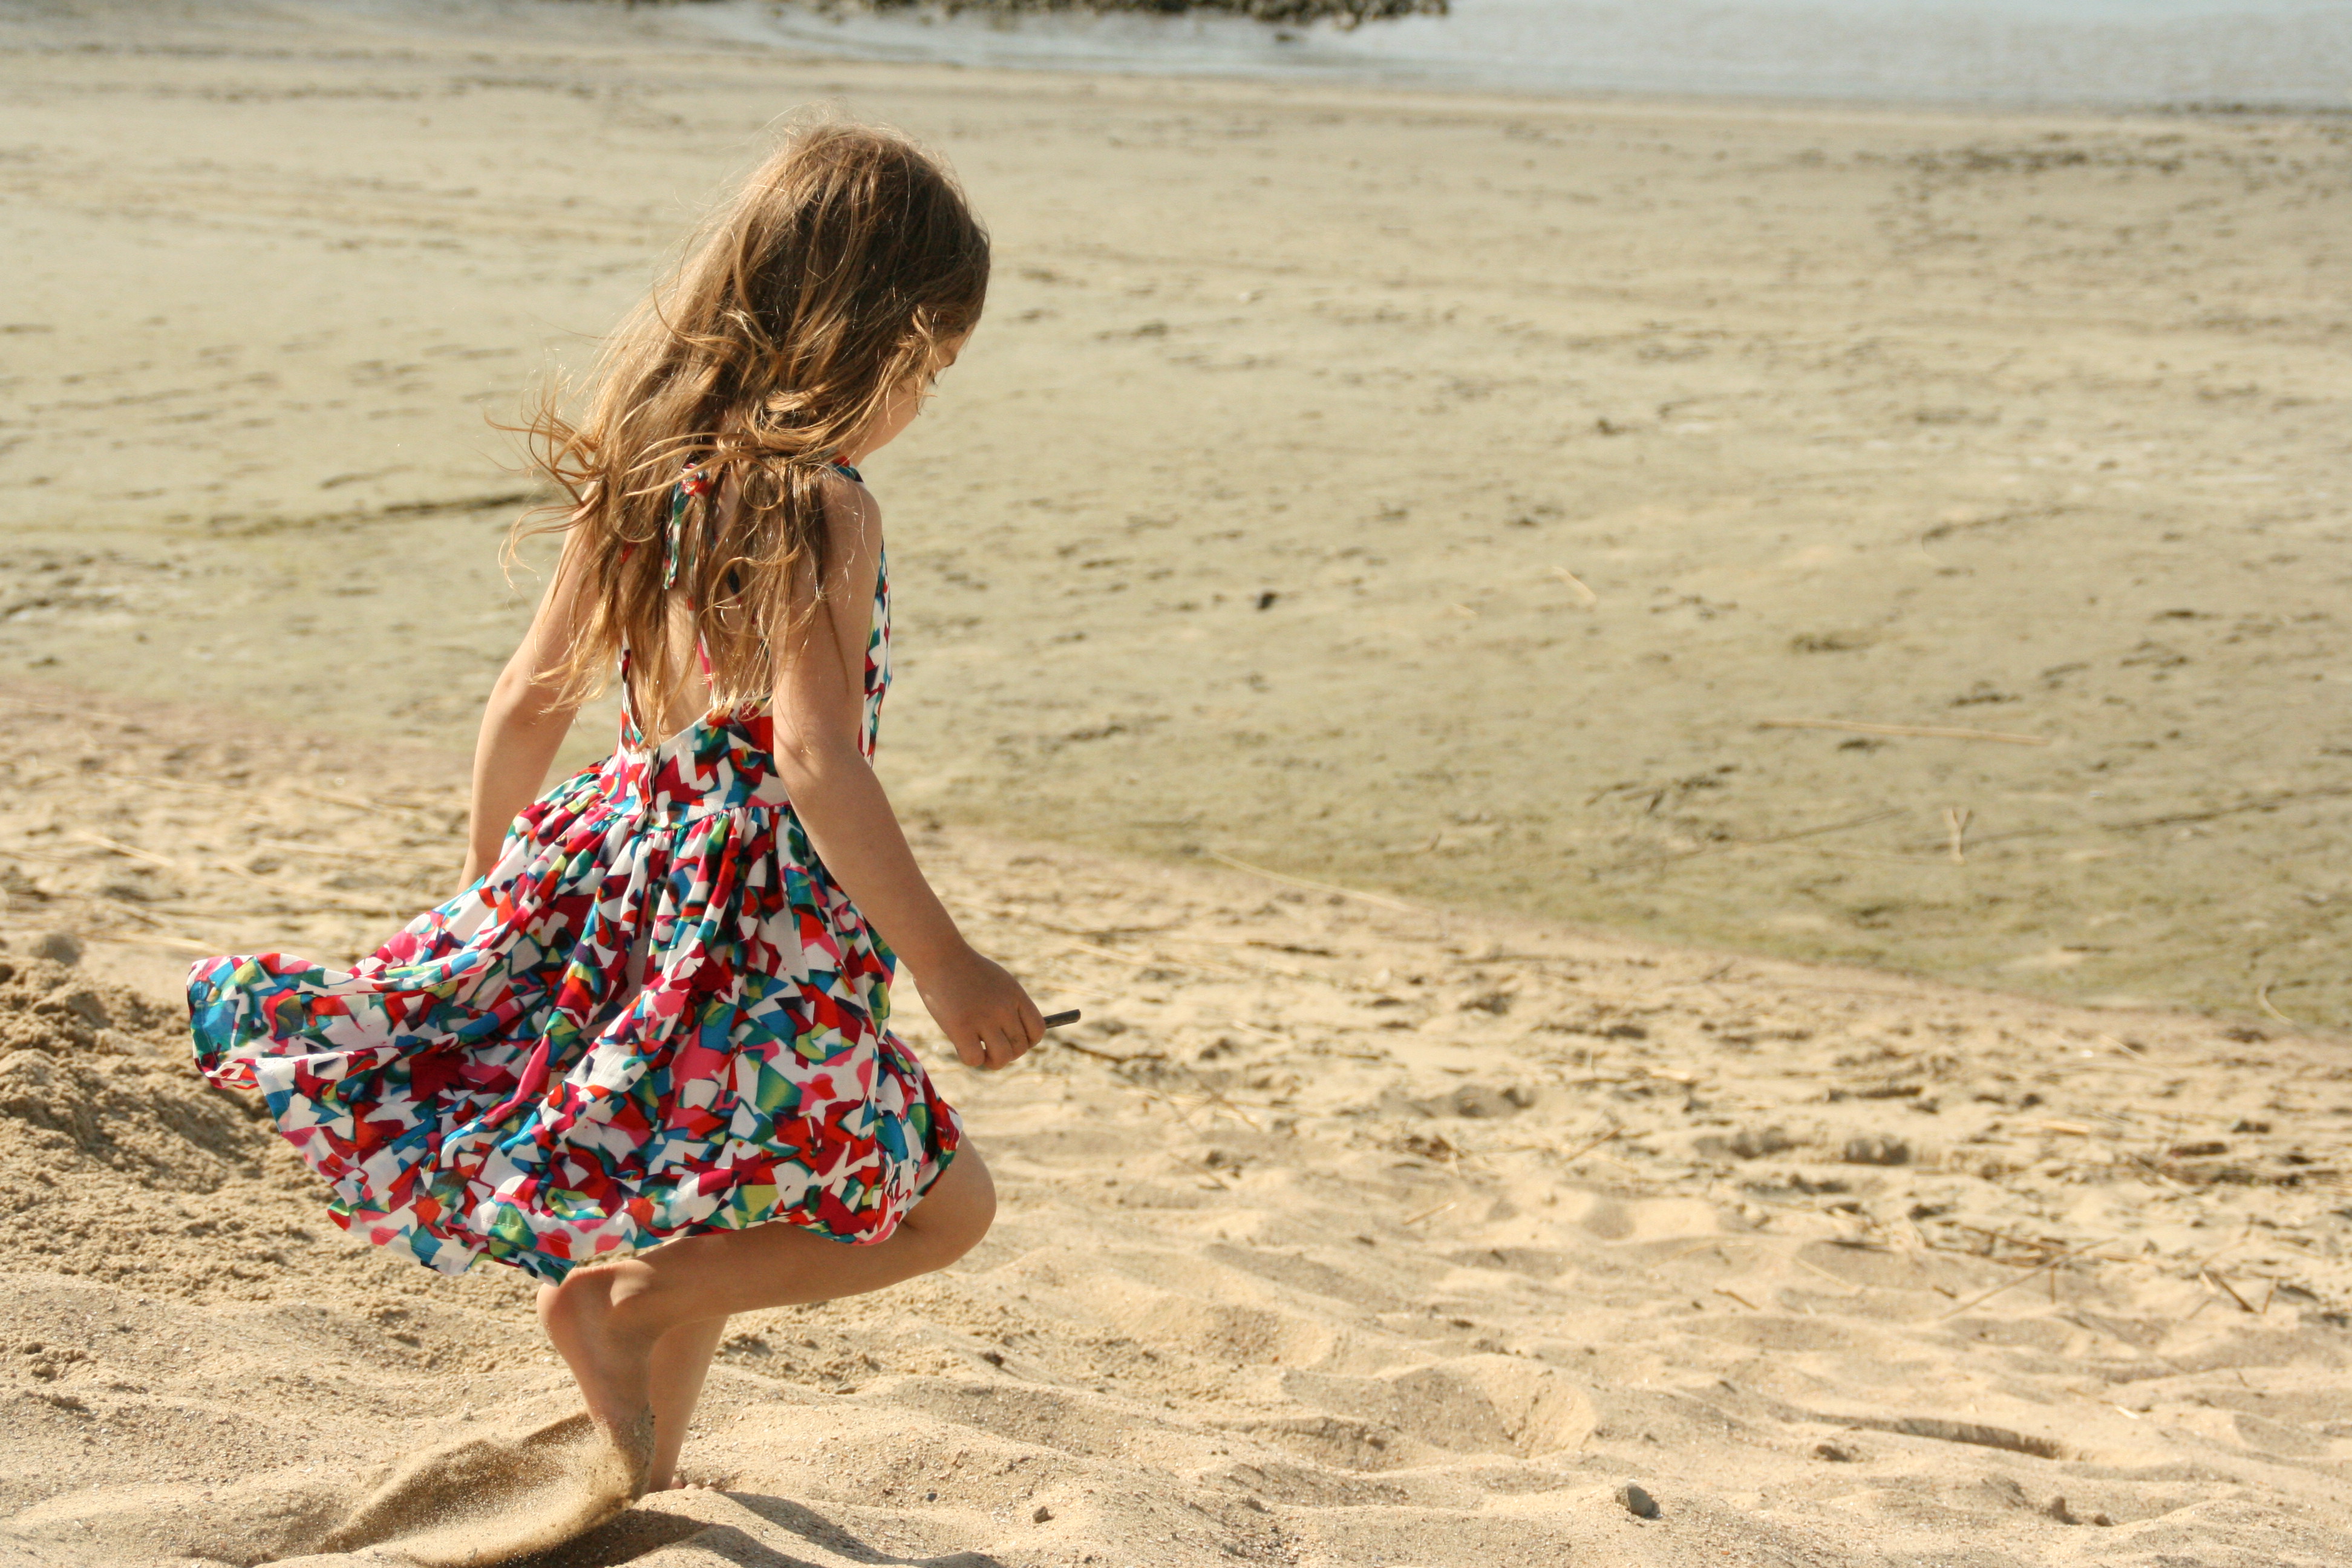
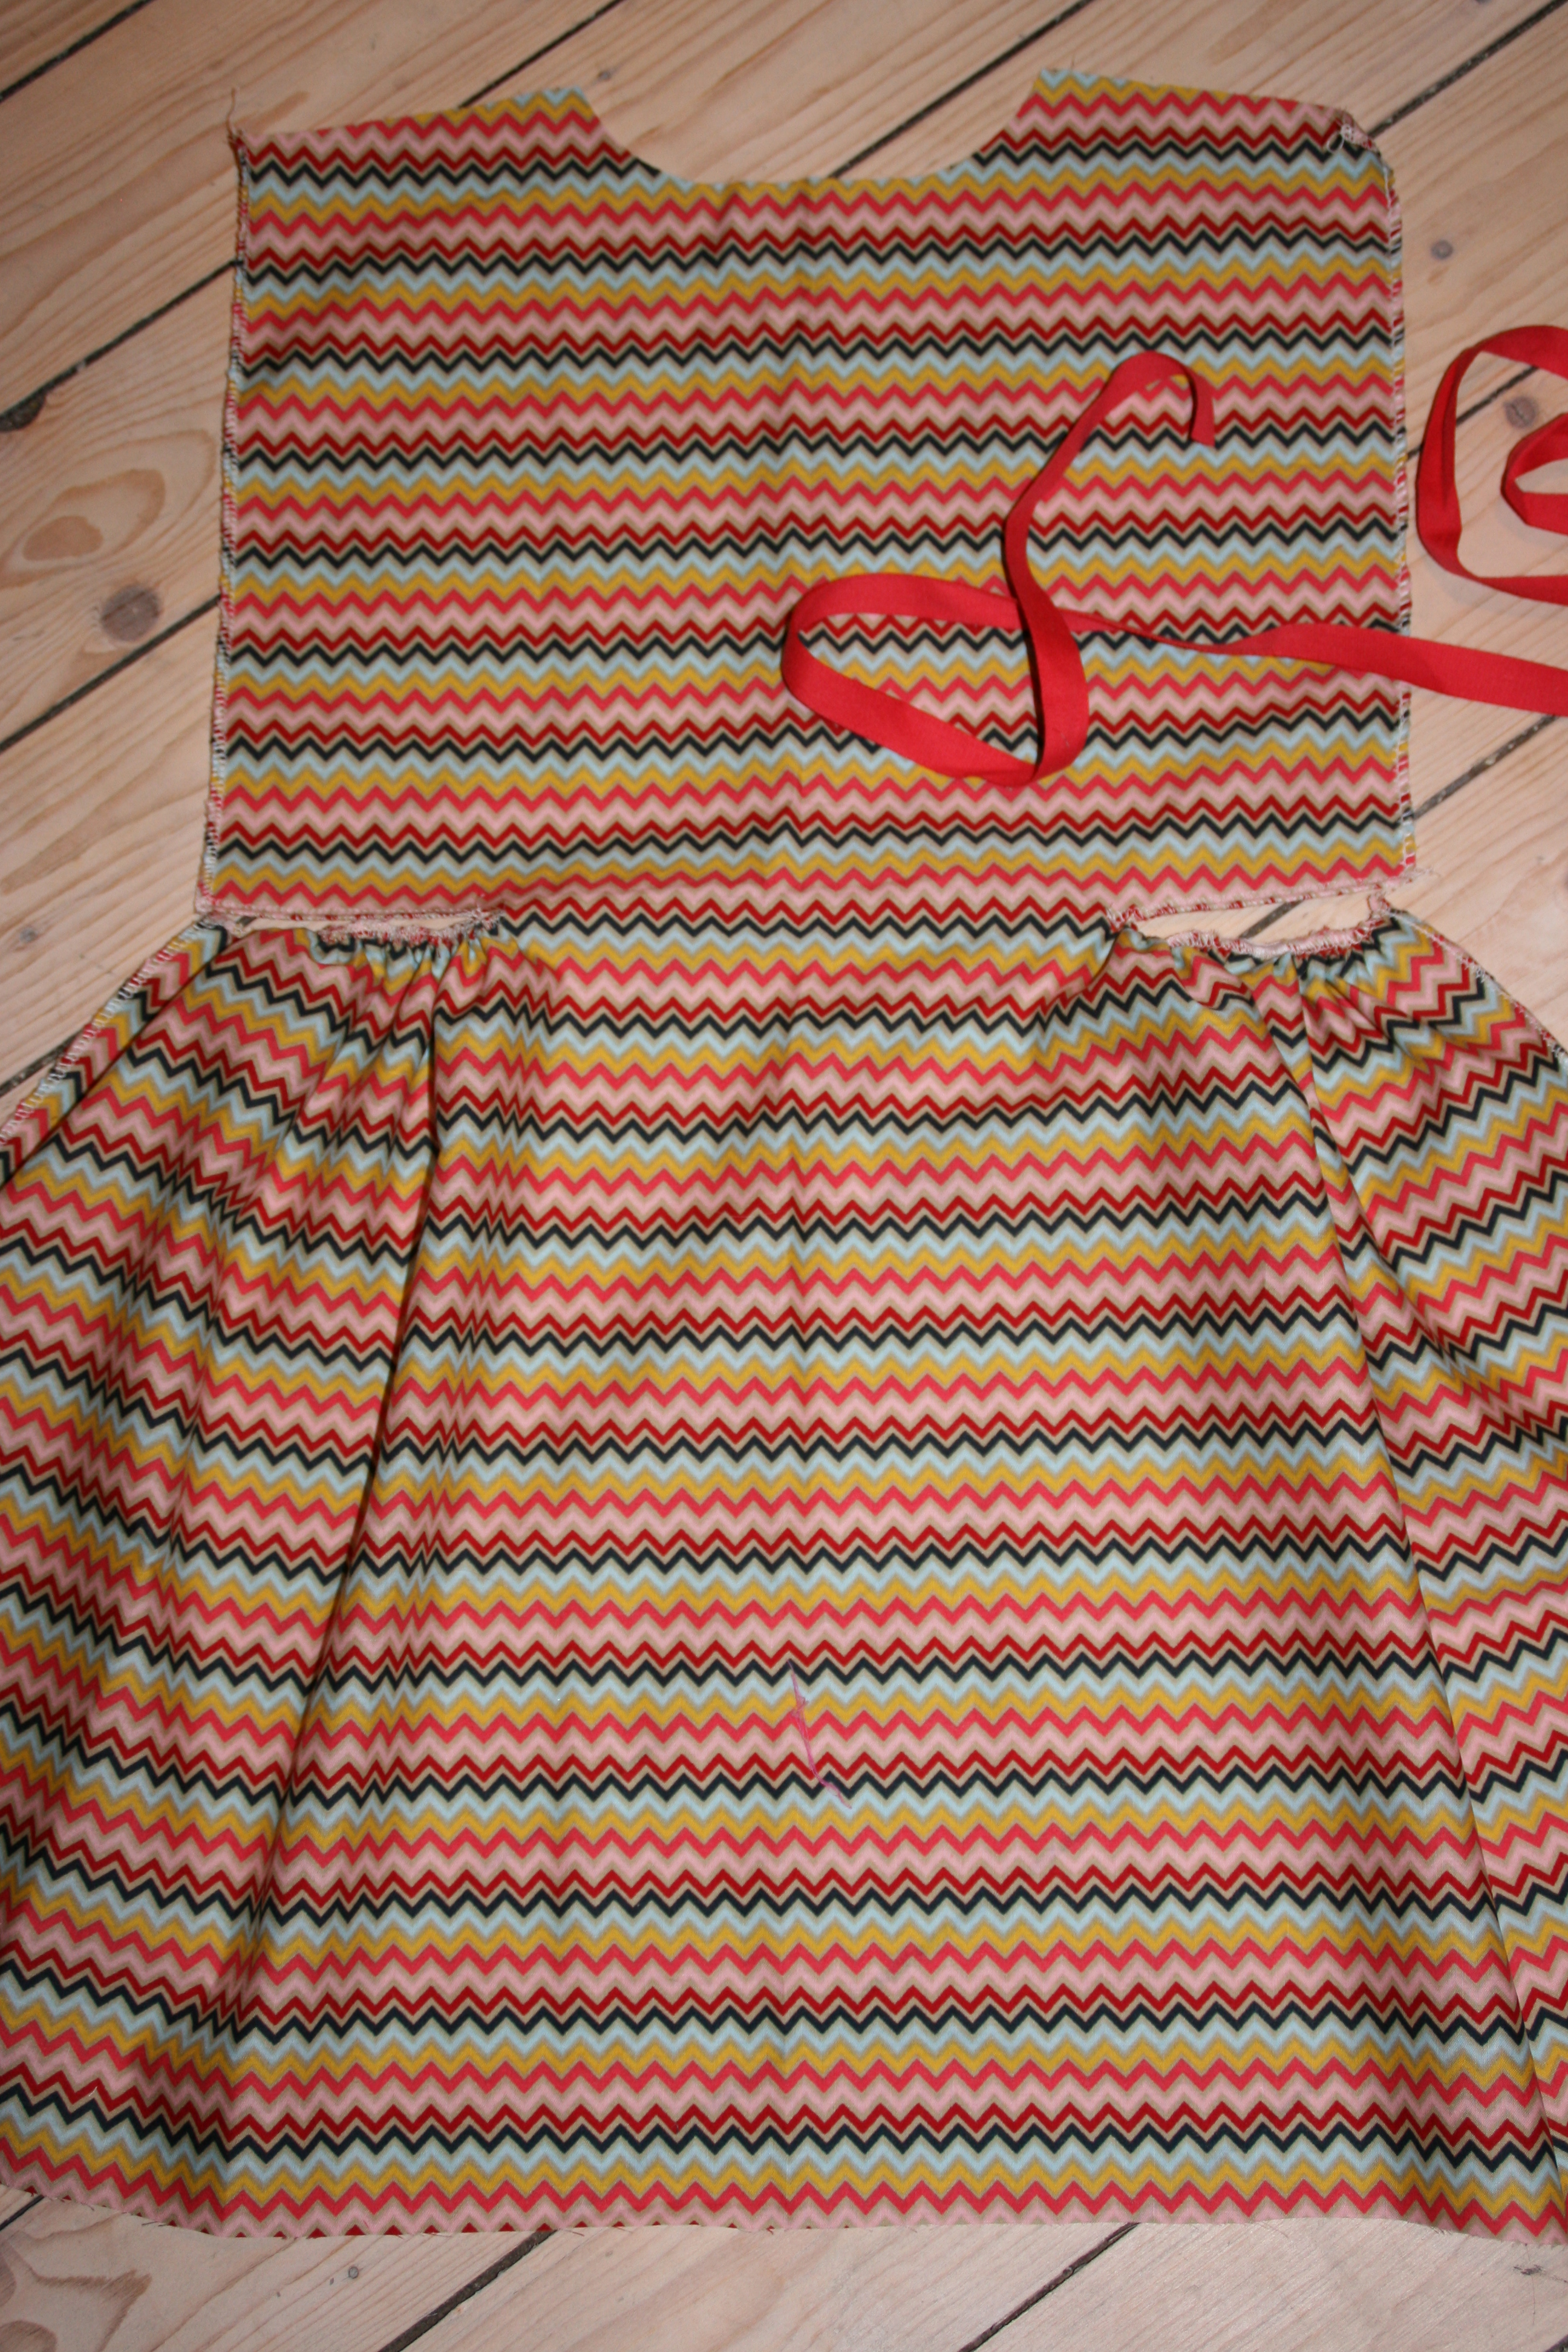
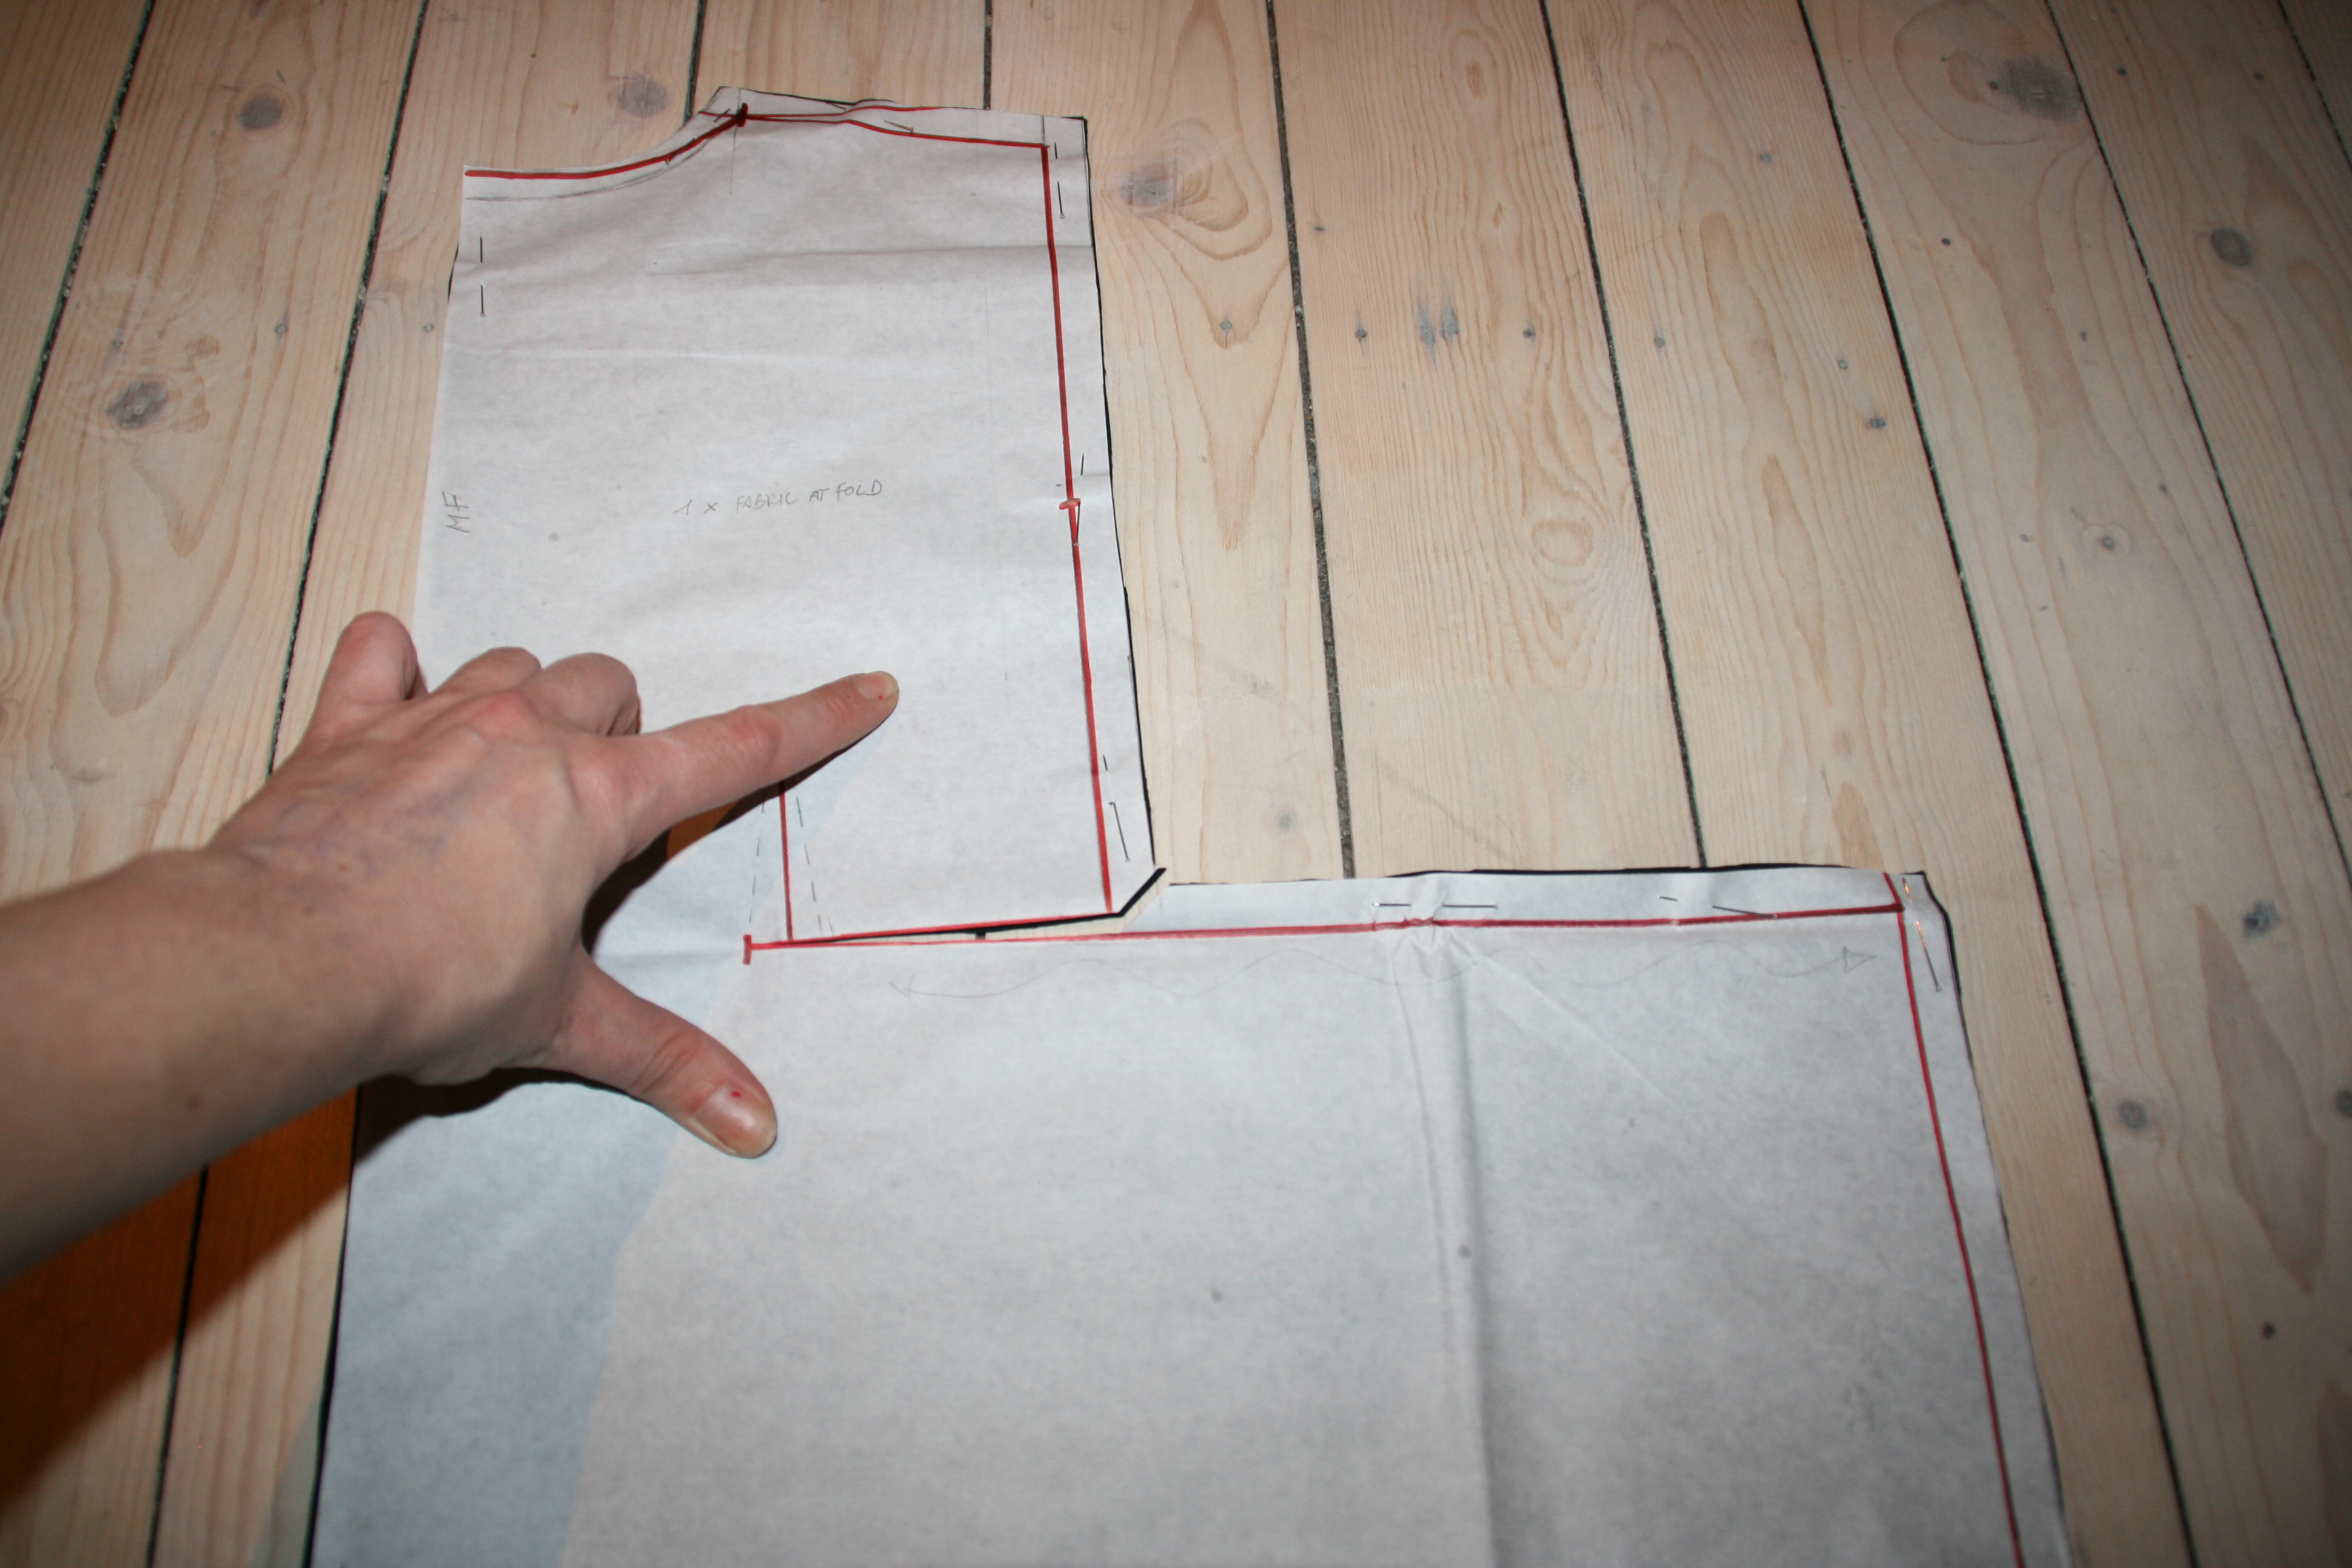
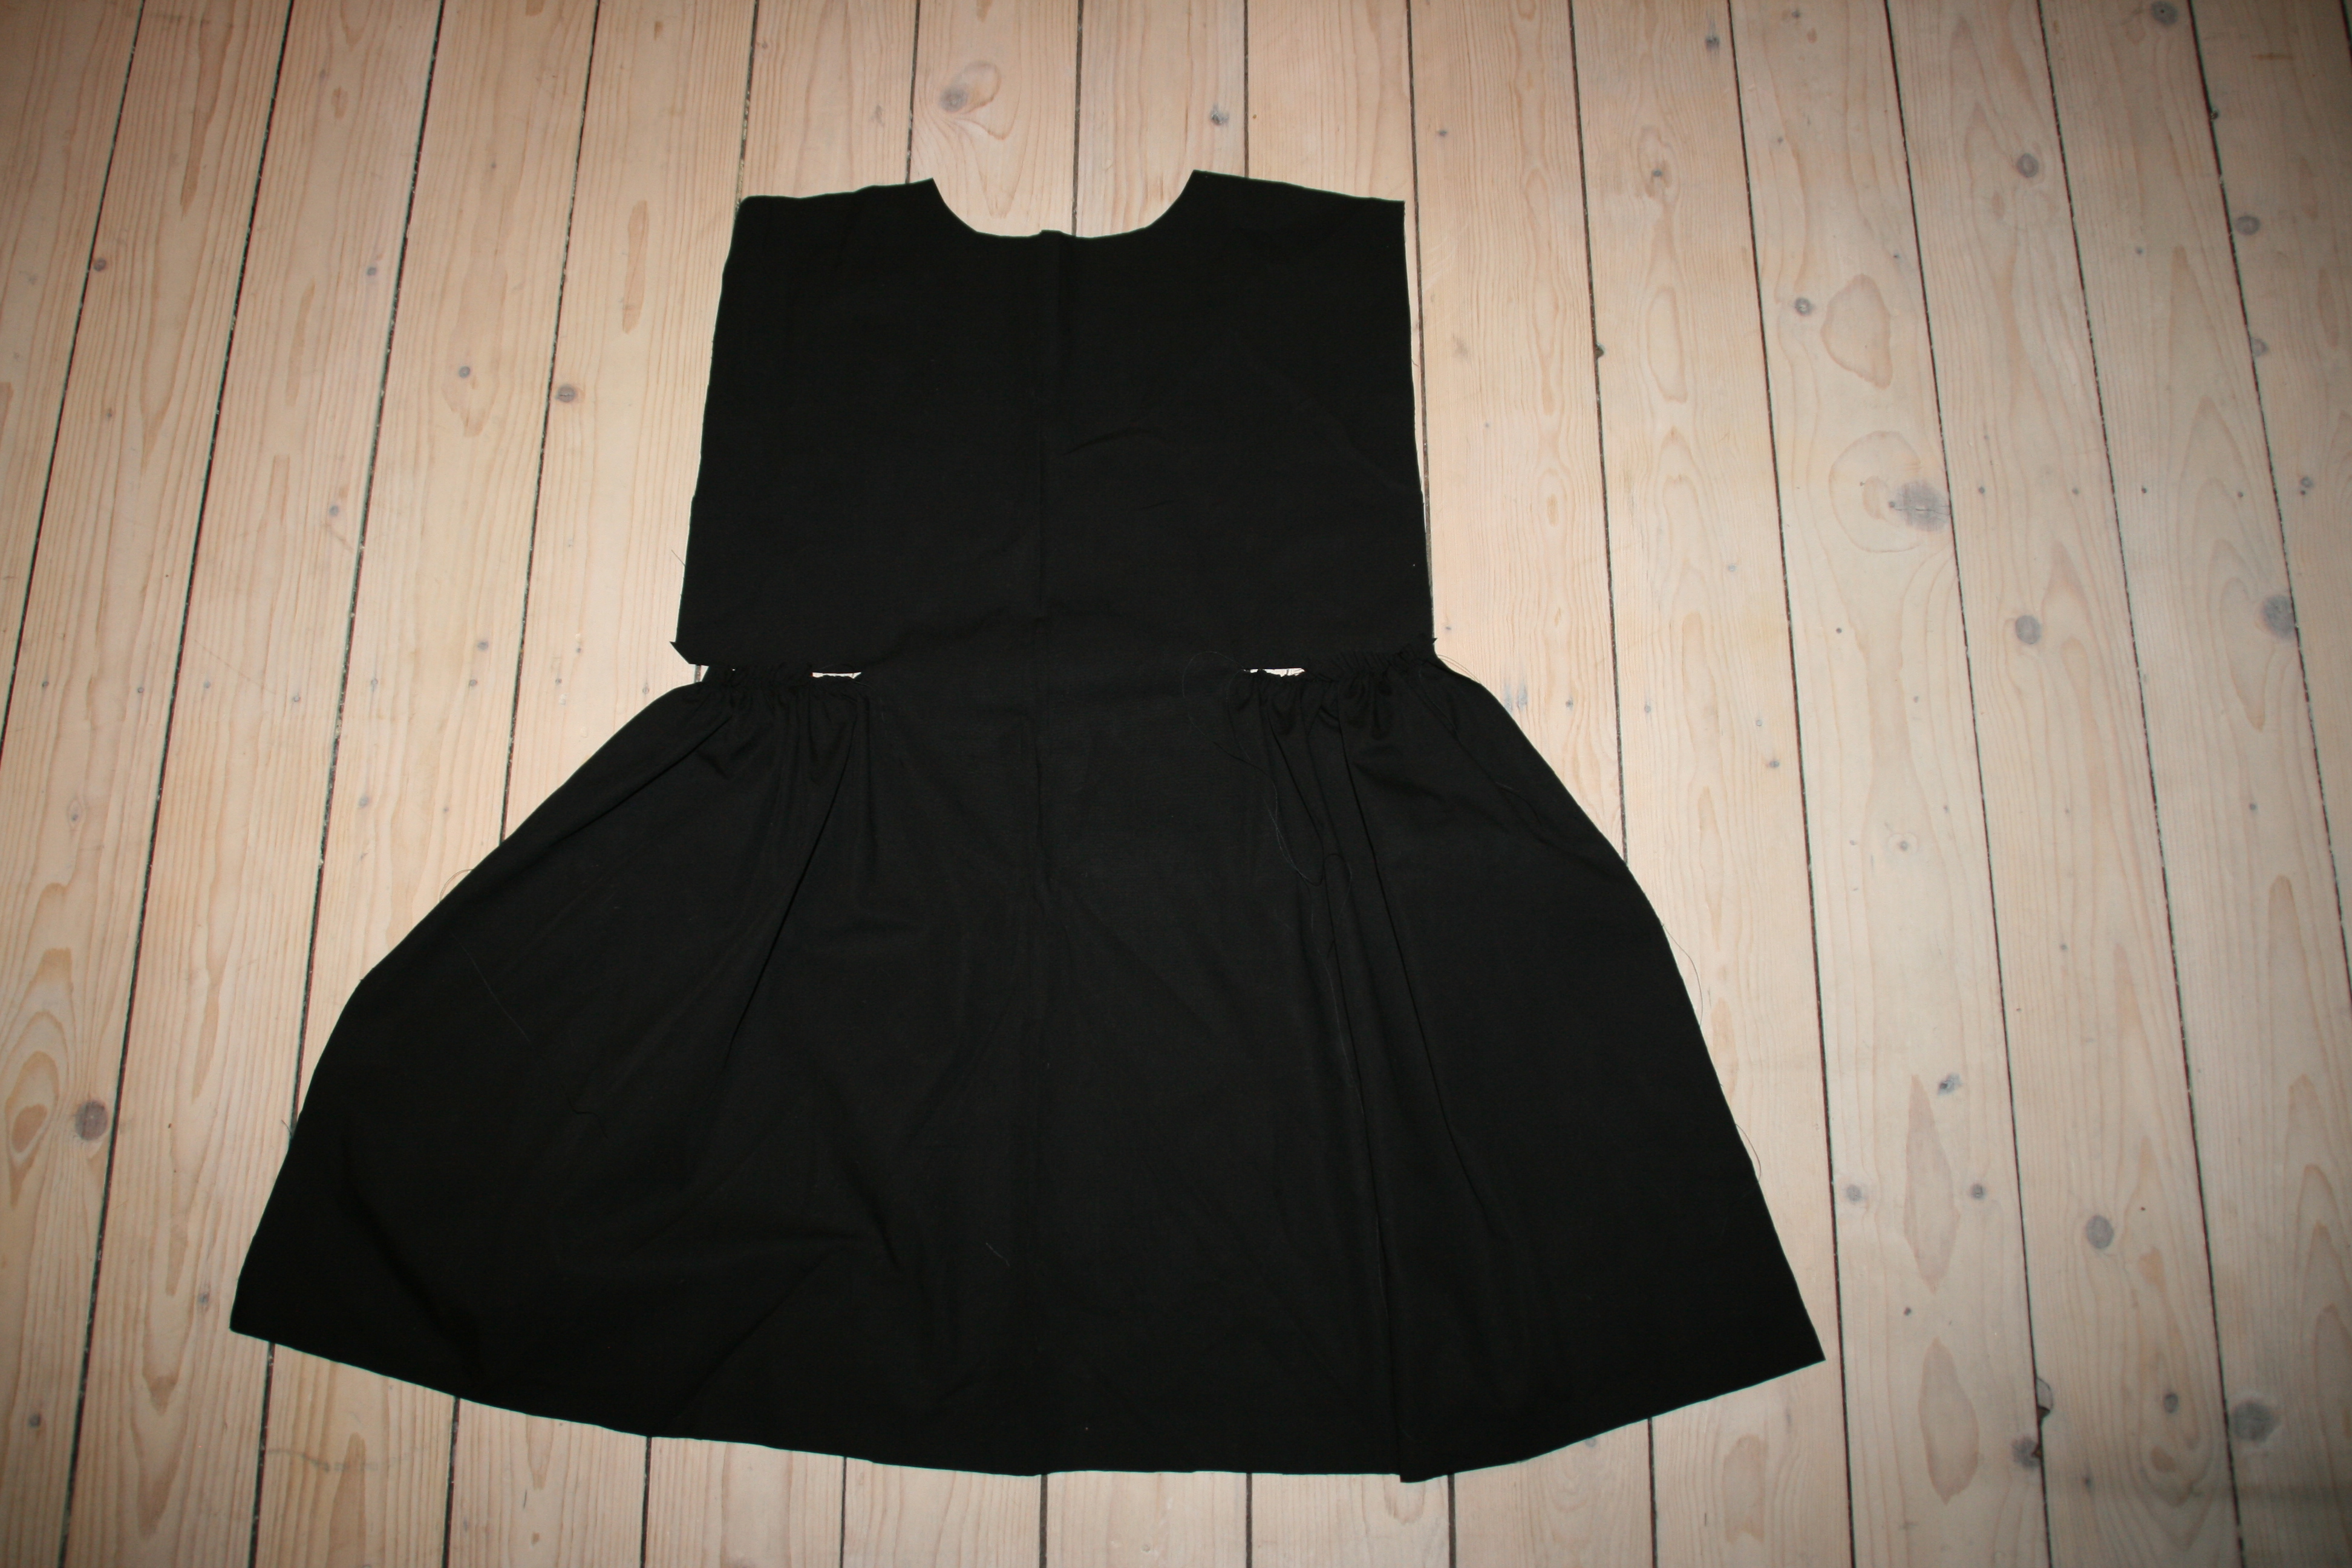
I use a classic bodice for this dress.  The red lines is how I altered the original bodice.  As you can see I added height on the front shoulder seam (2cm) For the back I only copy the lower part of the bodice.  The bodice for this dress is fully lined and small fabric straps insure everything stays in place. (see sketch).  For the skirt I cut 2 rectangles (fabric width x skirt length 36cm) and gather them at the waist before attaching it to the bodice. The hem is finished with a roll seam.

IMG_7309

IMG_7323


IMG_7338

IMG_7340

Standard

Mix and match pencil skirt

different fabrics

I will always have a reason to stash small pieces of leftover fabrics and I believe my excuses are truly valid.  I use leftovers for linings, for contrast trims, for covering buttons, for bows or any other detail I can think of.  Possibly not everyone in our family shares this love, but I love going trough my bits and pieces.  My new pencil skirt is about mixing and matching fabrics within the same colour range.  I used this black and white cotton flower print, mixed with some leftover uni cotton for the waistband and lace to make this design.  At the waistband I sewed on two strokes of a vintage lace ribbon which I found at the fleamarket of ‘Porte de Clignancourt’ years ago.  You see, eventually everything will get its purpose!

IMG_7106B

IMG_7138B

sewing machine

rokjeIMG_7175

Easy pattern DIY: For this skirt I made a slant cutting into a basic skirt pattern .  That’s it!


And one for my instagram followers 😉

mix and match skirt fitting


Standard

Refashion fashion

70’s revival that seamed hot when I was in my twenties made me buy this vintage dress years ago at a thrift store.  It seemed to reappear every now and again but I never wore it so this means something’s wrong.  I can’t help it, and my husband keeps telling me I should, but throwing away clothes is against my nature and everything I stand for. This dress is made by someone once, I can tell by the way it was stitched it was not from a retailer and maybe that someone shared the same passion for fabrics and sewing as I do.  It makes me nostalgic but after all these years this piece of clothing will be ‘remade by me’.

DeocrativeScissors-0610

This is what’s left of my seventies dress after cutting and sewing… see the result below!

leftover dress

sewing machine

I used the basic pencil skirt pattern I made before and just added a waistband, side pockets, a new lining and some pleats at the middle back.

IMG_6193

IMG_6194


IMG_6207

IMG_6214

IMG_6216

The paisley woven fabric is amazing, isn’t it?  I love these kind of fabrics!  I did go all the way with this recycling dress, I even reused the old metal zipper for my new pencil skirt and I still had enough leftovers to create a diamante flower belt.  I have this crazy obsession with belts, I wear a different one every day, one more to add to my collection…

silver lame flowers

Follow my  instagram pics and see what I’m up to!

silver lame skirt2


Standard

A basic top

tank top black

An easy pattern and some 20 minutes of sewing, that’s what it took to make this basic top.  It’s just such a great and simple addition to every girl’s wardrobe that I wanted to post it here.  The embellishment on the other hand took more of my patience.  At least it’s a nice way to spend your evenings watching your favourite late night series without feeling to guilty…

making beaded strings beaded ribbons

I’m using these silver coloured beads and sew them onto a satin ribbon by hand.

tank top beads

I made enough beaded ribbons to make 2 braids.  I sew the embellishment on both shoulders by hand.

pattern tank top

This is how I drafted my basic top pattern:

I started the pattern with the measurements from my chest, hips and length.  Because I’m using a non stretch fabric and I don’t want to use a zipper or buttons I need to add 6cm at chest and hip width.  Of course I want to avoid any problems putting the top on afterwards and at the same time I want to create a loose fit.

IMG_4678  IMG_4679

I draft the neckline and the armhole from front and backside.  I cut the pattern in the middle front and reassemble it at the side seams.  Now I can check if the armhole is looking as one fluid line.

tank top pattern

Adding seam allowance.

IMG_4788

I surge all seams and sew the top.  The armhole and neckline are finished by sewing closely to the seam.

This is my basic top pattern, as you can see it’s probably the simplest pattern ever!


Standard

The zigzag dress

IMG_6386

The weather is finally improving and so is my mood for sewing.  Although this means I’m spending more time behind my sewing machine rather than enjoying a gin tonic on my terrace…  But that’s okay, I’m just enjoying it so much.  Nice weather calls for sweet summer dresses!  I’m reworking the LBD I made a few weeks ago in a summer version of colourful Zigzag stripes, adding some contrast ribbon and using my daughter as my muse.  Fortunately she’s enjoying it as much as I do…

IMG_6326

The pattern is the same as the black button dress, but now I’m using a red cotton ribbon to finish the seams at the waist.

IMG_6331  IMG_6333  IMG_6339

I stitch the ribbon onto the bodice and onto the skirt to create a contrasting detail at the waist .  After that I stitch the vertical dart, the ribbon ends are now nicely finished between this seam.

zigzag dress with fake collar  my girl wearing the zigzag dress

I had a last minute inspiration and created a fake collar with the leftover from the cotton ribbon, I thought it would look great with the zigzag print.

IMG_6394 IMG_6424

IMG_6450 IMG_6488

IMG_6408

So proud of my work, I’m having this gin tonic after all!

Standard

Hello Kitty Cat

kitty cat playsuit

My daughter has a cat project at school and they should bring all sorts of cat related things.  They can even bring their own cat but that’s not an option here, our cat is a little like Garfield, seriously fat but hardly that funny.  I thought a cat mask would be cute and it was actually on my things-to-do-in-this-life-list.  An easy sewing tutorial that will find its way to our beloved costume suitcase.

sewing machine

IMG_5824

Some Cat mask sketches…

IMG_5845

IMG_5850

Choosing the right pattern and fabric. (This book with Katharine Hepburn in it was laying around, just thought it would make a nice background)

IMG_5852IMG_5853  IMG_5860

The cat mask is made in two separate pieces so I don’t get all confused with the eye cut-out when turning the fabric inside out .  I stuff both pieces and sew them together by hand. Finishing it off with a lace trim and some sequins and finally adding an elastic band to keep it in place.
IMG_6045b

And why not make a complete set?

1902847_10152013307903995_1508968473_n

IMG_5912c

We have a black and white cat obviously…

kitty cat and butterfly

My Kitty Cat pinterest moodboard…

Standard

The little little black dress

tutorial LBD little girl  black buttons

Here it is, (finally, after caught up with work) : ‘the LLBD’.  It started with some leftover black buttons, some yards of black popeline and the urge to combine this somehow.  I know, using black for a little girl is somewhat unusual but this dress looks so adorable on her.  It’s amazing how this easy pattern resulted in such a well fitted dress, and in my mind it’s the LBD ‘Audrey’ would have liked as well.

sewing machine
IMG_5676      IMG_5677  pattern lbd

The few measurements I took were her tummy, neckline and the length.  I started from a rectangle based on the dress length and the skirt width.  Half way the rectangle I marked the waist and from that point I drew the bodice shaping a smaller rectangle.  Then adding darts, a neckline and armholes.  Easy, no?

IMG_5686

For the back I copied the front pattern, adding 1cm of seam allowance at the centre back.   I made a facing for the neckline and armholes.

IMG_5692

When cutting the pattern I cut into the front part until the dart.

IMG_5697

The  waist is gathered to fit the bodice and sewn together.  Afterwards I sew the darts.

IMG_5708

This looks nice already, doesn’t it?

IMG_5713

I sew the shoulders and facing.  It would have been easier to use a binding to finish the dress but this way I create a more sophisticated look.

IMG_5717

I sew the side seams and hem.  I prefer a hem with enough seam allowance,  5cm for this dress.

IMG_5719

I added loops at the shoulders to narrow the shoulder width. To make this dress more glamorous I sewed on large black buttons around the neck opening.  These buttons never seemed to have found there way back to the original clothes but hey, this is much more fun!

audrey-hepburn-fancy-dress-costume-idea

Love You Audrey, xxx

Standard