Refashion fashion

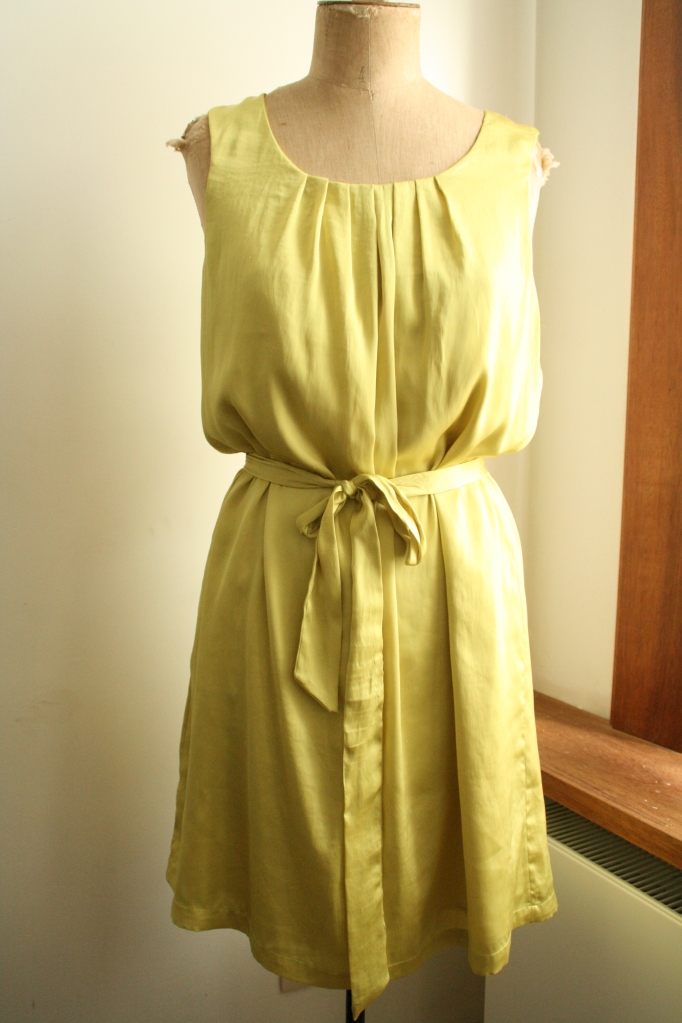
70’s revival that seamed hot when I was in my twenties made me buy this vintage dress years ago at a thrift store.  It seemed to reappear every now and again but I never wore it so this means something’s wrong.  I can’t help it, and my husband keeps telling me I should, but throwing away clothes is against my nature and everything I stand for. This dress is made by someone once, I can tell by the way it was stitched it was not from a retailer and maybe that someone shared the same passion for fabrics and sewing as I do.  It makes me nostalgic but after all these years this piece of clothing will be ‘remade by me’.

DeocrativeScissors-0610

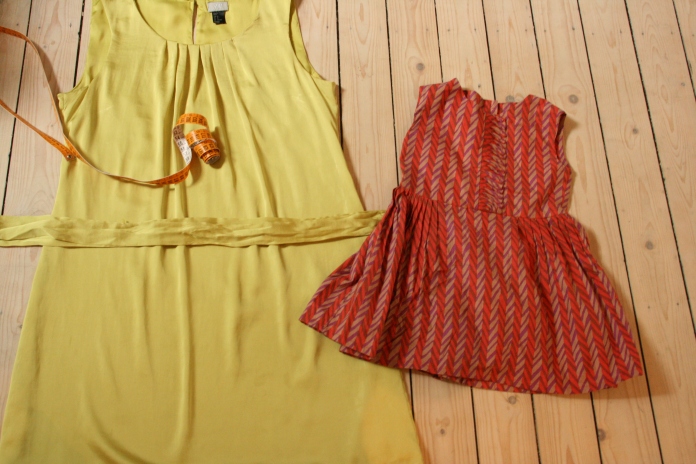
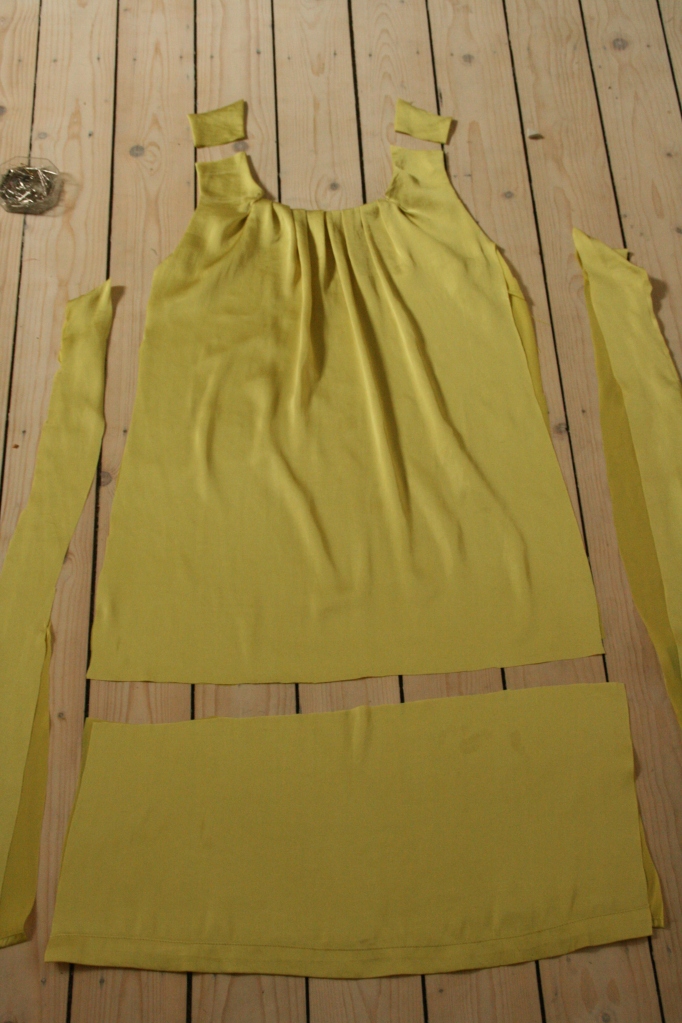
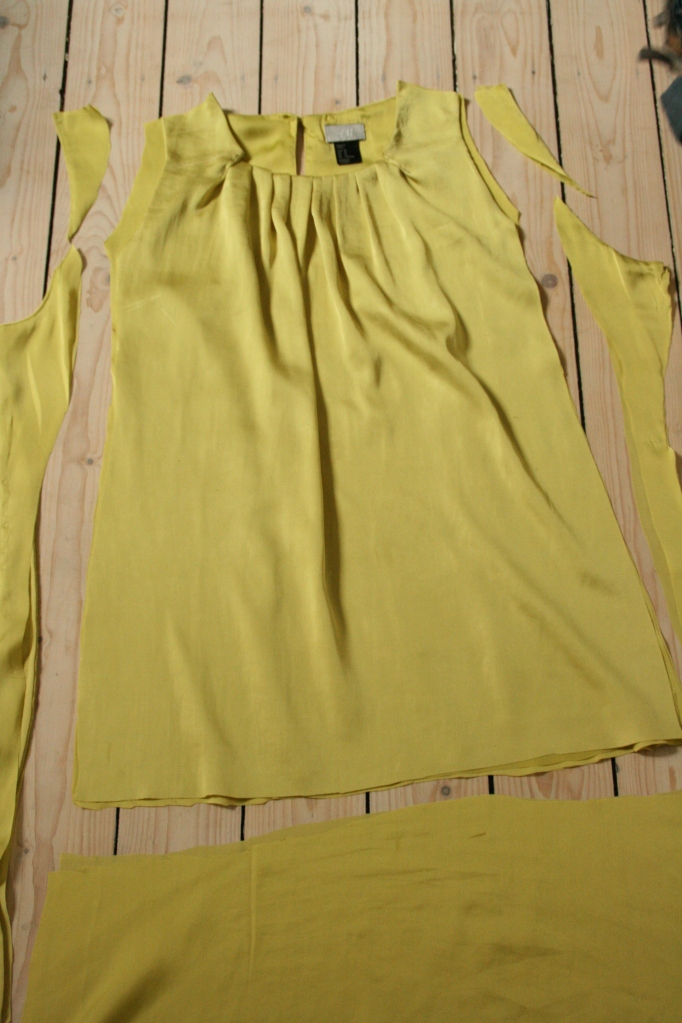
This is what’s left of my seventies dress after cutting and sewing… see the result below!

leftover dress

sewing machine

I used the basic pencil skirt pattern I made before and just added a waistband, side pockets, a new lining and some pleats at the middle back.

IMG_6193

IMG_6194


IMG_6207

IMG_6214

IMG_6216

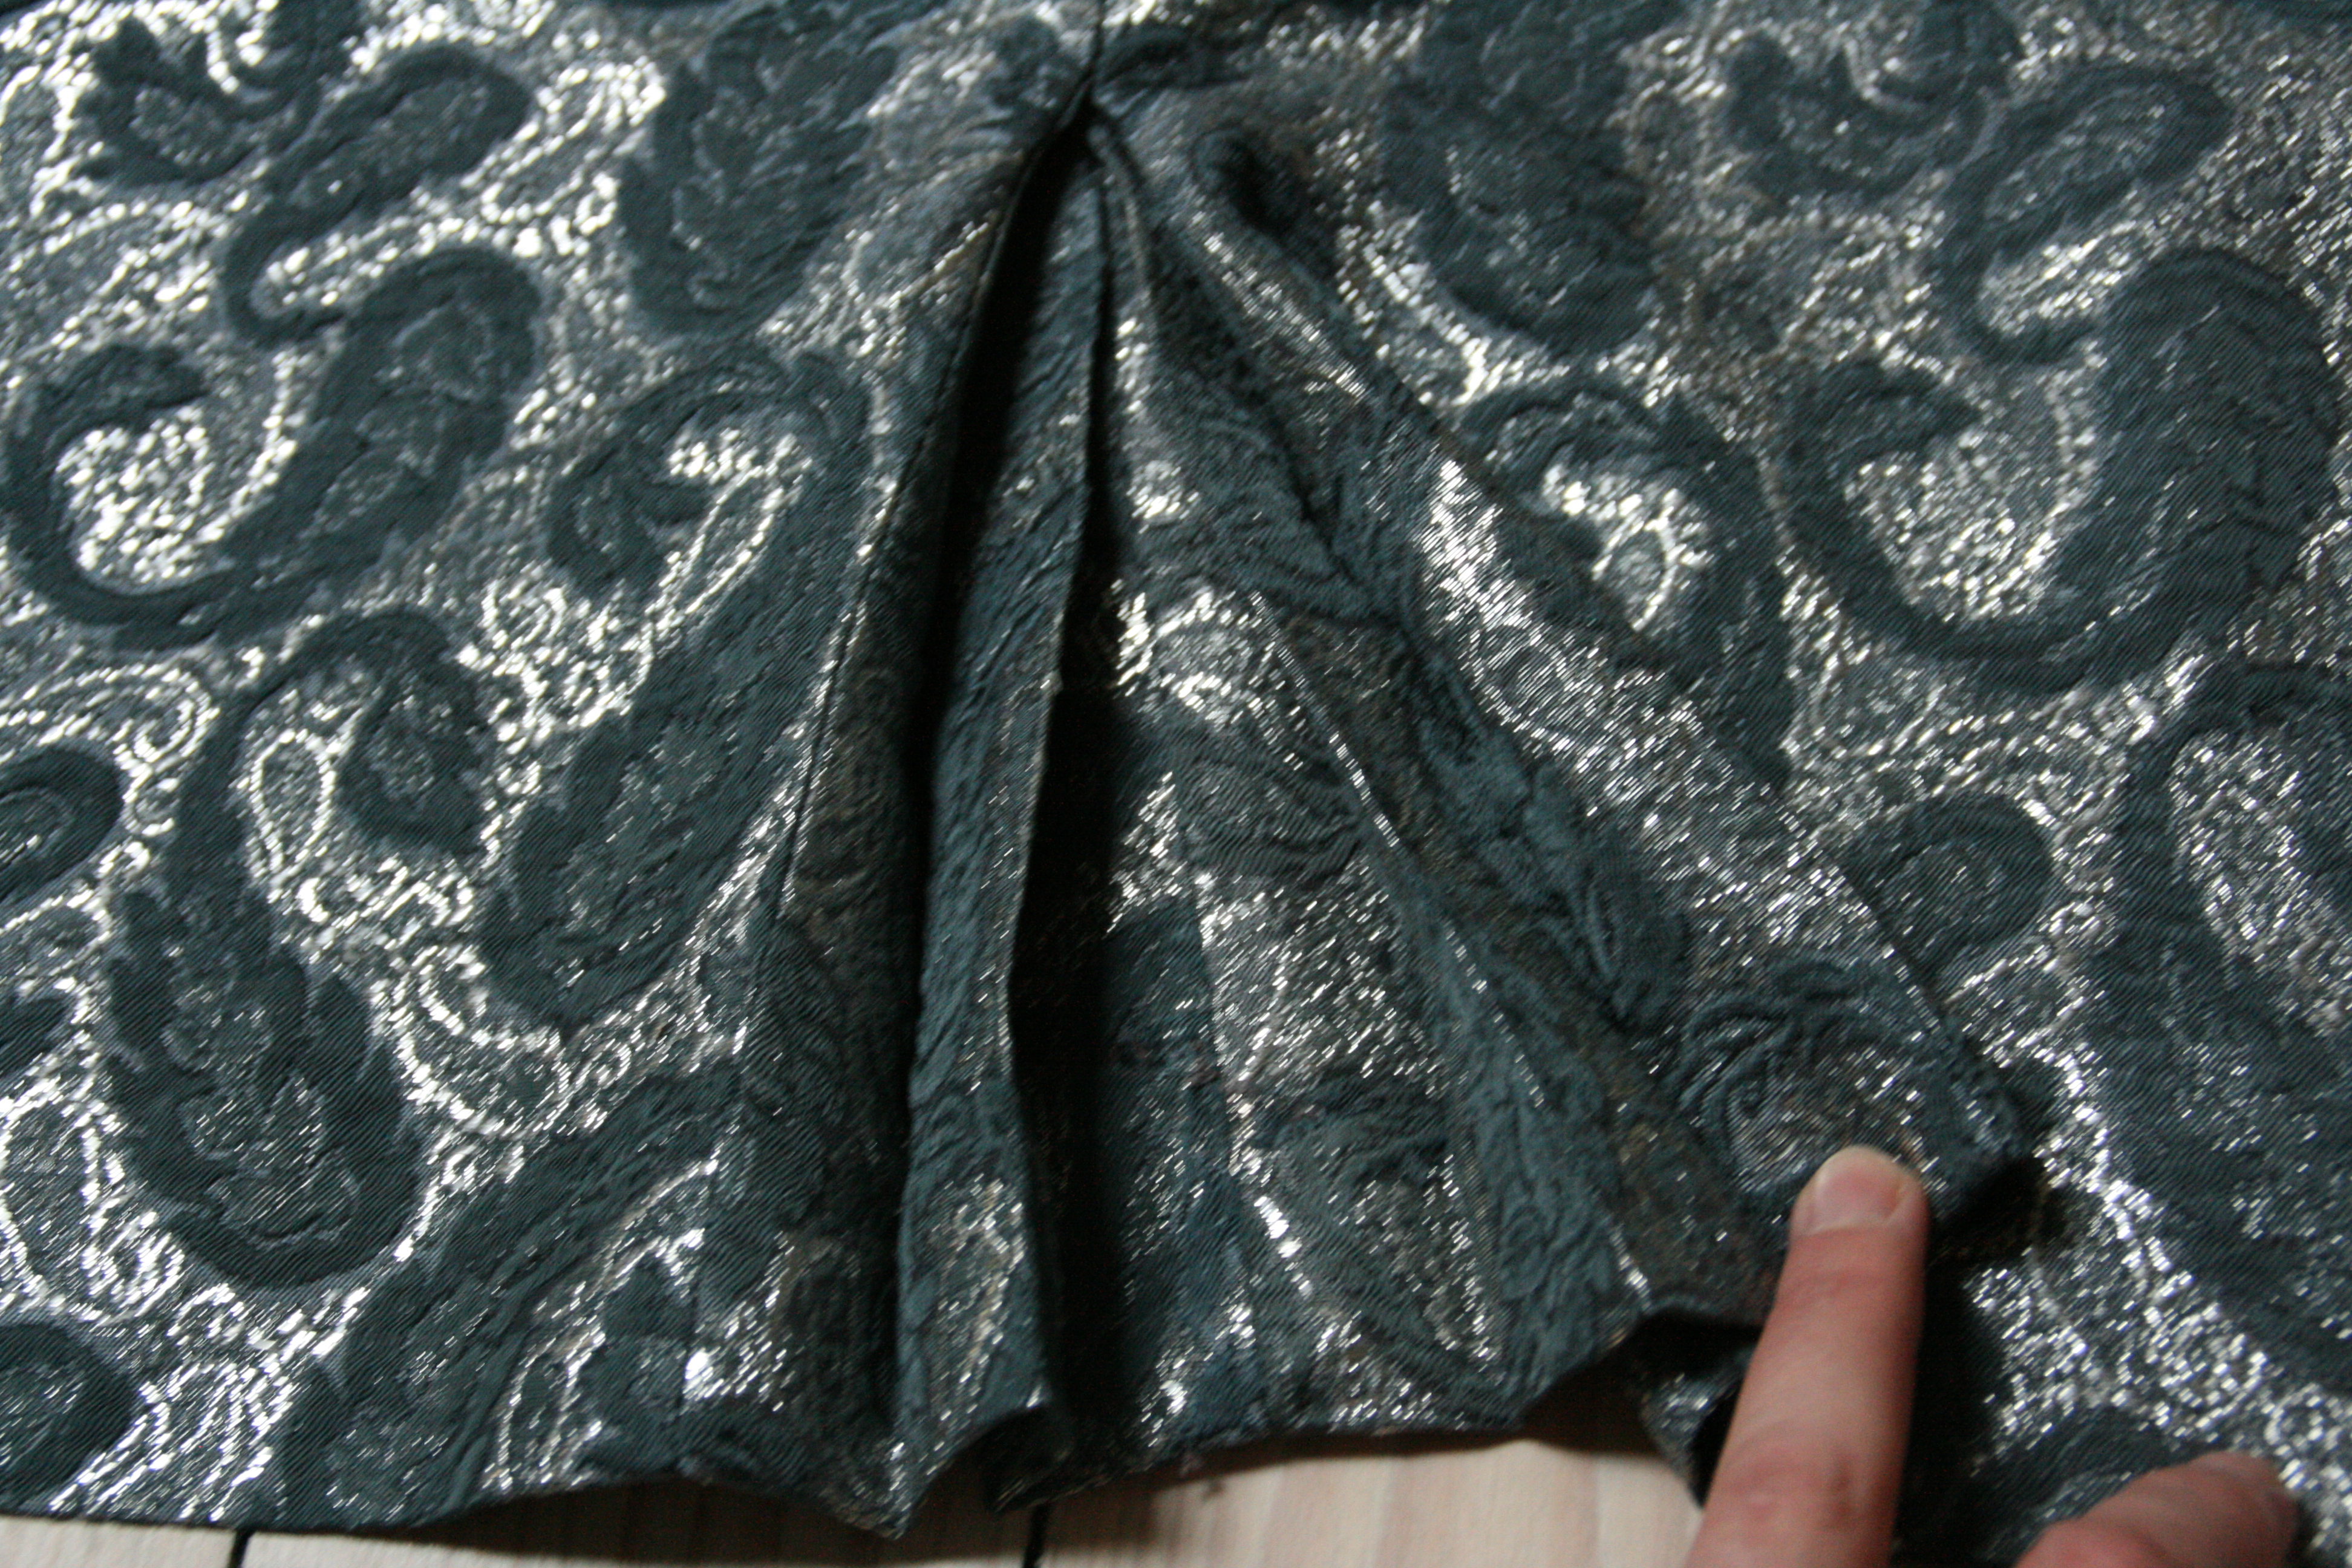
The paisley woven fabric is amazing, isn’t it?  I love these kind of fabrics!  I did go all the way with this recycling dress, I even reused the old metal zipper for my new pencil skirt and I still had enough leftovers to create a diamante flower belt.  I have this crazy obsession with belts, I wear a different one every day, one more to add to my collection…

silver lame flowers

Follow my  instagram pics and see what I’m up to!

silver lame skirt2


Standard

Old one out, new one in!

IMG_4884

There are dresses hanging in my wardrobe for ages waiting to be worn again.  I keep pulling them out and hanging them back, wrong colour, wrong shape, wrong something are keeping me from wearing them again.  I never get rid of them and it seams funny somehow in this throw-away society and fast fashion decade.  It’s against my nature and my love for clothes to remove them but keeping things is also holding on to the past.  Sometimes it’s good to let go though, finally I will repurpose this lime dress.  My daughter will look absolutely stunning in this colour.

sewing machine

IMG_4889

I start by comparing all measurements of my dress with her dress.  I think it’s good to keep as many seams from the original.  It will spare me some time but also avoid damage on the fabric.  I decide to keep the original neckline because of the pleating and the back slit.

IMG_4894

The front and backside of the dress are separated by cutting the side seams and shoulders.  As you can see the lining is still fixed at the neckline.

IMG_4896

I cut of at the shoulders to make a smaller neck opening.  From the new shoulder I measure the total length (+3cm seam) I need for the little dress and cut of the hem.

IMG_4899

To make a smaller armhole I have to reduce the width. I’m cutting of at the side seams.

IMG_4901

The neckline was still too big and I resolved this by adding an extra pleat with a topstitch on both sides.  When repurposing old clothes you need to be inventive and find creative solutions because the dimensions will never be perfect.  That’s what’s actually the most fun.  You can never entirely predict your end result.

IMG_4904

The most tricky part is to assemble everything in a beautiful manner.  I close side seams from the outer shell fabric and the lining separately.  After that I finish the armhole by stitching the fabric and the lining together from the inside.

IIMG_4985

The neckline was still too wide, I added more pleats at the middle front and topstitched it.

IMG_4996

And finally I make a tunnel at the waist for the fabric belt.  I start by making a buttonhole at the middle front in the upper fabric layer.  Then I stitch on top of both layers (lining + fabric) creating a tunnel.  I shortened the original belt length and pull it trough the buttonhole.  After that I finish the hem of the fabric and lining separately.

repurposed dress

My little girl has a new dress to enrich her wardrobe and it doesn’t seem like there’s something missing in mine.

xxx

Made By Me

Standard

Refashioned bangles

I’ve been working on several projects the last week and it seems like I’m not getting anything finished.  So while my sewing machine is doing overtime I’m posting something without electricity, just a bit of sewing by hand and using my beloved tube of Pattex.  My bangles are totally ready to get a new skin!

DeocrativeScissors-0610

IMG_4874

I measure the total width of fabric I’ll need for covering the bangle.  I’m including 2cm extra for seam allowance.

IMG_4876

I’m cutting a piece of my beautiful Zara scarf.  Don’t worry, I’ll be fixing it as before!

IMG_4881

The fabric is glued onto the bangle at one side with some tape so it doesn’t slip whilst sewing.

IMG_4882

Using small hand stitches I’m covering my bangle hiding the seam allowance at the same time.  When I’m finished sewing I twist the fabric around until the seam is hidden from the inside.  My matching bangle is finished!  Up to the second one…

IMG_4928

A piece of real snakeskin I bought some years ago on a flea market has finally found its purpose.

IMG_4939

I measure the bangle and cut 2 strokes out of the leather not adding any seam allowance.

IMG_4940

Yep, Pattex again!

IMG_4941

I’m pulling the skin around the bangle and leave it to dry.

IMG_4943

IMG_4950

I take the second piece and cut the edge following the structure of the skin.

IMG_4952

As I’m sticking on the other piece I try to match the snakeskin pattern as well as possible.

IMG_4954

I cut the loose edge every 1,5cm towards the bangle and smear on some more glue.

IMG_4955

The strokes are pushed tightly against the inside of the bangle on both sides.

snakeskin bangle

Mixing and matching it with my other bangles…or pumps for that matter…

fabric bangle

Standard