A basic top

tank top black

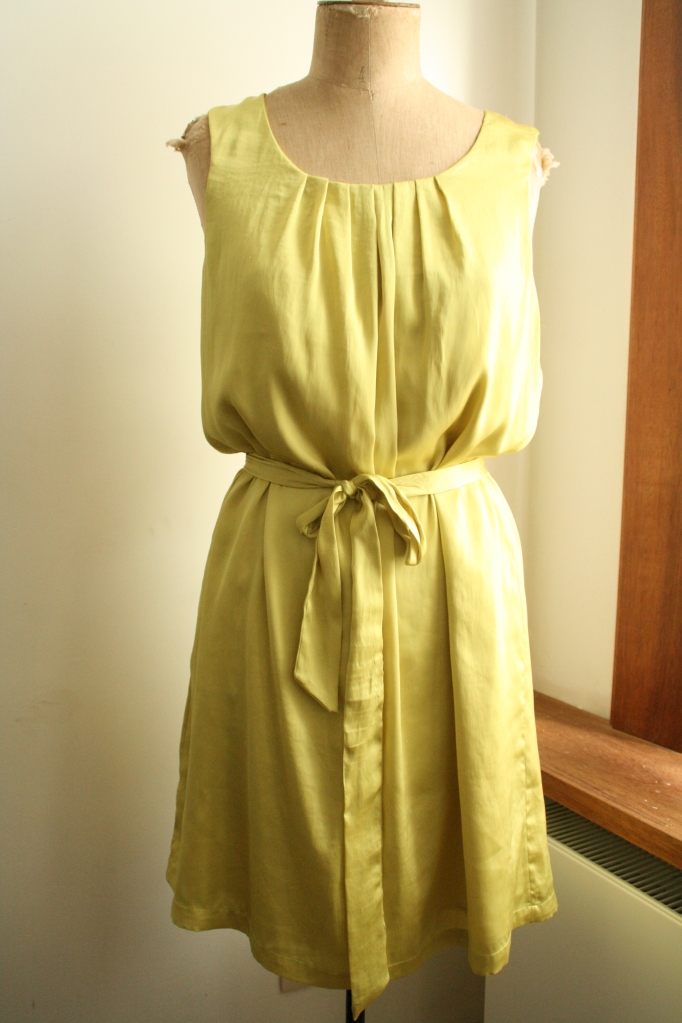
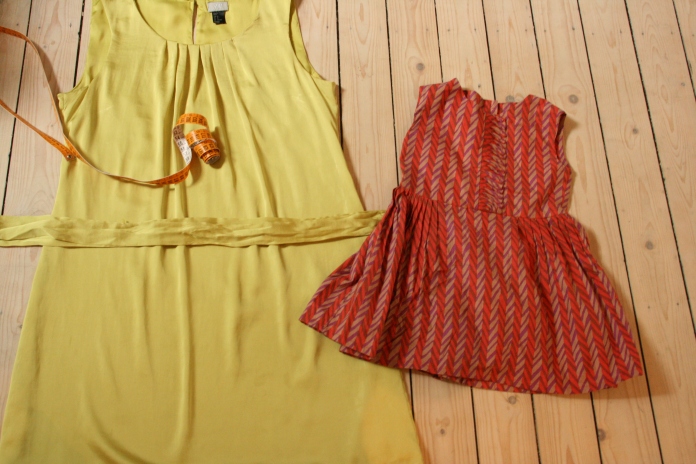
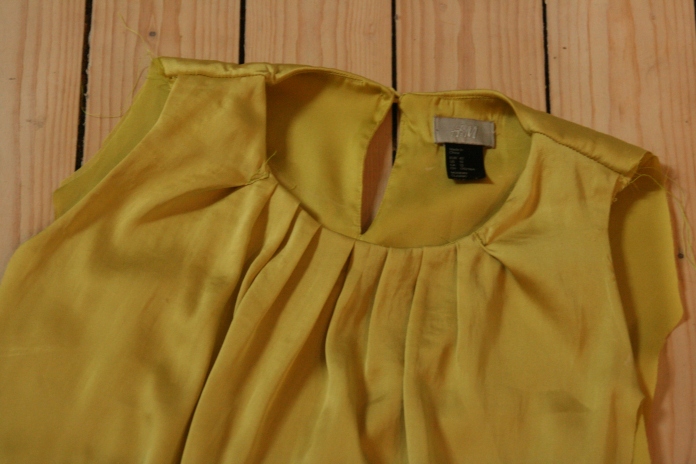
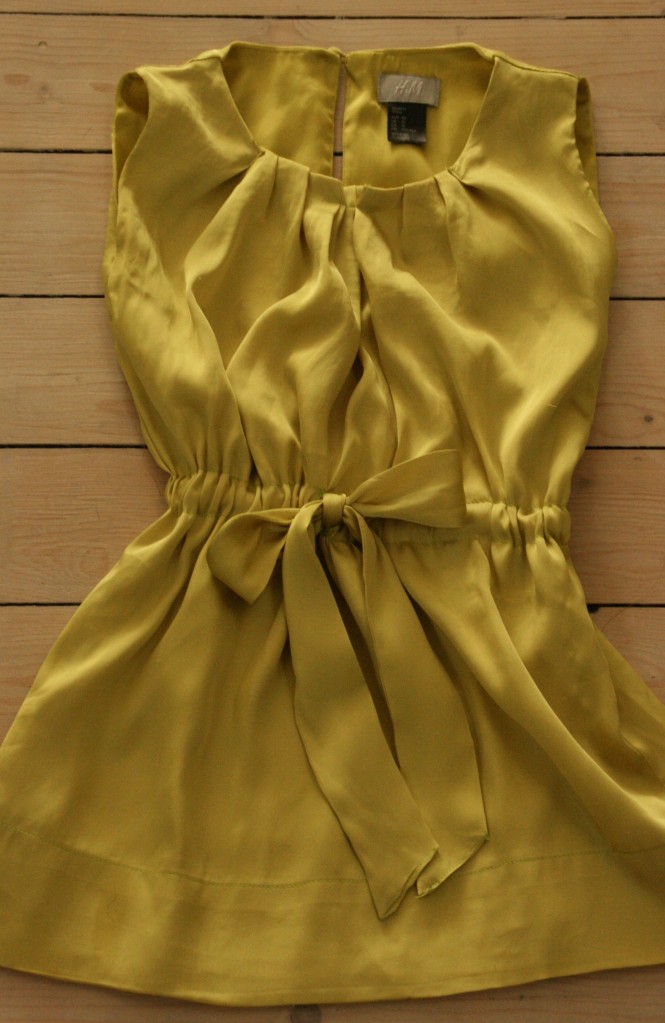
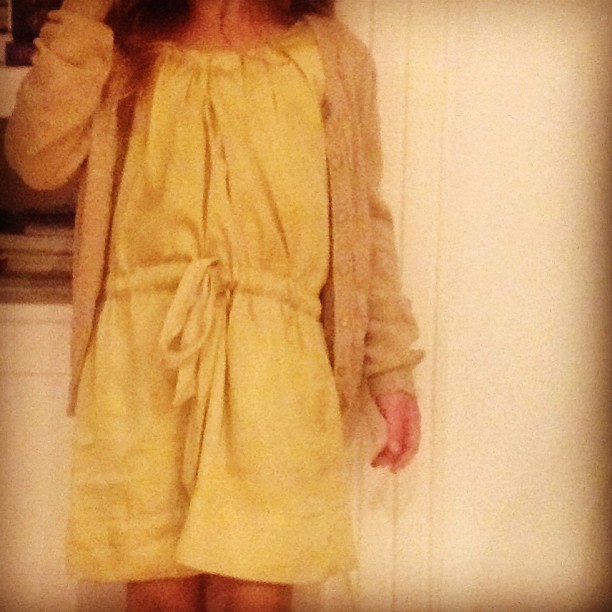
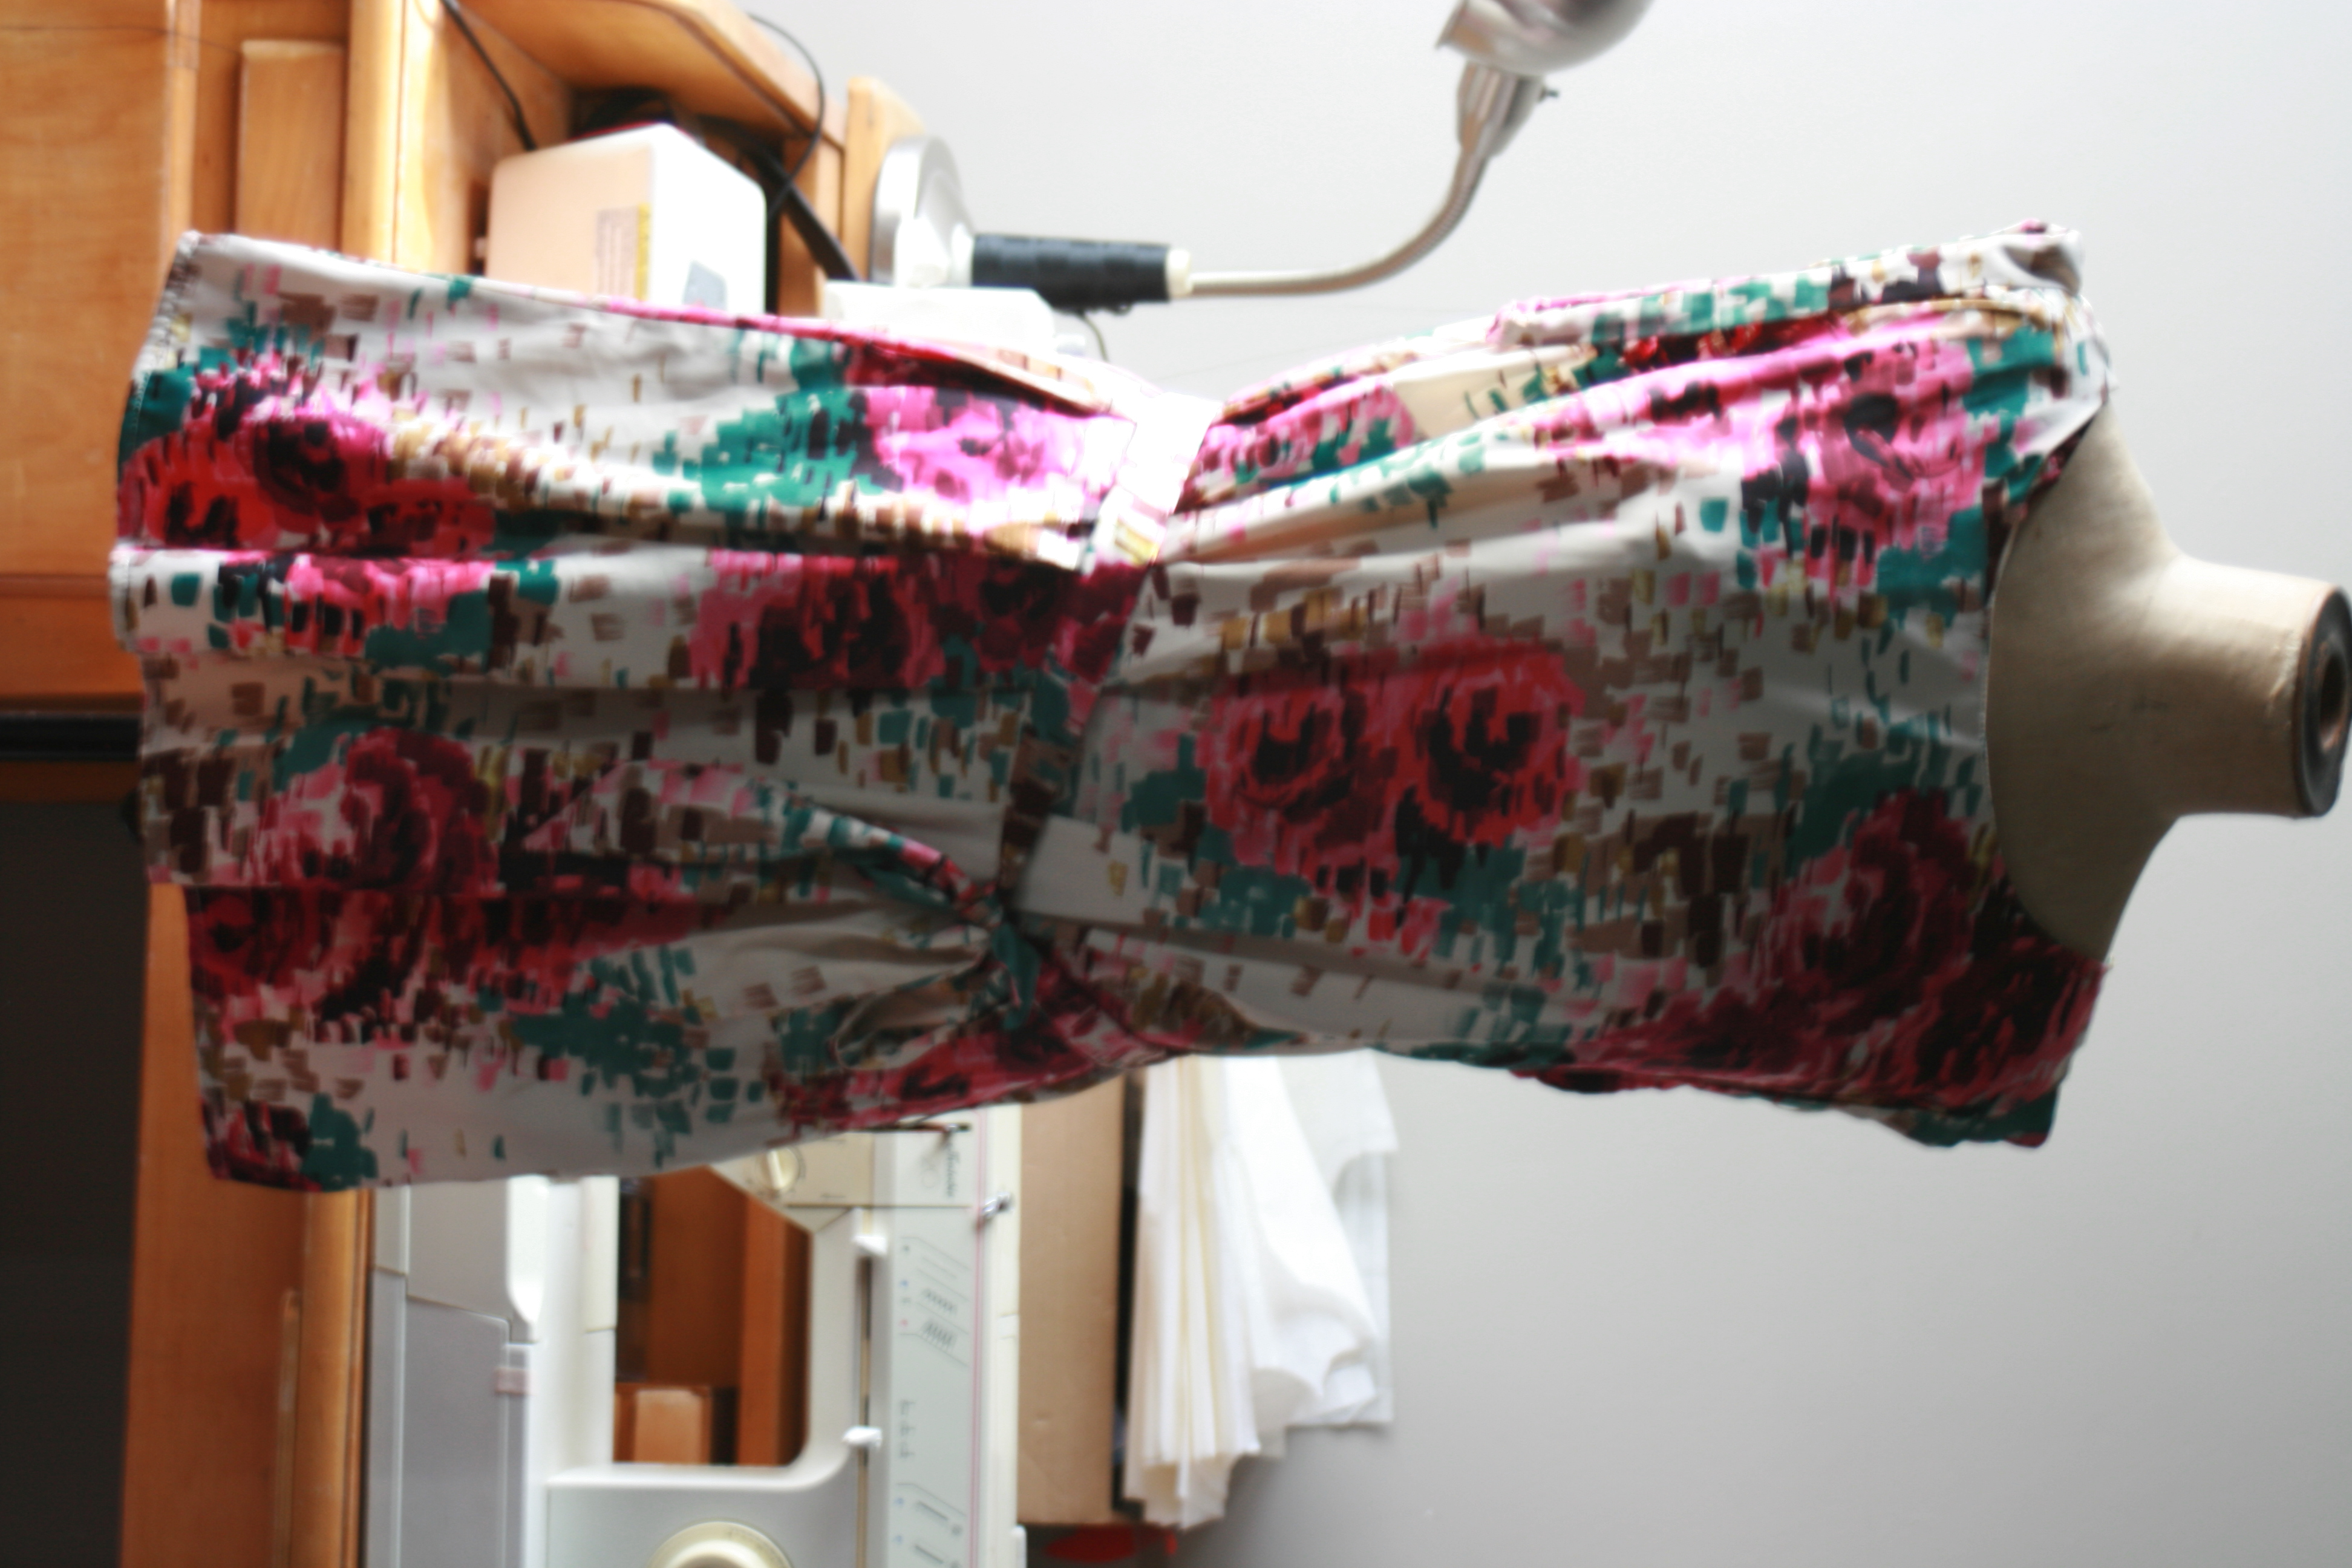
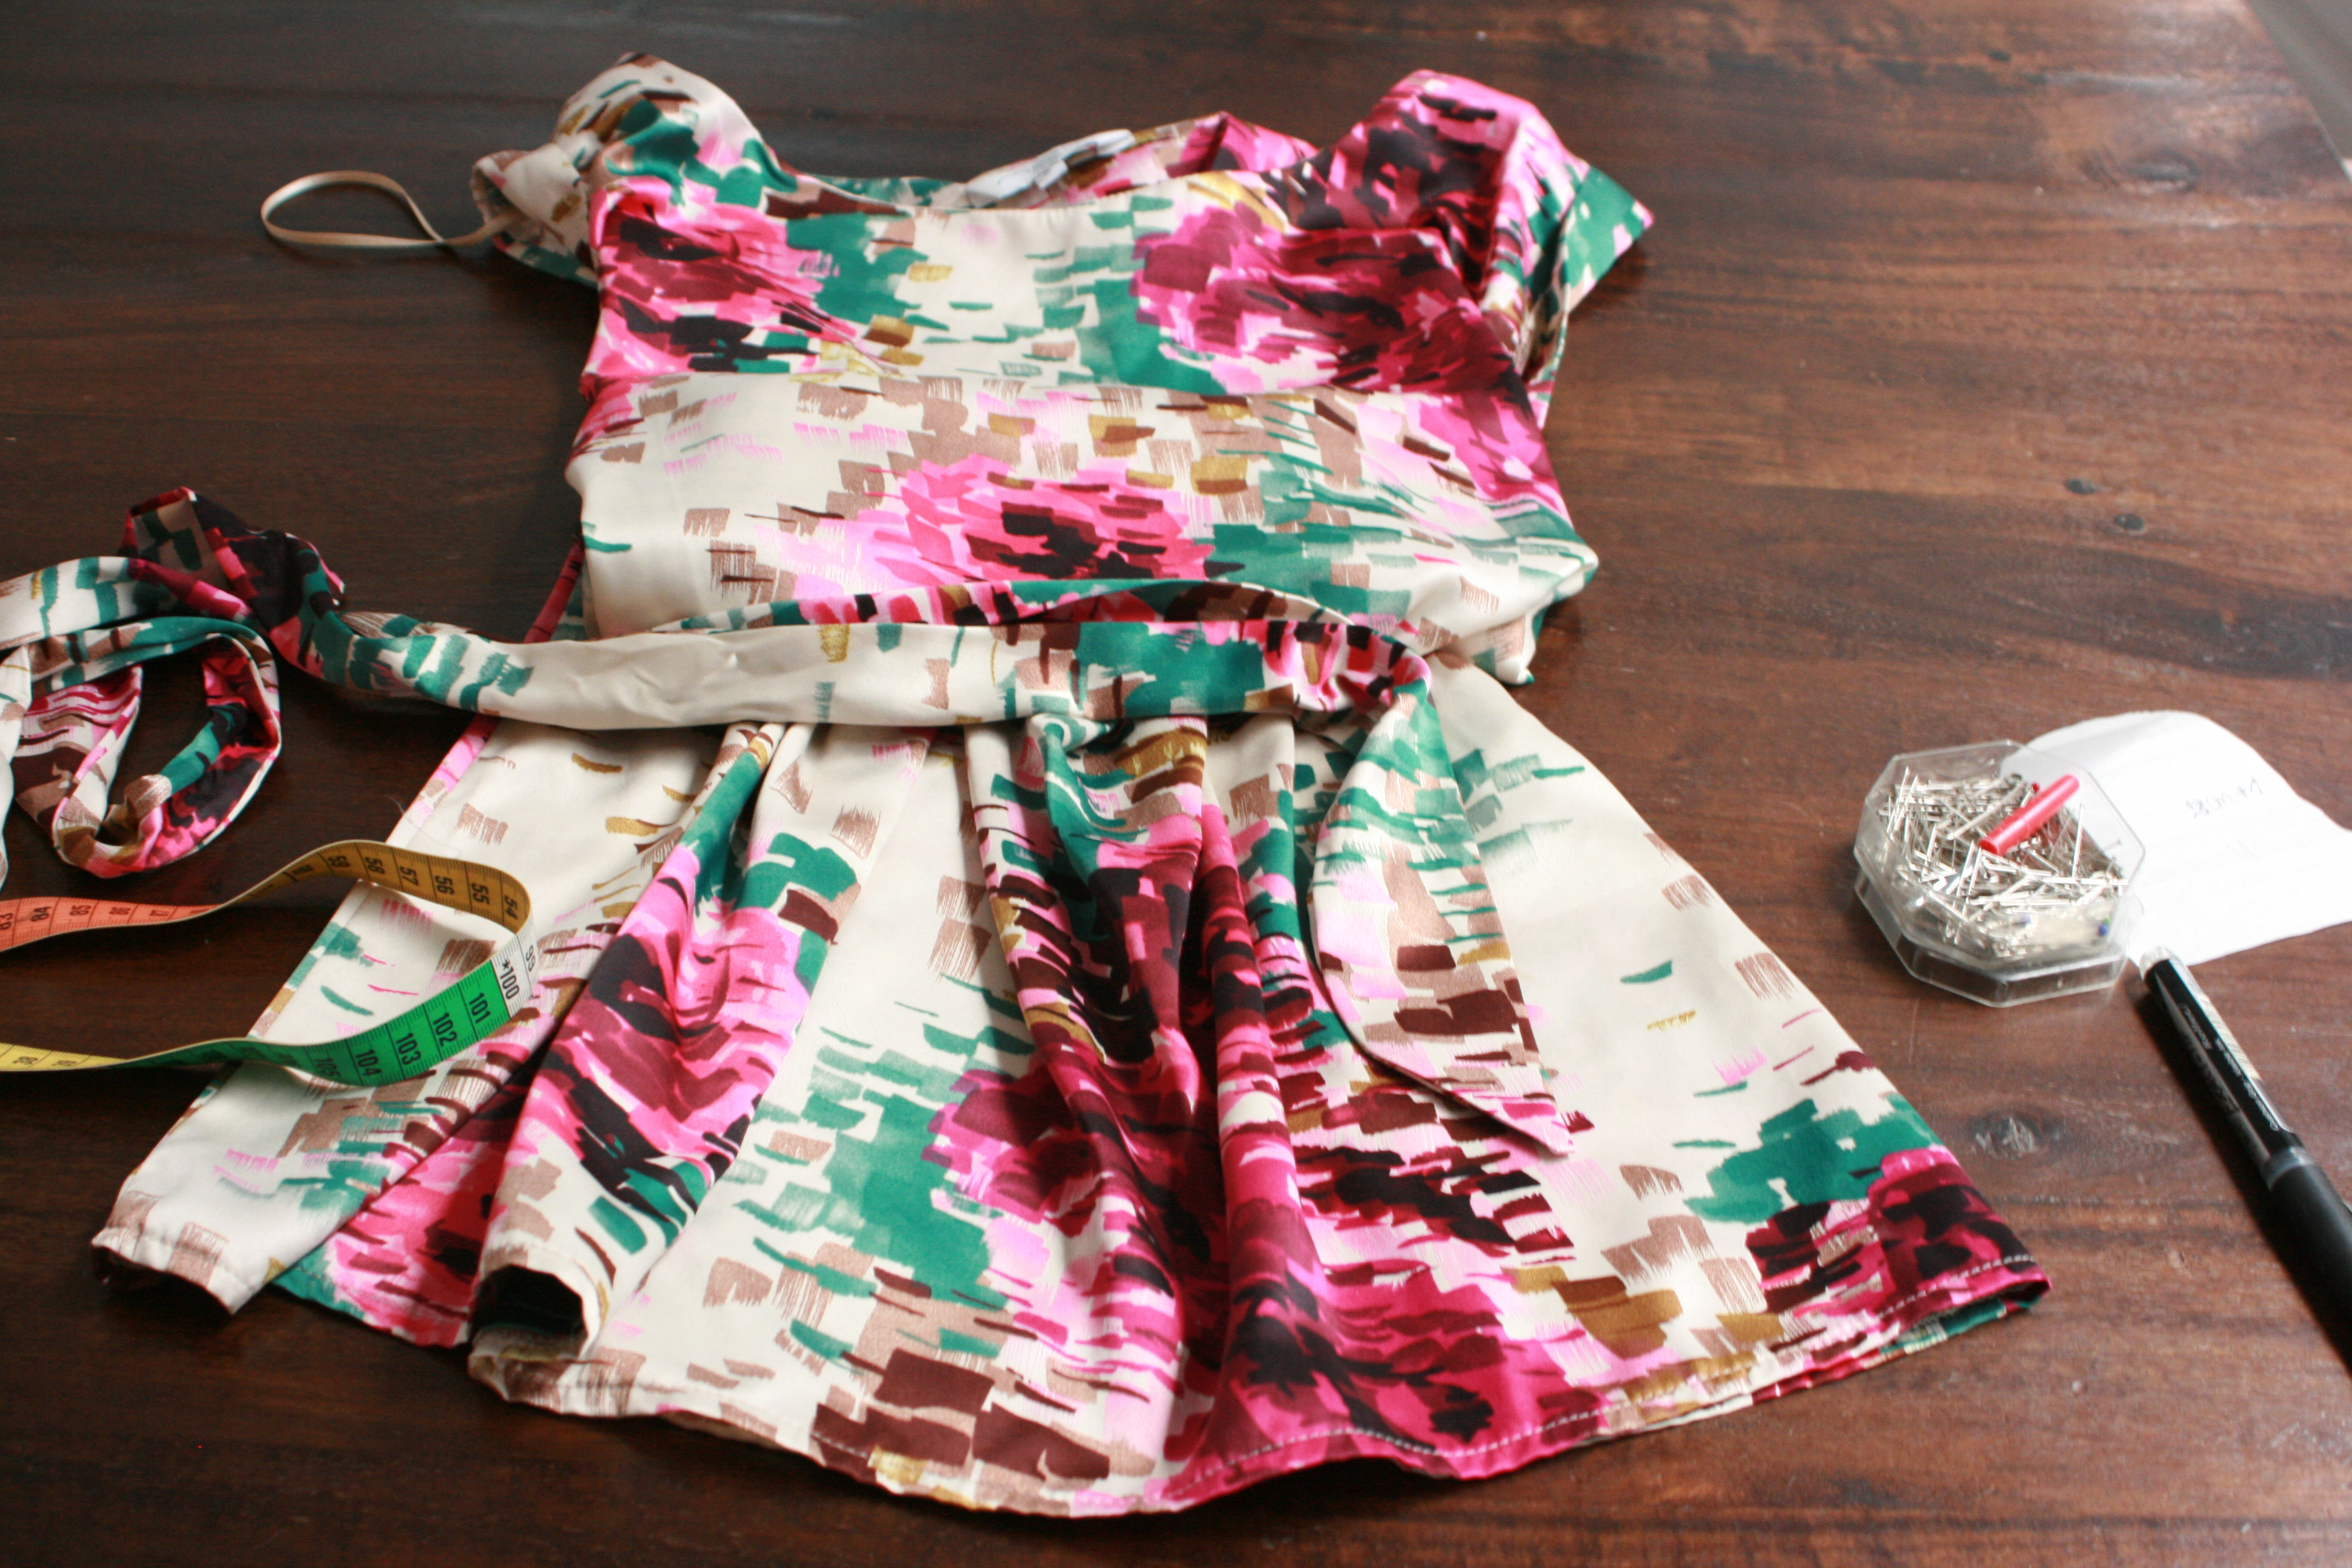
An easy pattern and some 20 minutes of sewing, that’s what it took to make this basic top.  It’s just such a great and simple addition to every girl’s wardrobe that I wanted to post it here.  The embellishment on the other hand took more of my patience.  At least it’s a nice way to spend your evenings watching your favourite late night series without feeling to guilty…

making beaded strings beaded ribbons

I’m using these silver coloured beads and sew them onto a satin ribbon by hand.

tank top beads

I made enough beaded ribbons to make 2 braids.  I sew the embellishment on both shoulders by hand.

pattern tank top

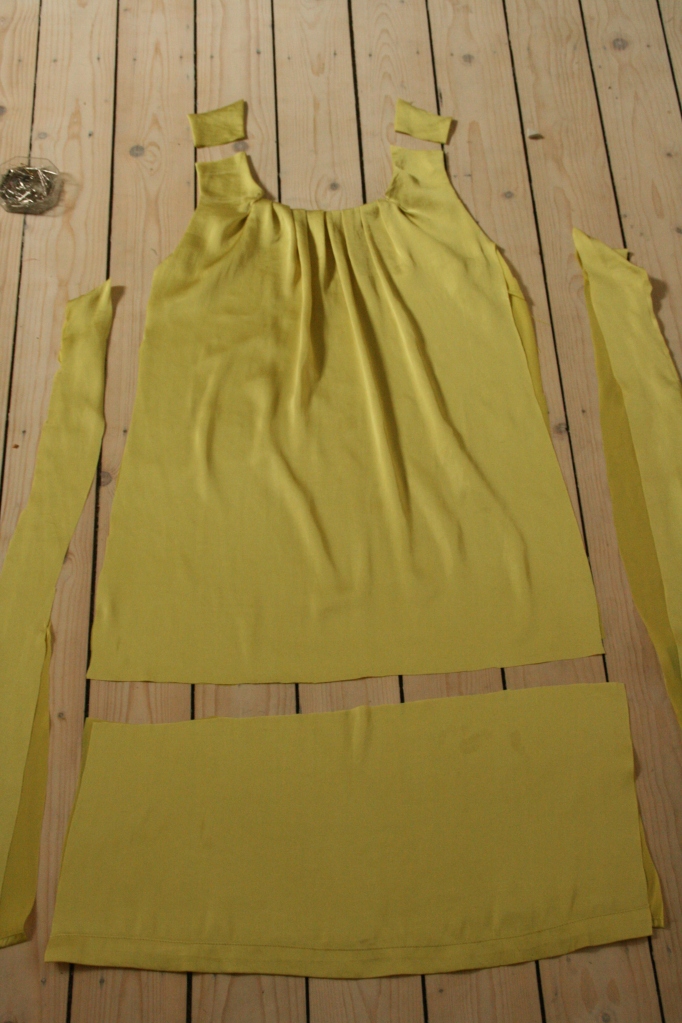
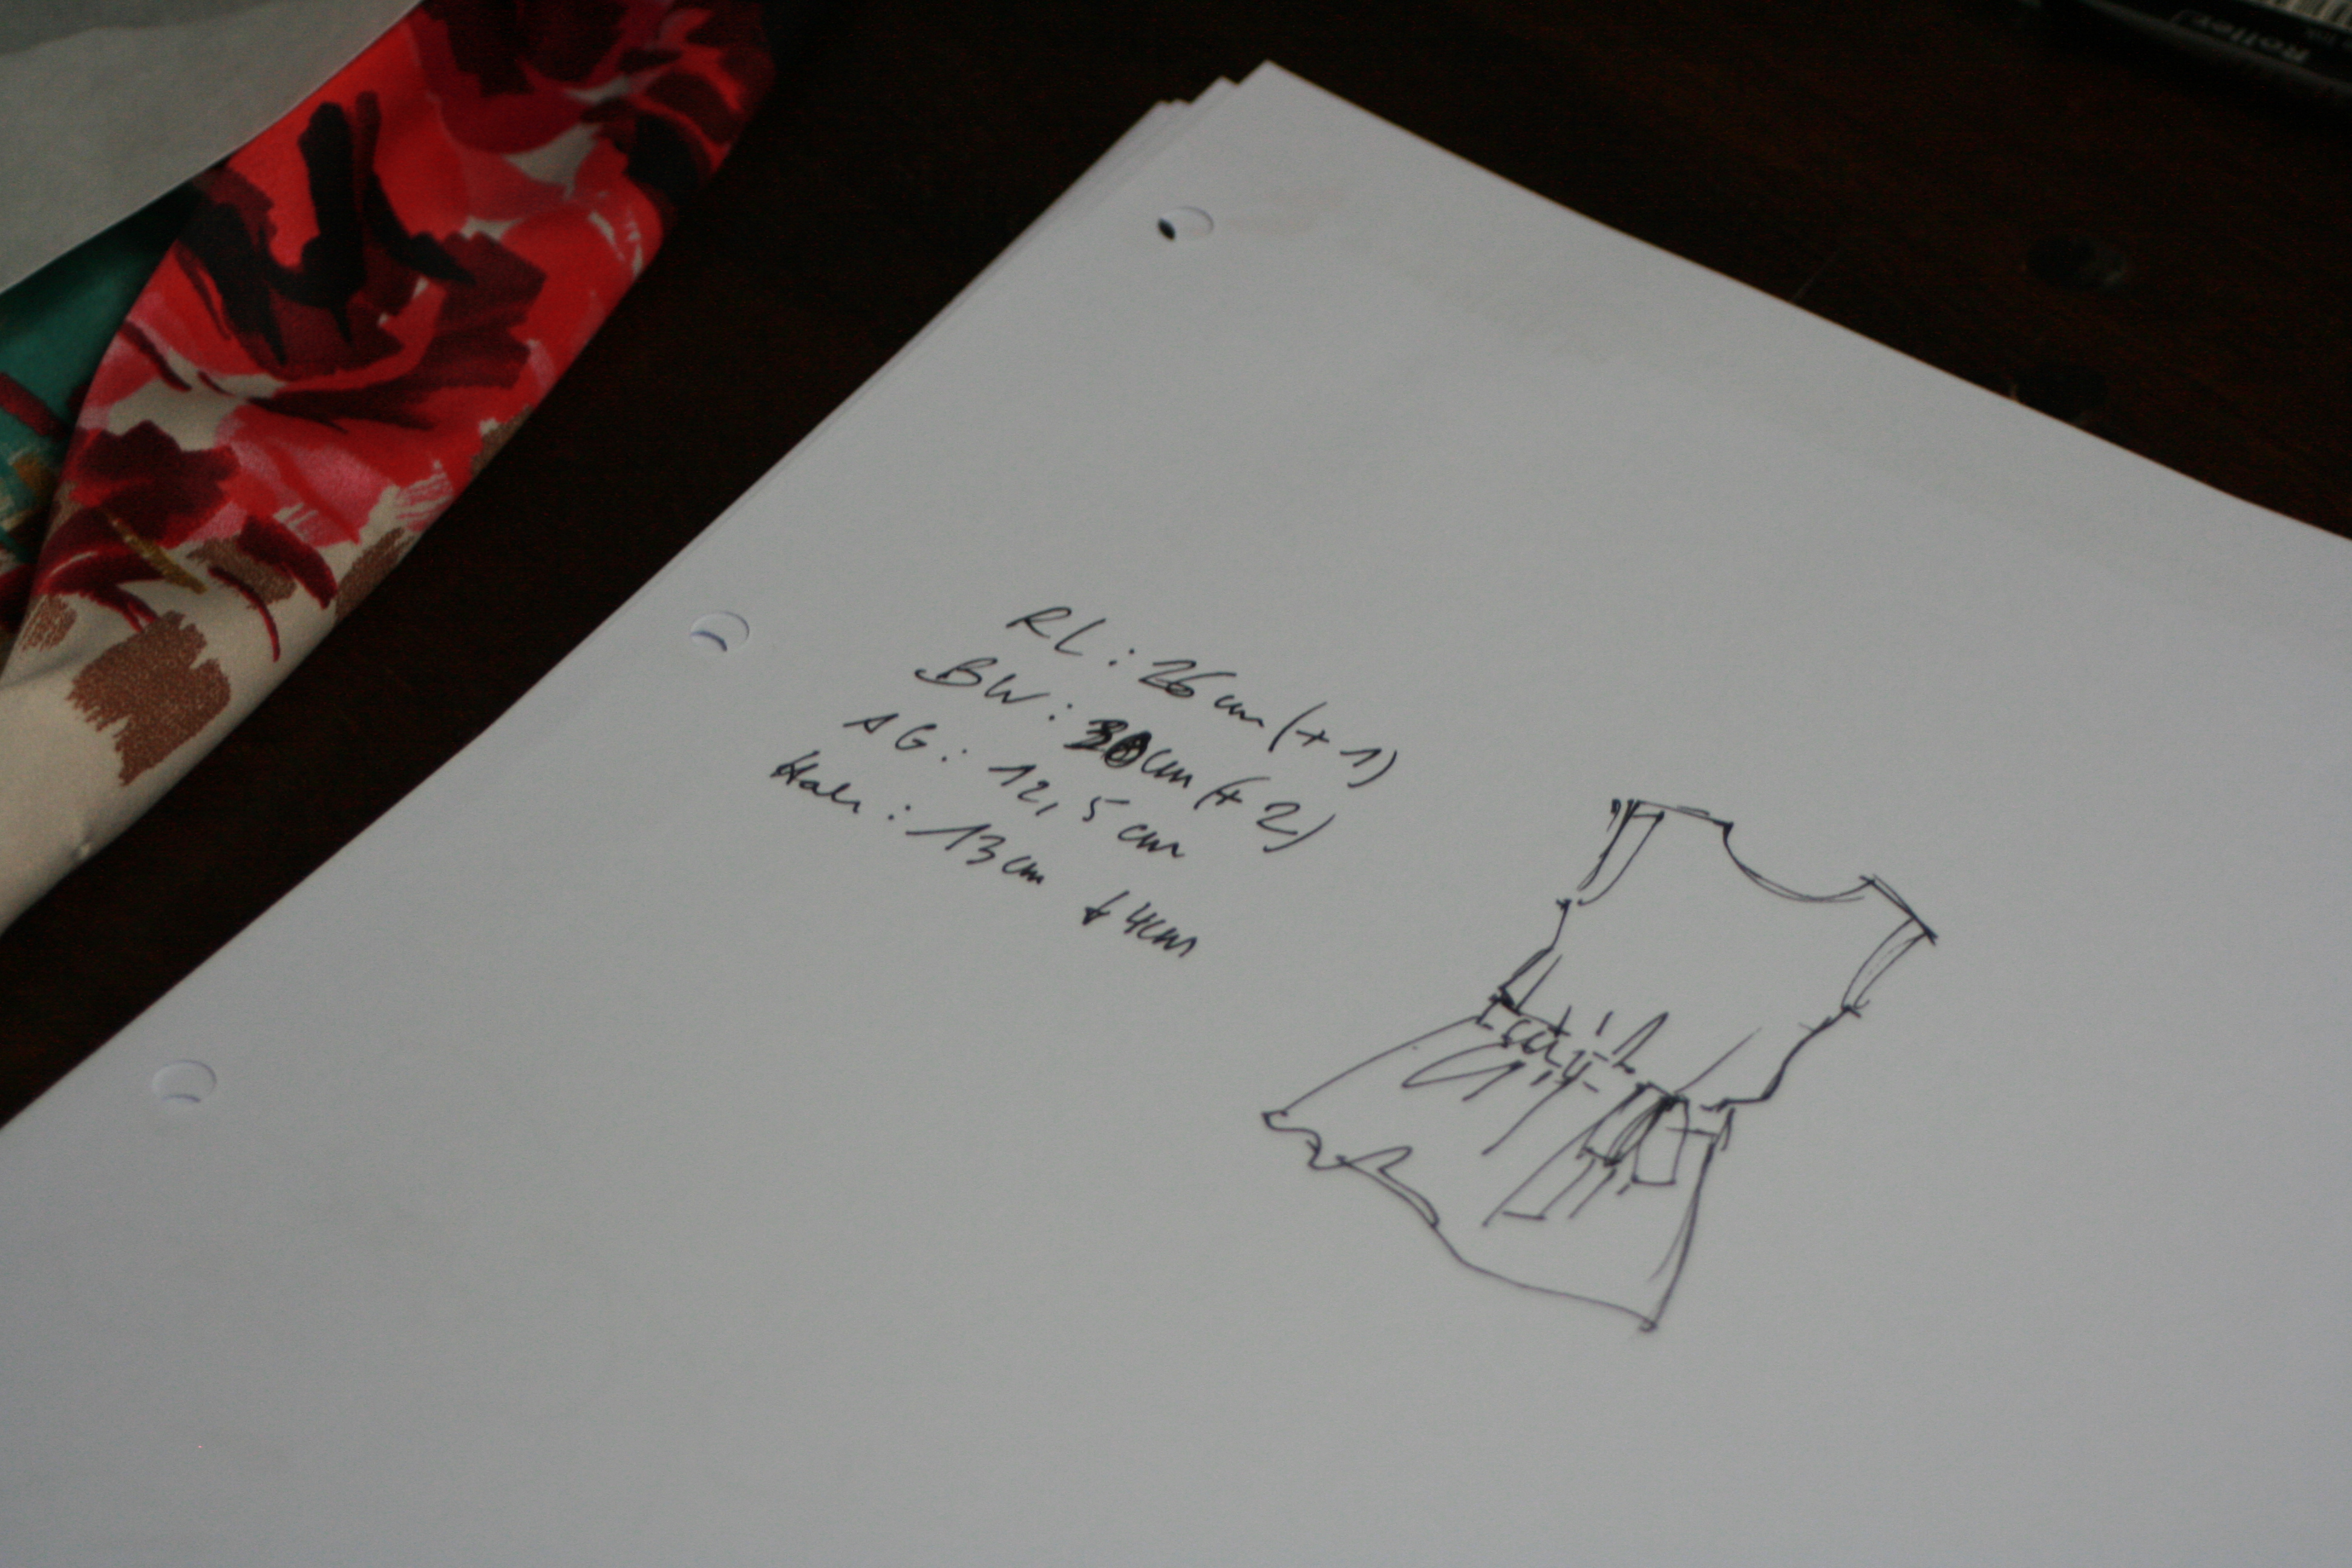
This is how I drafted my basic top pattern:

I started the pattern with the measurements from my chest, hips and length.  Because I’m using a non stretch fabric and I don’t want to use a zipper or buttons I need to add 6cm at chest and hip width.  Of course I want to avoid any problems putting the top on afterwards and at the same time I want to create a loose fit.

IMG_4678  IMG_4679

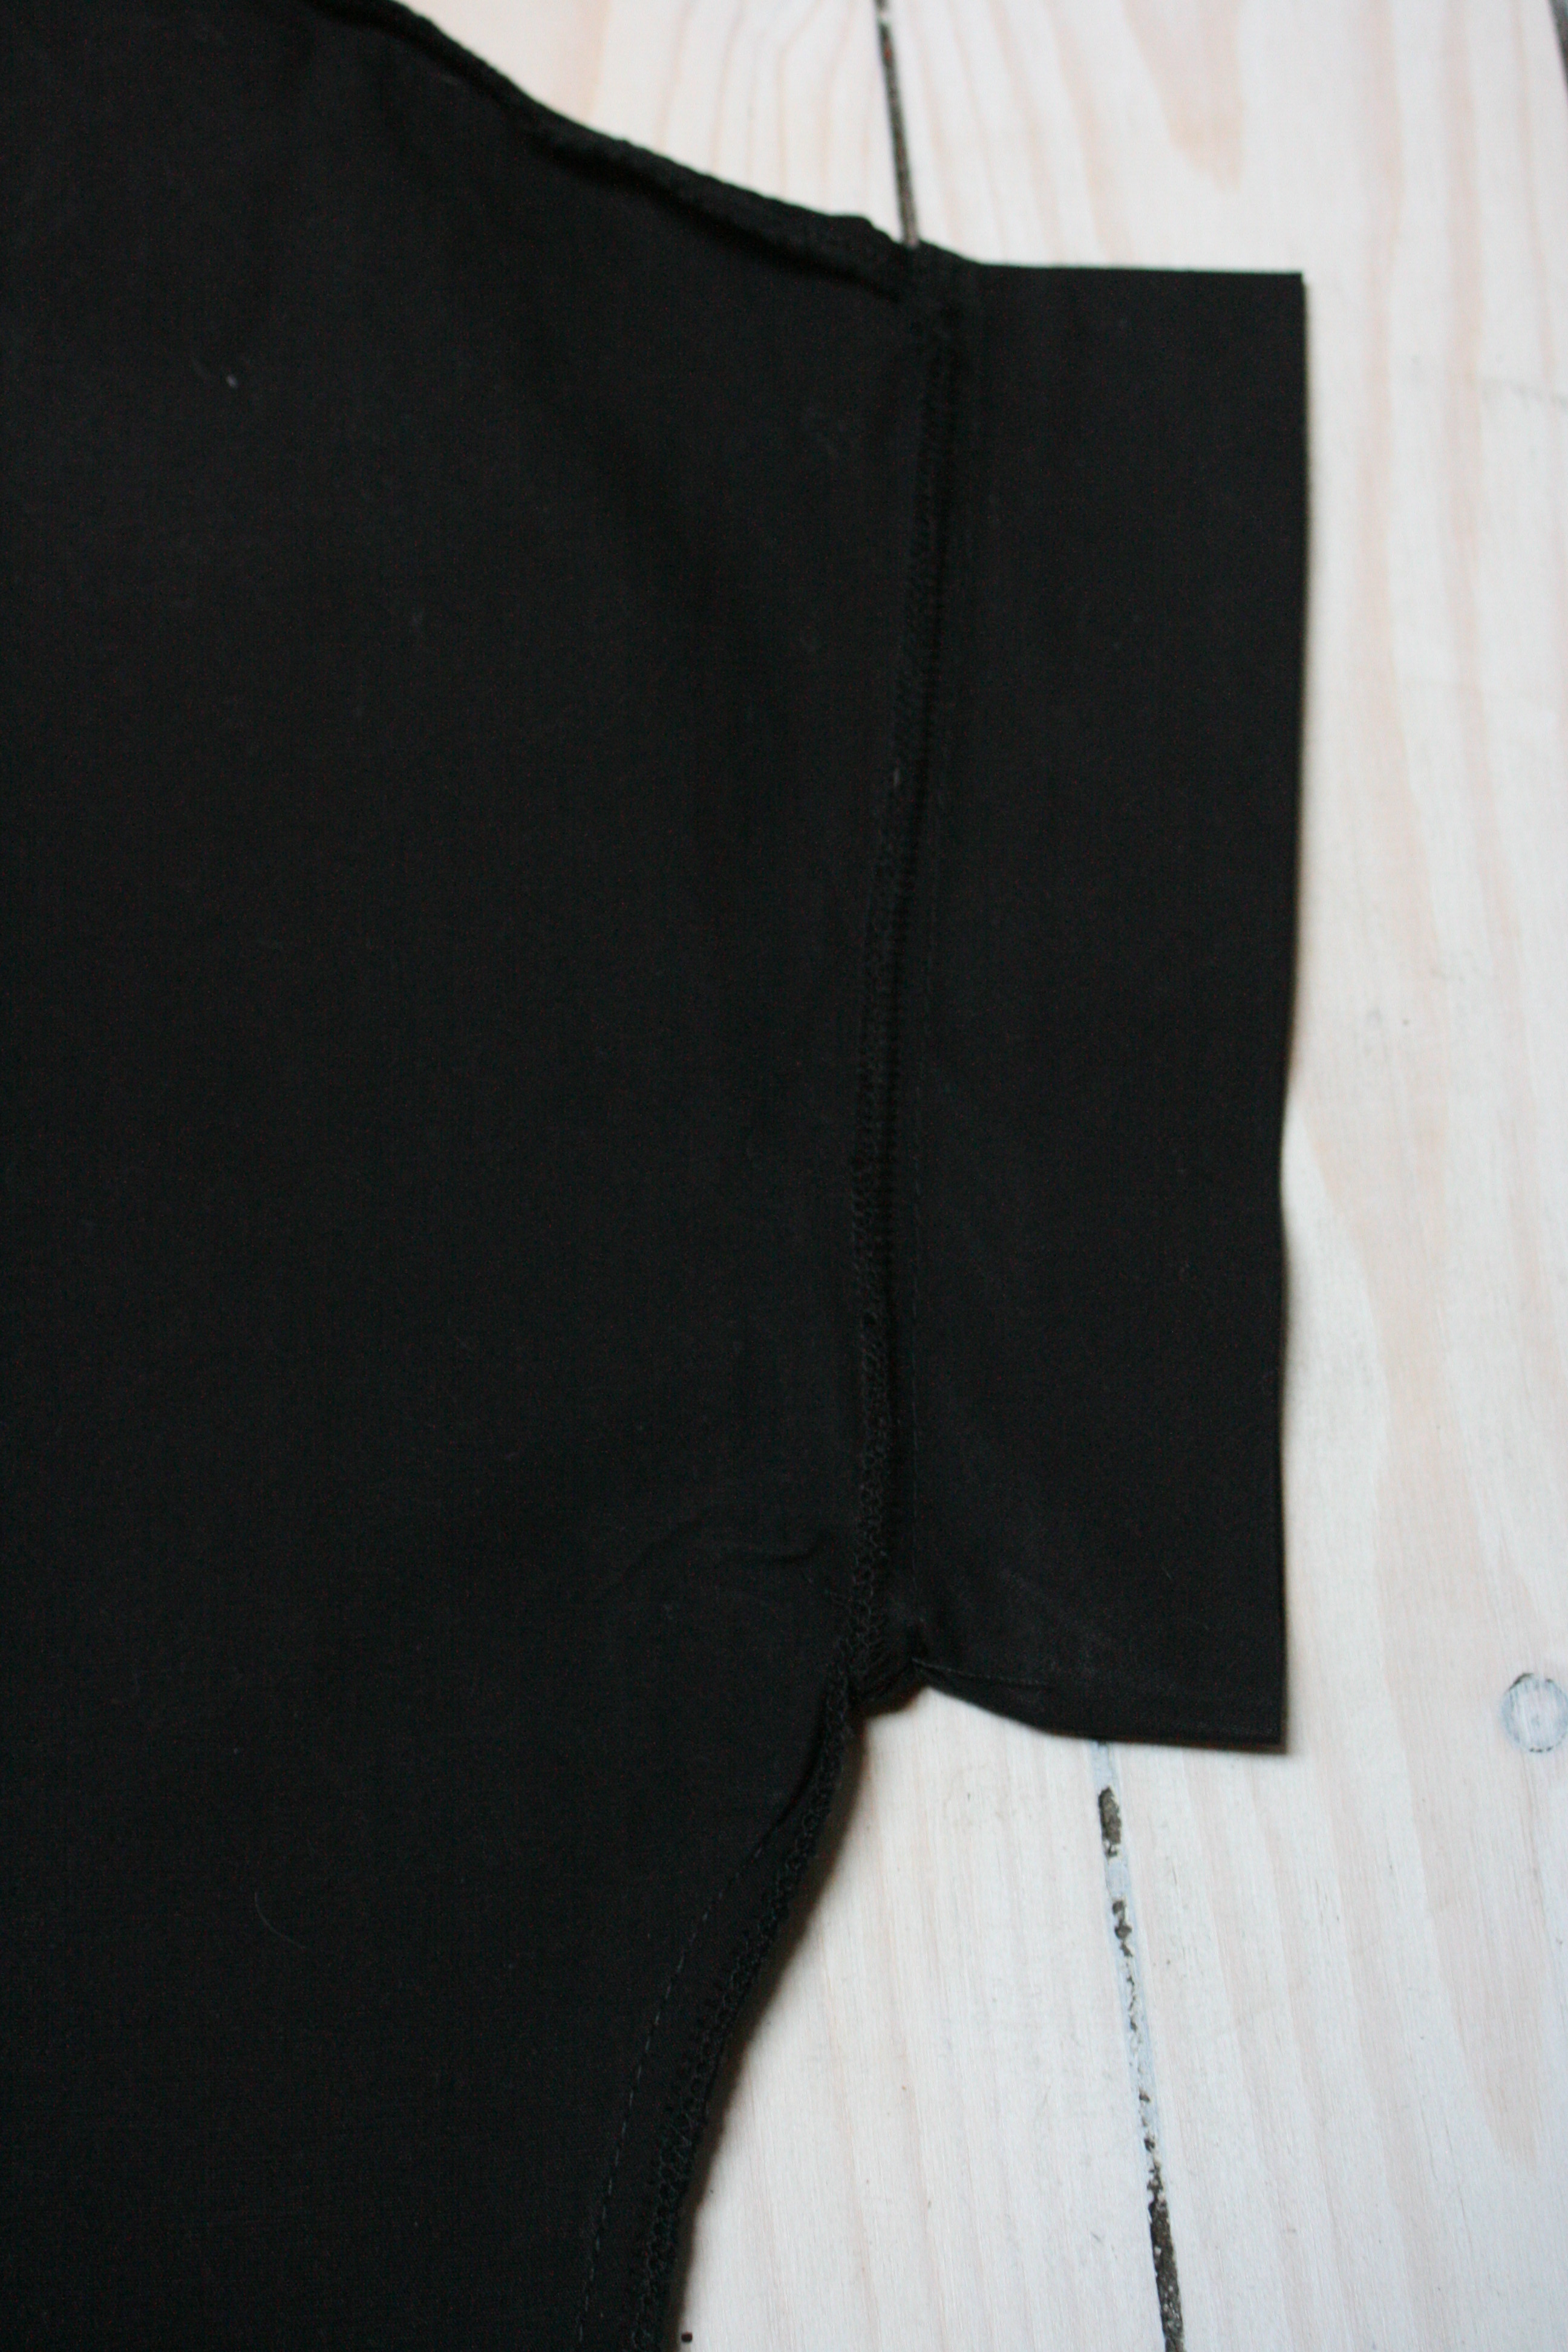
I draft the neckline and the armhole from front and backside.  I cut the pattern in the middle front and reassemble it at the side seams.  Now I can check if the armhole is looking as one fluid line.

tank top pattern

Adding seam allowance.

IMG_4788

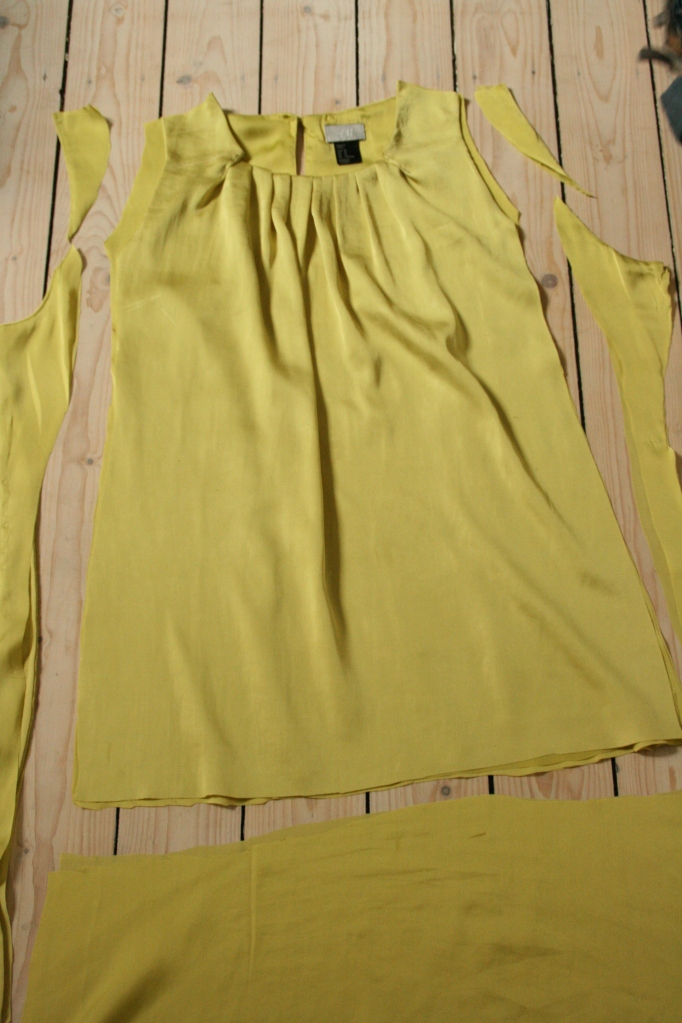
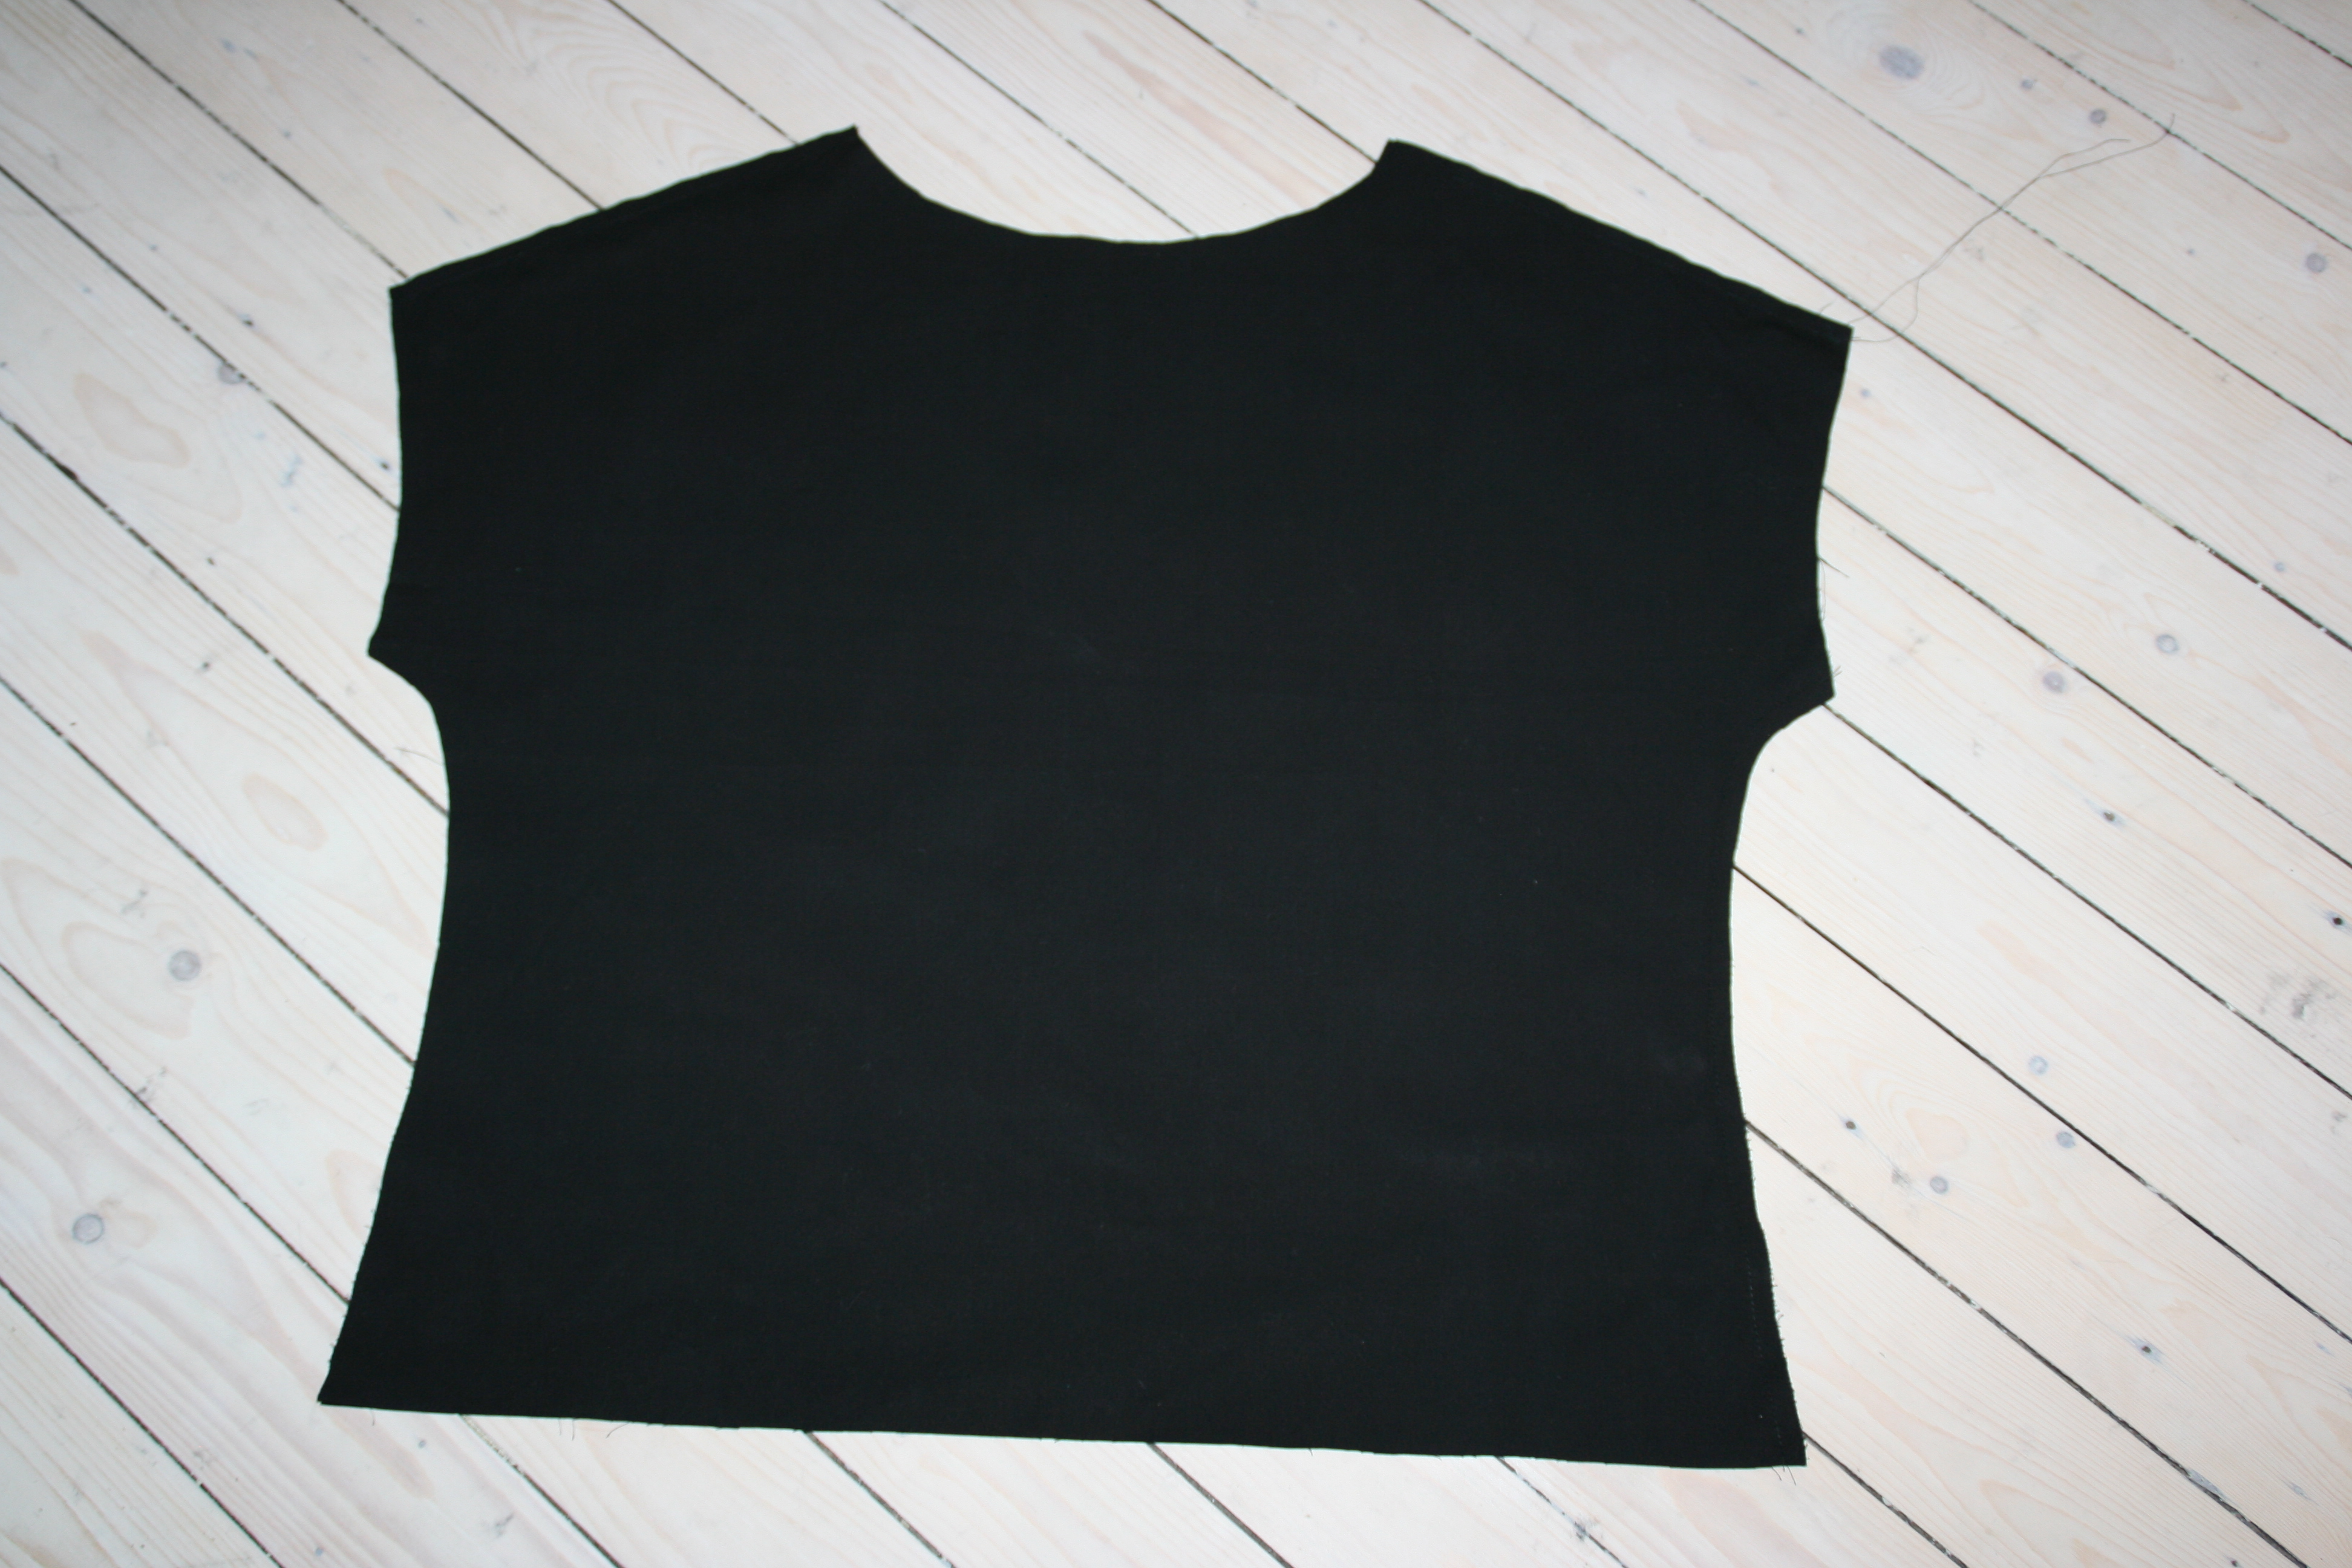
I surge all seams and sew the top.  The armhole and neckline are finished by sewing closely to the seam.

This is my basic top pattern, as you can see it’s probably the simplest pattern ever!


Standard

Old one out, new one in!

IMG_4884

There are dresses hanging in my wardrobe for ages waiting to be worn again.  I keep pulling them out and hanging them back, wrong colour, wrong shape, wrong something are keeping me from wearing them again.  I never get rid of them and it seams funny somehow in this throw-away society and fast fashion decade.  It’s against my nature and my love for clothes to remove them but keeping things is also holding on to the past.  Sometimes it’s good to let go though, finally I will repurpose this lime dress.  My daughter will look absolutely stunning in this colour.

sewing machine

IMG_4889

I start by comparing all measurements of my dress with her dress.  I think it’s good to keep as many seams from the original.  It will spare me some time but also avoid damage on the fabric.  I decide to keep the original neckline because of the pleating and the back slit.

IMG_4894

The front and backside of the dress are separated by cutting the side seams and shoulders.  As you can see the lining is still fixed at the neckline.

IMG_4896

I cut of at the shoulders to make a smaller neck opening.  From the new shoulder I measure the total length (+3cm seam) I need for the little dress and cut of the hem.

IMG_4899

To make a smaller armhole I have to reduce the width. I’m cutting of at the side seams.

IMG_4901

The neckline was still too big and I resolved this by adding an extra pleat with a topstitch on both sides.  When repurposing old clothes you need to be inventive and find creative solutions because the dimensions will never be perfect.  That’s what’s actually the most fun.  You can never entirely predict your end result.

IMG_4904

The most tricky part is to assemble everything in a beautiful manner.  I close side seams from the outer shell fabric and the lining separately.  After that I finish the armhole by stitching the fabric and the lining together from the inside.

IIMG_4985

The neckline was still too wide, I added more pleats at the middle front and topstitched it.

IMG_4996

And finally I make a tunnel at the waist for the fabric belt.  I start by making a buttonhole at the middle front in the upper fabric layer.  Then I stitch on top of both layers (lining + fabric) creating a tunnel.  I shortened the original belt length and pull it trough the buttonhole.  After that I finish the hem of the fabric and lining separately.

repurposed dress

My little girl has a new dress to enrich her wardrobe and it doesn’t seem like there’s something missing in mine.

xxx

Made By Me

Standard

Rectangle top

Image2IMG_2670

Het idee achter deze post is te starten vanuit een eenvoudige rechthoek.  Eigenlijk zou ik met een rechthoek een groot deel van mijn ontwerpen kunnen starten en mijn plan is om hier snel op terug te komen. Dit model is een basis die je eindeloos kan heruitvinden.  Zoals je kan zien heb ik reeds een aantal afleidingen in mijn hoofd die ik kan terug linken aan dit onderwerp.  Zodra de pasvorm goed is afgesteld op je lichaam kan je duizend kanten uit!

DeocrativeScissors-0610

The main idea behind this post is to start from a rectangular shape.  Actually, I could use a rectangle to start many of my designs and I hope to share them with you very soon.  This shape you can reuse over and over again.  As you can see I already have a lot of diversions in my head that will link back to this topic.  Once the shape is perfectly adjusted to your body you can go a thousand directions!

sewing machine

rectangle top

1) This is my rectangle  with adjustments. Horizontal: 65cm * Vertical: 62cm – Dit is mijn rechthoek met de nodige aanpassingen.  Horizontaal: 65cm * Verticaal: 62cm

IMG_2289

2) Trimmings diagonal  on fabric (45°)This will give it a nice stretch.  Trim neckline: 3cm – Trim armhole: 10cm.  – Boordjes schuin uit de stof knippen (45°) Dit zorgt voor een lichte rekbaarheid

IMG_2294

3) Front and back are sewn together at the side and shoulders.  –  Voor- en achterzijde worden samengestikt op de zijnaad en schouders.

IMG_2299  IMG_2667

4) The armhole trimming.   –  Het armsgat met een boordje.

IMG_2300  IMG_2304

5) Smal trim at neckline.   – Smal boordje aan de halsuitsnijding


IMG_2615c

IMG_2618b

6) The result – Het resultaat.

Standard

Pimp up your dress!

Wanneer ik tijdens de koopjes iets mee gris durf ik wel eens impulsief te zijn alhoewel ik meestal twee keer nadenk alvorens iets aan te schaffen.  Dit jurkje heb ik in één of andere shopwoede gekocht zonder zelfs maar te passen, het was echt een koopje en de print was best schattig.  Toen ik het jurkje thuis aanpaste merkte ik dat de verschrikkelijk slechte pasvorm alles behalve flaterend was en dat ik eigenlijk nooit rondfladder in bloemenjurkjes.  Nu hangt het ding reeds een jaar in mijn kast zonder zelfs maar één keer aan te doen.  We zitten in een financiële crisis dus dacht ik om even economisch te zijn en mijn jurkje dan maar een tweede kans te geven.

DeocrativeScissors-0610

When I buy clothes during sales I can be a little impulsive sometimes, although I normally consider twice if I absolutely need it.  This dress however I bought in a shopping rage without even fitting, just because of the lovely print and it wasn’t expensive.  At home I tried it on and the fitting was horrible!  Besides, I never wander around in sweet girly flower dresses.   So there it is, hanging in my wardrobe for over a year now without even wearing it once…  We’re in a financial crisis so it’s time to pimp up this dress and give it a new purpose.

IMG_9680

This is the dress, terrible fitting so let’s get the scissors!

sewing machine

IMG_9698

A scetch for the new dress, my three year old daugther is lucky again!  Backlength: 26cm – Chest width: 30cm – Armhole: 12,5cm – Neckopening: 13cm

IMG_9695

To see the proportions I shape the dress, this way I decide if the length of the skirt is in balance with the top.

IMG_9707

I compare sizes with other dresses my daughter owns. I want to reuse the finished neckline to save time, the front and back are folded in half and everything is measured carefully.   Shoulder and sideseams are sewn together after cutting it at the right size.

IMG_9703

The hemline will be reused for the skirt part of the new dress, this way I don’t need to make a new hemline.  The skirt will be gathered and stichted onto the top.

This is the result! I think I’ve done a good job and it didn’t take hours to sew.

Fotor0526110830

Fotor0526111058

Standard