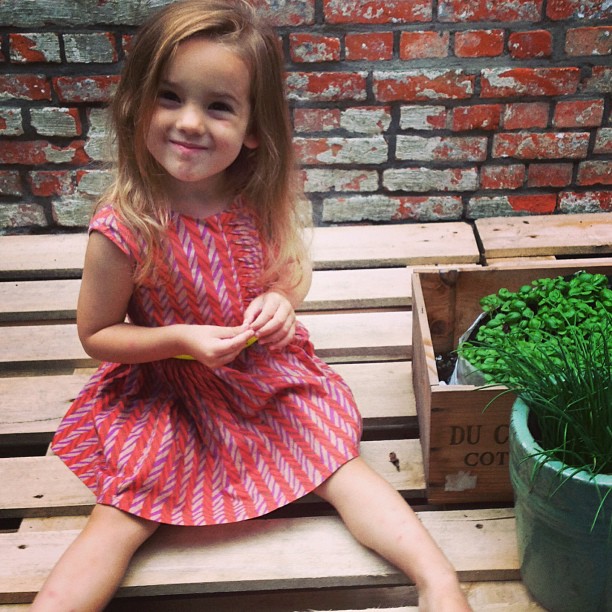
A little piece of cotton fabric was elbowing for weeks to get out of the shelf. When I bought it I imagined a cute 50’s dress for my daughter, you know, the kind of dress little girls like to spin around in, and the kind of dress that reminds me of my own twirling as a child. Unfortunately, When I got home, ready to make my beautiful dress, I noticed the fabric width was too small for my design. So goodbye dress, goodbye sweet memories, or maybe not? After a great deal of thinking I came up with the idea of using a seam at the center front of the bodice. And actually it was a change for the better…

Een klein stukje stof lag reeds een paar weken te dringen om uit de kast te komen. Toen ik dit stofje kocht had ik zo’n schattig jaren 50 jurkje voor mijn dochter in gedachte, zo’n jurkje waar kleine meisjes graag eindeloos mee rondzwieren, zo eentje dat doet denken aan mijn eigen ronddartelen als kind . De teleurstelling was dus groot toen bleek dat de stofbreedte van dit mooie katoentje ter smal was voor mijn ontwerp. Vaarwel jurkje en vaarwel zoete herinneringen, of toch niet? Na heel wat gepeins kwam ik dan op het idee om met een middenvoornaad te werken voor het lijfje. Dat bleek achteraf nog een heel leuke inslag…


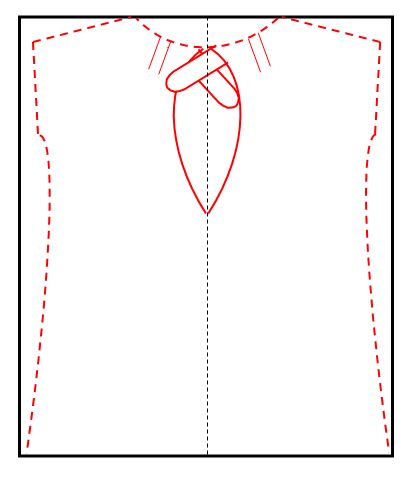
This is the pattern for the bodice of the dress. I used the following measurements for this pattern: Chest width: 62cm – Waist: 56cm – Shoulder to waist: 24,5cm – Armhole: 11,5cm – Neckopening: 14cm – drop by 5,5cm. This is for a size 3/4 years old. I add 1cm of seam allowance and 3cm at the center back with buttons.

I copy the pattern for the facing and lining.

This is my magic bucket of fabric leftover. I found this nice red cotton for the lining, a perfect match!

So this is how it all comes together. I draw chalk lines for the skirt of the dress: 2 pieces of 33cm (includes seam allowance 1+3cm) and all that is left of the fabric width. I draw another chalk line at 7cm to make the fancy trim at center front seam.

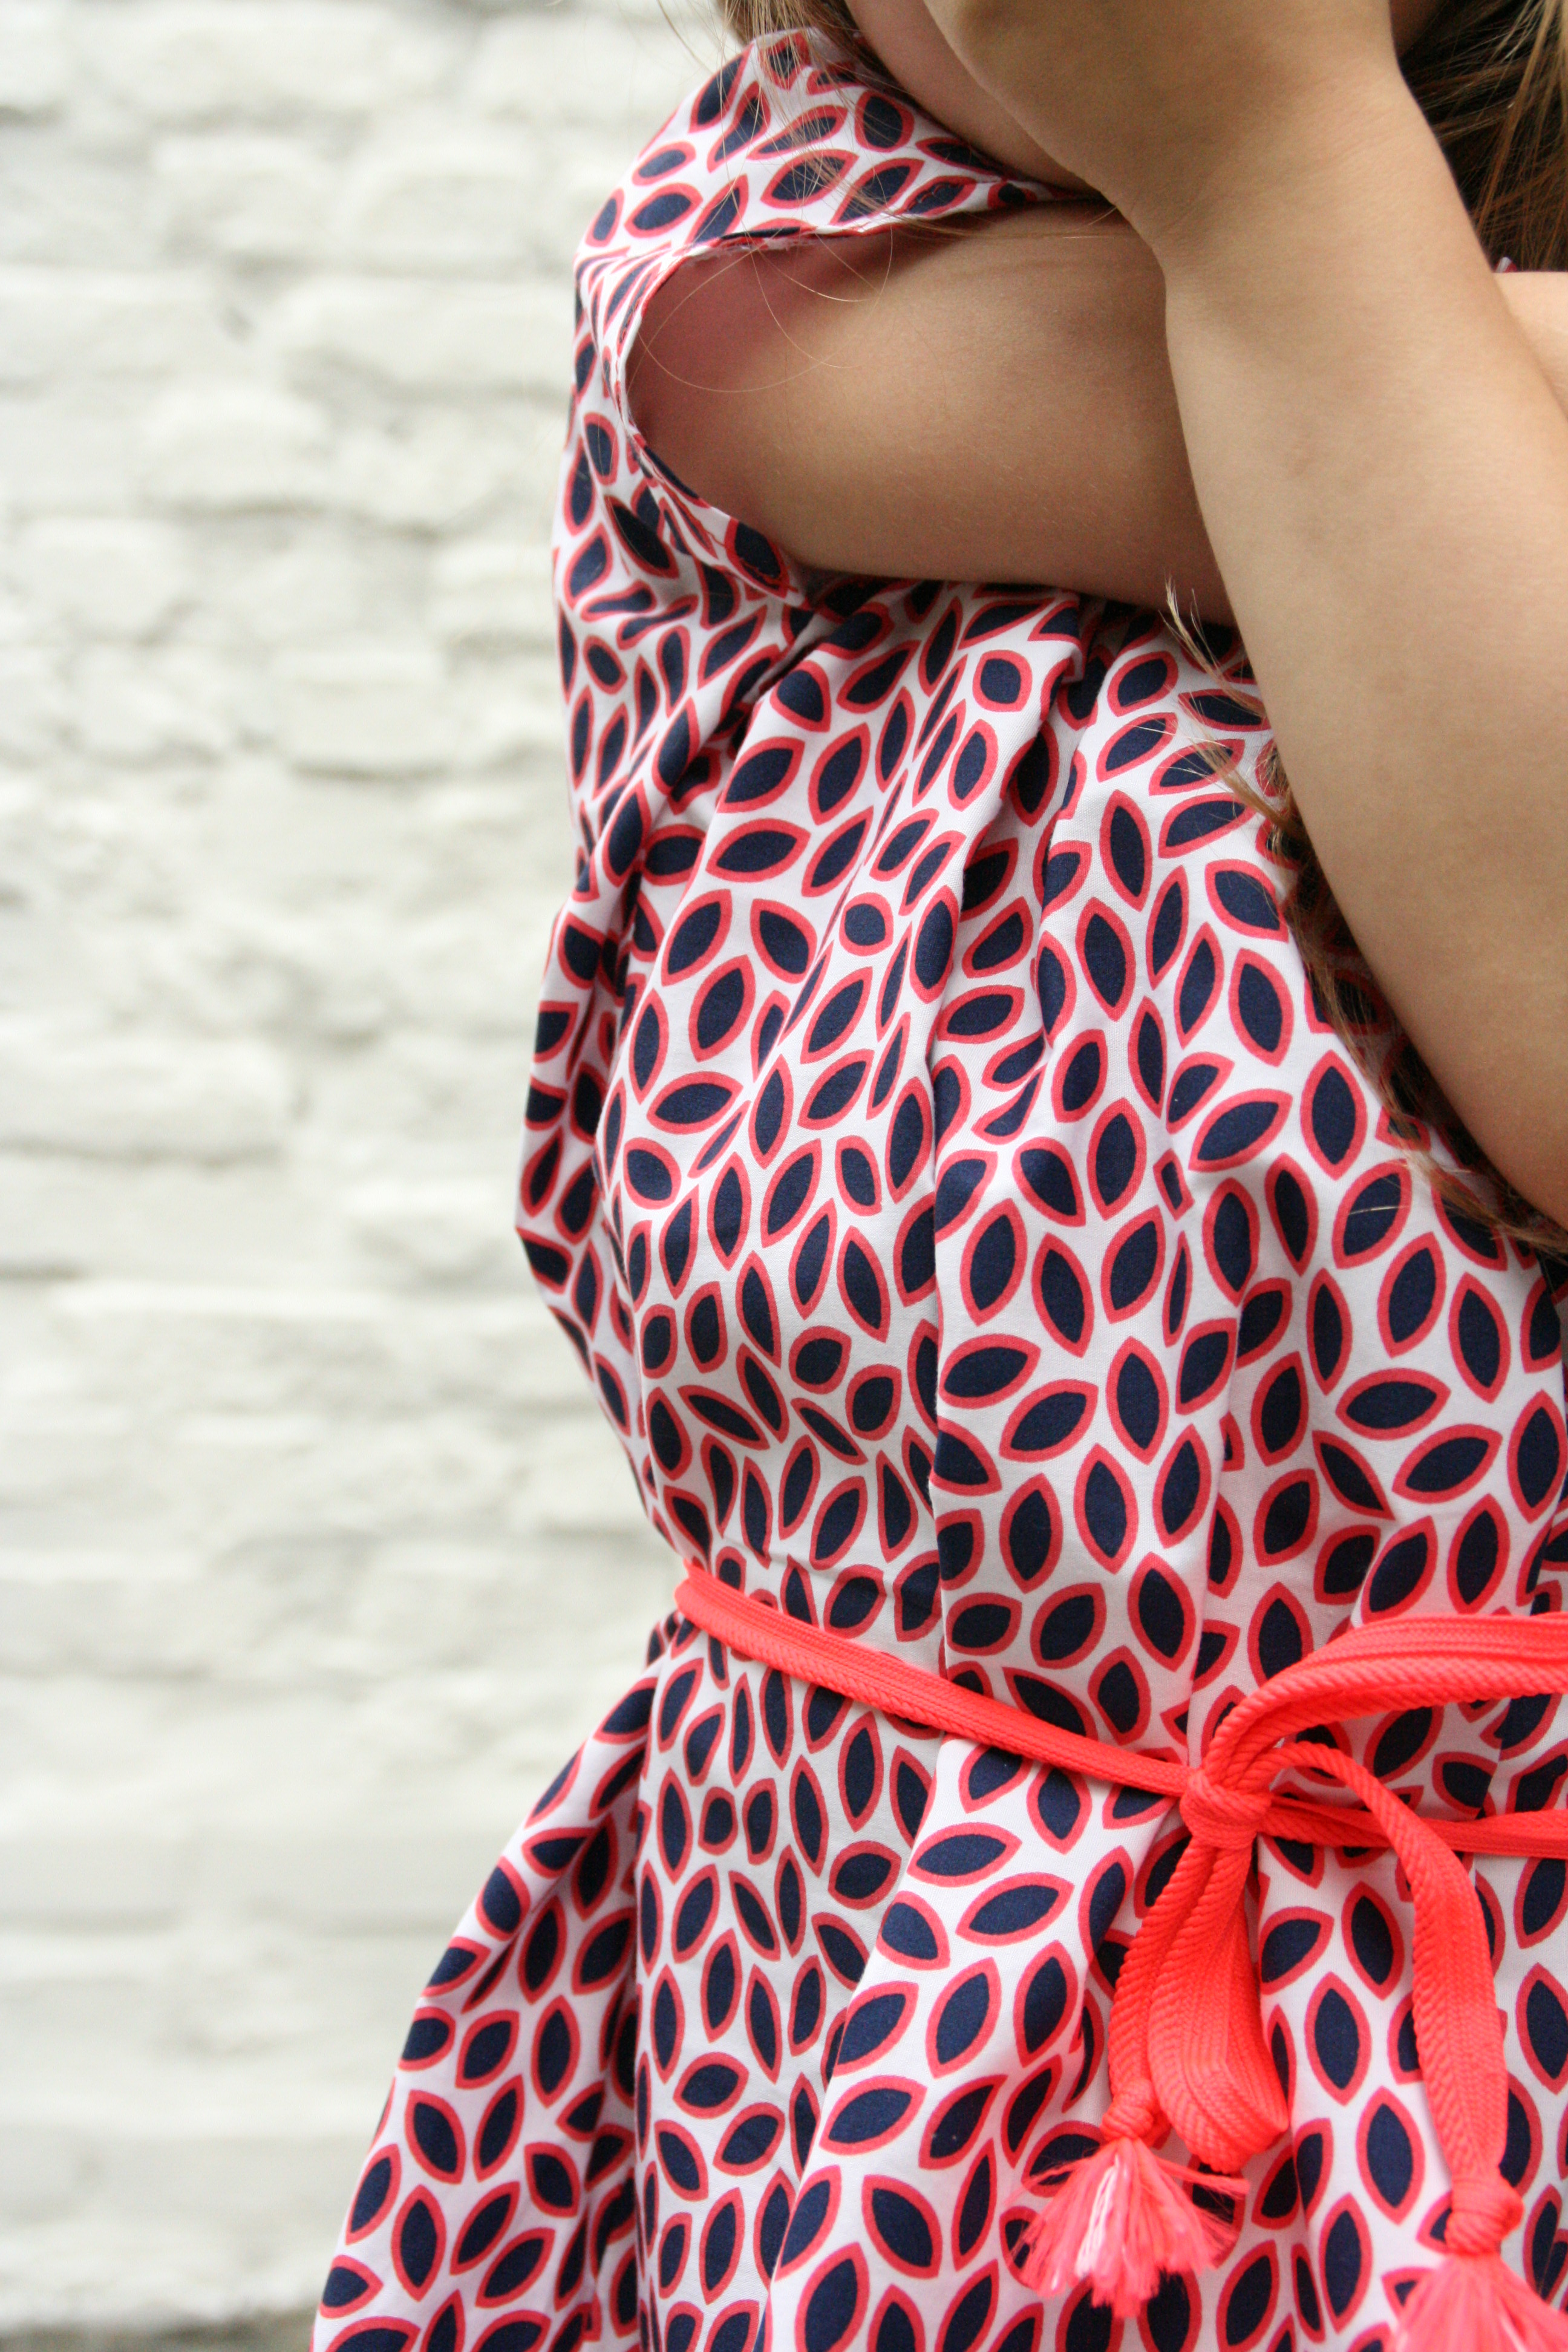
The trim is finished at one side with a roll seam of 0,5cm.

I use my iron to make pleats.

All pieces are sewn together, the outer shell and the facing/lining exept for the center front.


I pin the trim on one side of the bodice and close the center front.


Now I fix pleats in opposite direction with a top stitching.

I sew the outer bodice and lining bodice together at the middle back and I close shoulder seams (bodice and lining separately)


I close the neckline of both layers.

I close armholes of both layers on front and repeat this for the back. I stitch from the inside, not as shown here!

For the skirt a close side seams (not the center back) and gather the pieces for the skirt to match the width of the bodice. For this particular fabric I’m using pleats again instead of a gathering. I attach the skirt onto the bodice outer shell. Then I fix the inner shell by stitching from the outside on the seam between skirt and bodice. (to hide inner seam) I’m closing the lower part of the skirt at center back and finish the hem. Finally I’m adding buttons and buttonholes at center back.


